Prerequisites
- Install Latch
- Have a conceptual understanding of how Latch workflows work through reading the quick start and authoring a workflow
- Understand how latch develop works
Building a Simple Variant Calling Workflow
In this tutorial, we will be building a variant calling workflow. To follow along, clone the example code here:buggy-wf: The workflow with bugsgood-wf: The final, functional workflowwgs: Test data for the workflow
latch develop to test and debug the buggy-wf to arrive at good-wf effectively.
Let’s get started!
Preparing test data
First, we must upload our test data folder,wgs, to the Latch Platform.
Run the following command to upload the wgs data from the terminal
latch ls like so:
Overview of the variant calling workflow
The data we are working with is part of a long-term evolution experiment by Richard Lenski, designed to assess the adaptation of E. coli in various environments. Variant calling is a typical workflow used to observe the change in a population over successive generations. We can use this to analyze how this experiment’s E. coli__ population changed over time relative to the original population, _E. coli strain REL606. To do so, we will align each of our samples to the original E.coli strain’s (REL606) reference genome to determine the differences between our reads after 40,000 generations versus the original genome.
- Index the reference genome
- Align our reads to the reference genome
- Convert our aligned reads from SAM to BAM format
- Sort our BAM file by coordinates
- Perform variant calling
build_index, align_reads, convert_to_bam, sort_bam, and
variant_calling.
We have provided some (buggy) code for the five tasks above for you in the buggy-wf, which you will now test and debug!
Testing and Debugging the Workflow
First, enter thebuggy-wf folder and register it to Latch:
latch develop. The registration process builds the code’s environment, which is the key to successfully debugging your workflow. Now we can interact with the environment.
Entering the environment
Runlatch develop . in the workflow directory to enter the workflow environment.
We recommend reading this overview of the latch develop environment before proceeding.
Defining a test script
Before testing the workflow end-to-end, it is helpful to run and test each task individually. To get started, we have provided a testing directory calledscripts with a main.py inside containing commented-out task test code.
main.py to get this:
- The first line imports all tasks defined in
wf/__init__.pyso we can reference them in this script. - The second line imports the necessary Latch types.
- The third line calls the task function to index the reference genome,
build_index.
latch:// to specify that it is a file on Latch, and
pass the whole string as a parameter to LatchFile.
Calling the test script
Now that we have modified our local code, we can run it in the development environment. Note that local changes are automatically reflected in the development environment.bwa. One potential reason is that we might not have
installed the binary bwa correctly.
bwa binary is not installed! Checking the Dockerfile, notice that the installation instruction for bwa
is commented out. Let’s uncomment it:
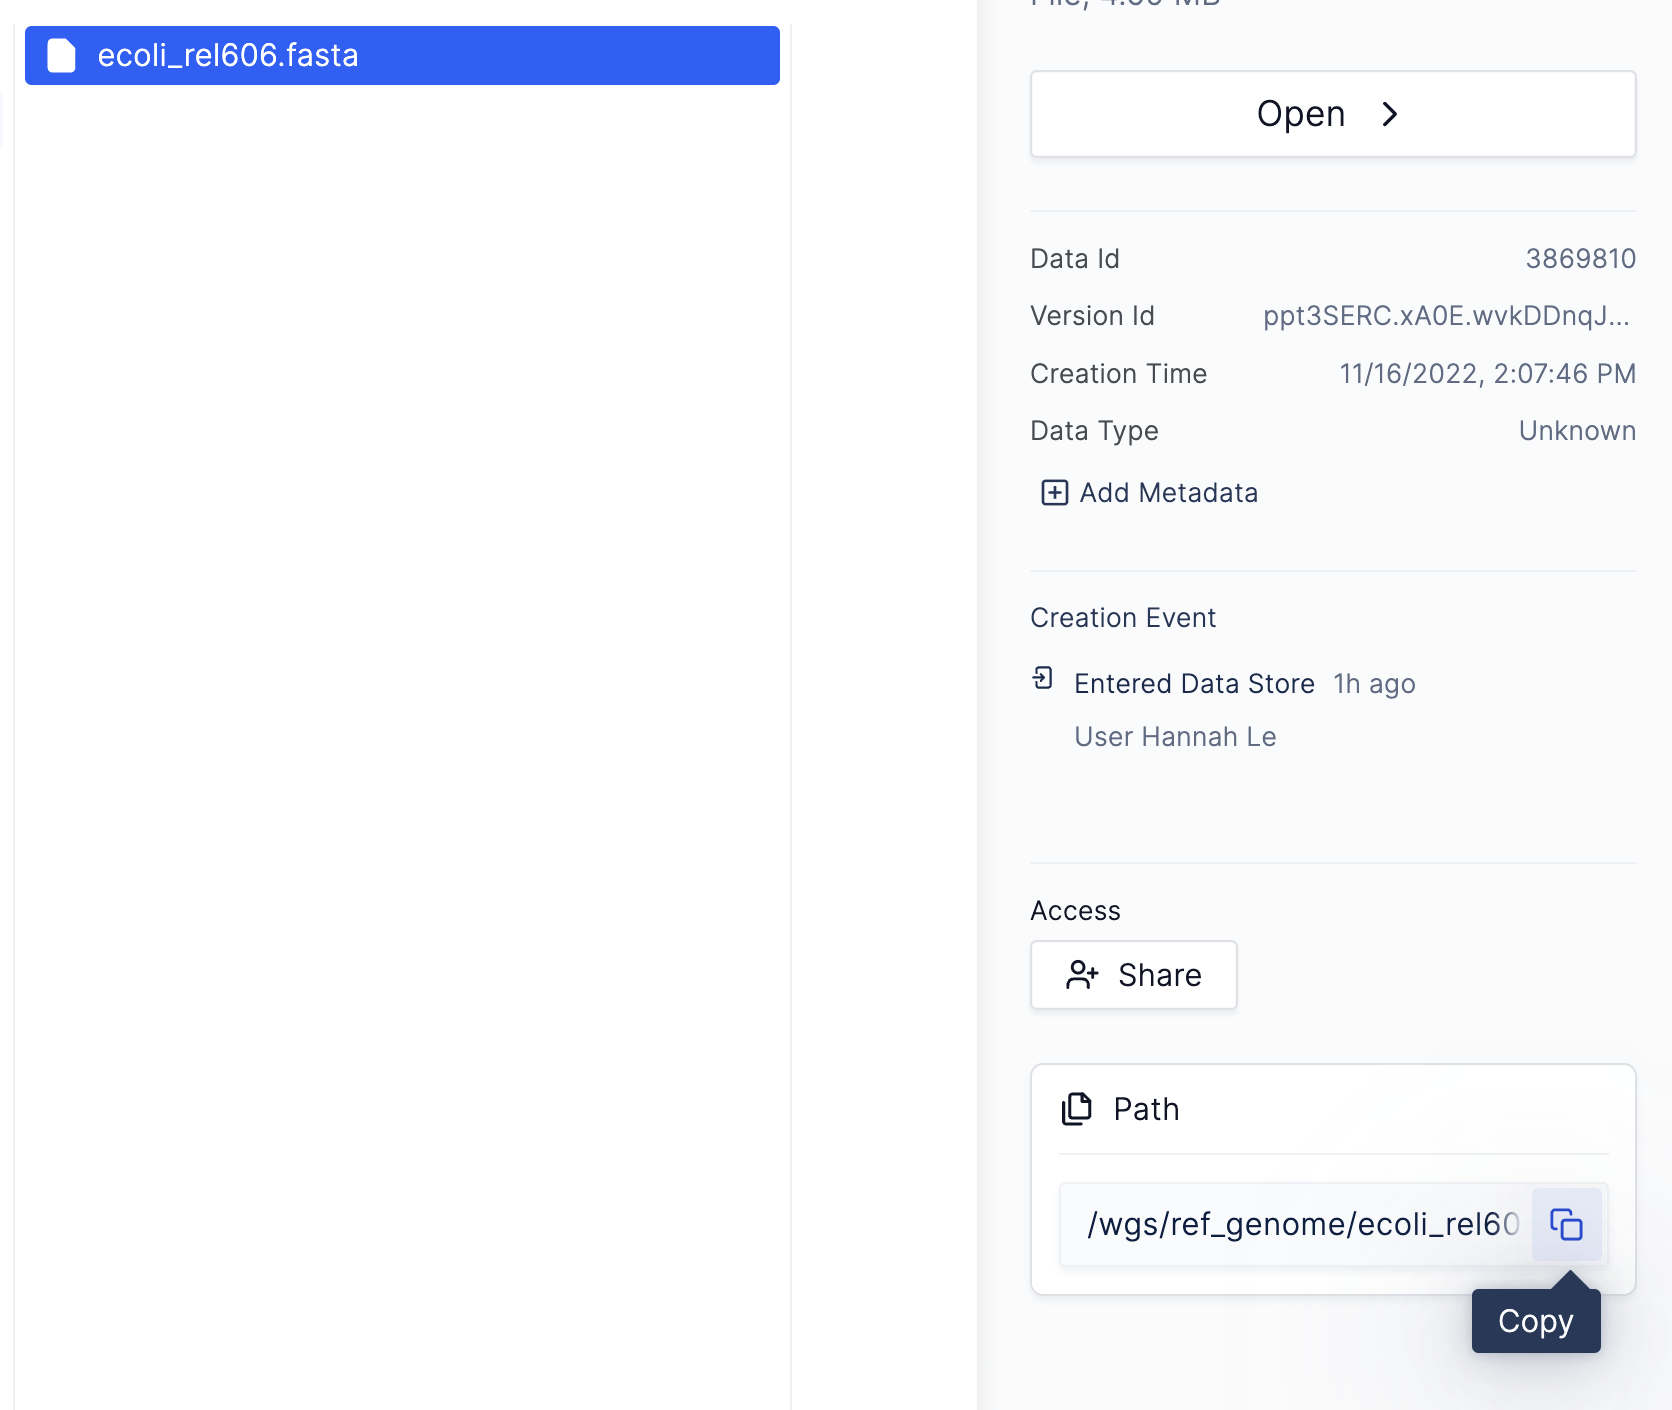
Where are my outputs?
To ensure that our tasks are working correctly, let’s look at their output files to ensure they’re correct. To locate the output files, we can inspect the return statement of thebuild_index task inside wf/__init__.py:
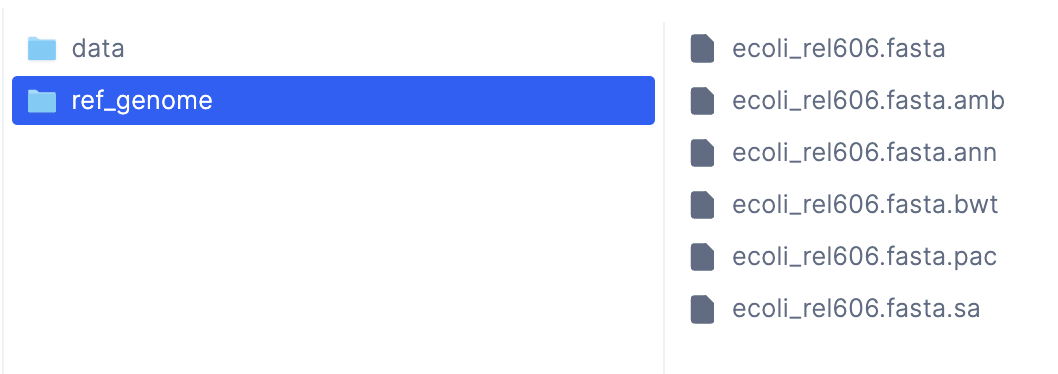
LatchDir with the remote path latch:///wgs/ref_genome, which indicates that the
output files are inside the /wgs/ref_genome folder in the Latch Console.
Debugging Subsequent Tasks
Similarly to how we tested our first task, we can also call the second task fromscripts/main.py like so:
latch:///wgs/ref_genome, as the input to the second task.
Run the test script:
/wgs/trimmed_fastqs/SRR2584863_1.trim.sub.fastq in the Latch
Console. Referencing the actual file paths of the trimmed FastQs, we can see that their paths are indeed wrong, with
the correct paths being /wgs/data/SRR2584863_1.trim.sub.fastq, etc (listed under /wgs/data instead of /wgs/ trimmed_fastqs).
We can make this modification to our test script and re-run the task as below:
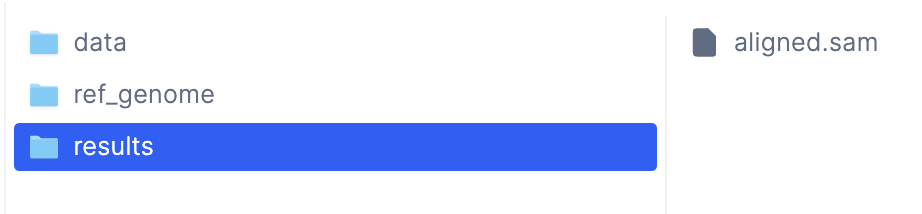
/results on Latch!
Exercise
As an optional exercise, continue debugging the workflow’s final three tasks. The debugged workflow code is provided in thegood-wf folder for reference.
Key Takeaways
- How to open a development session with
latch develop - How local changes are synced to the development environment
- How to reflect changes from your
Dockerfilein the latch develop environment