

The goal of this feature is intended to streamline bringing in your experiment
data when running workflows into Latch and we would love to hear from you on
ways this could be improved. And to be completely honest the best way to use
the CSV import is to write a script that will automatically generate a CSV
based on your data.
Preparing Your CSV
- Each row of the CVS will be imported as one run of the workflow and each column for that row will be imported to its corresponding parameter.
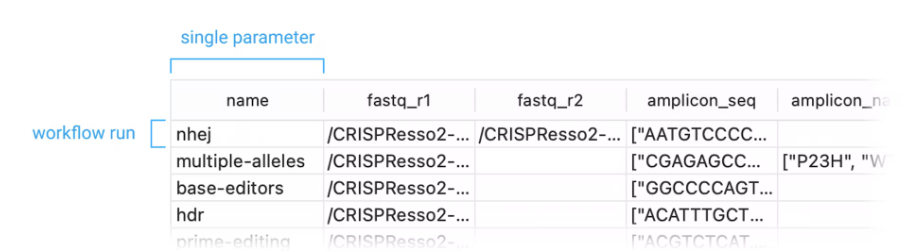
- Each parameter has a column name that the importer can use automatically map them (we don’t expose these anywhere yet but we’re working on it), but CSV columns can also be mapped manually to a parameter.
- Each parameter has specific formatting requirements to be properly imported. (I’m gonna work on the documentation for all of the formatting standards because this can be a pain to get right.)
- If you’re exporting it from a spreadsheet application you’re using here are some guides:
Adding File Paths to your CSV
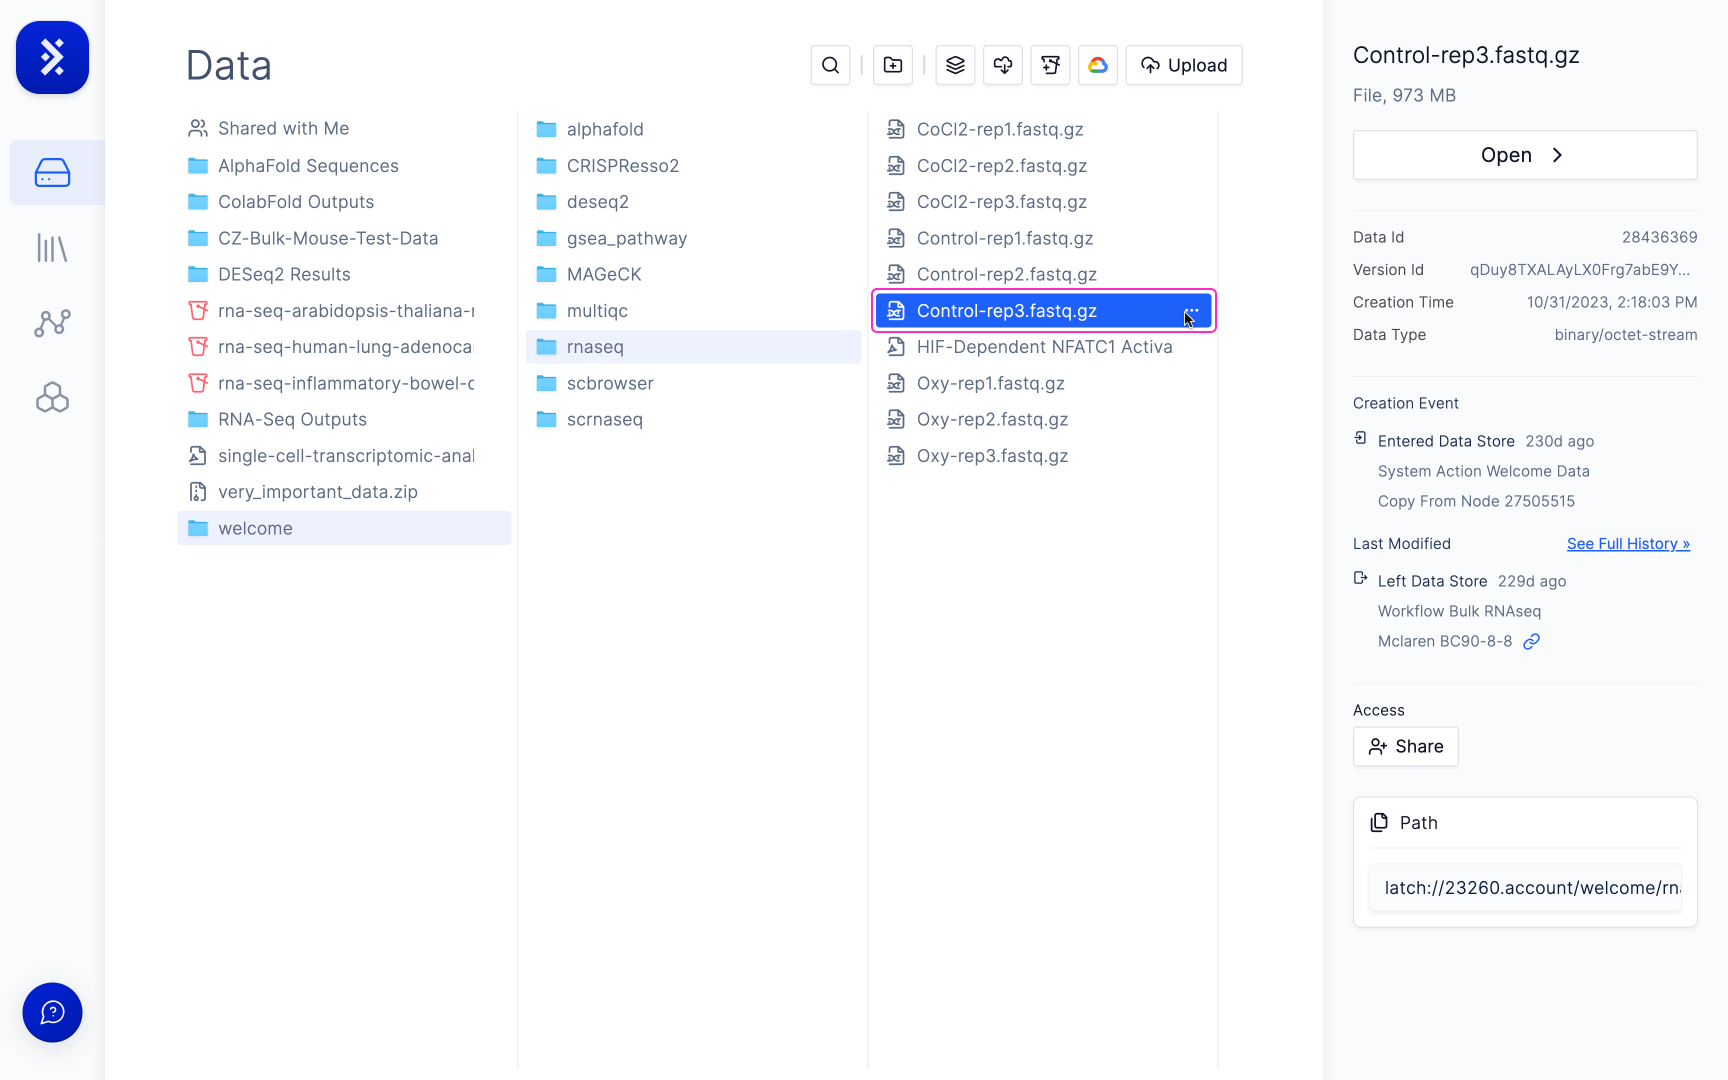
If one of the columns in your CSV requires a file path, you have to ensure that the file path matches that on Latch.1
To do so, click on the file you are interested in.
2
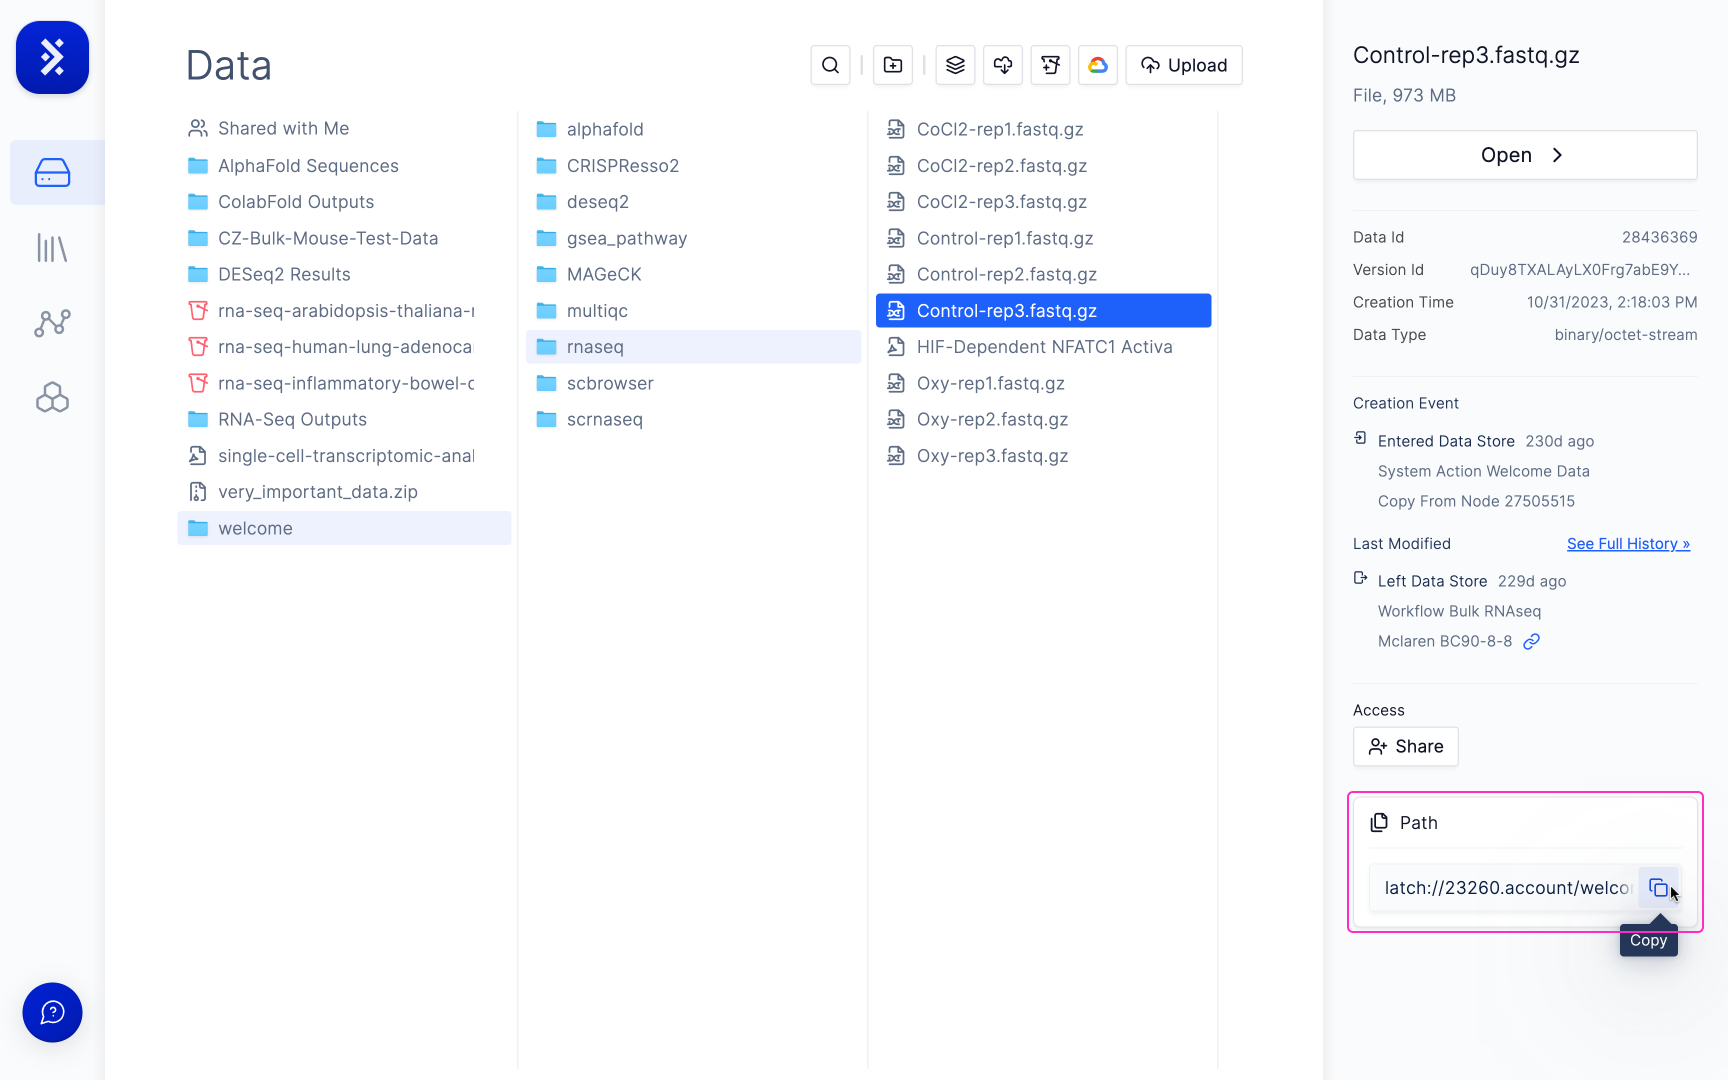
On the right sidebar, select “Copy” to copy the file path of your file.
3
Paste the file path into the CSV.
Using CSV Import
CSV Import is not available for Bulk RNAseq, which instead has the option of using Salmon’s selective alignment method and sample conditions for differential expression analysis.1
Click the 'Import Bulk Data' button at the top right of the workflow parameters section.
Some Workflows also have a CSV template you can use to import your data.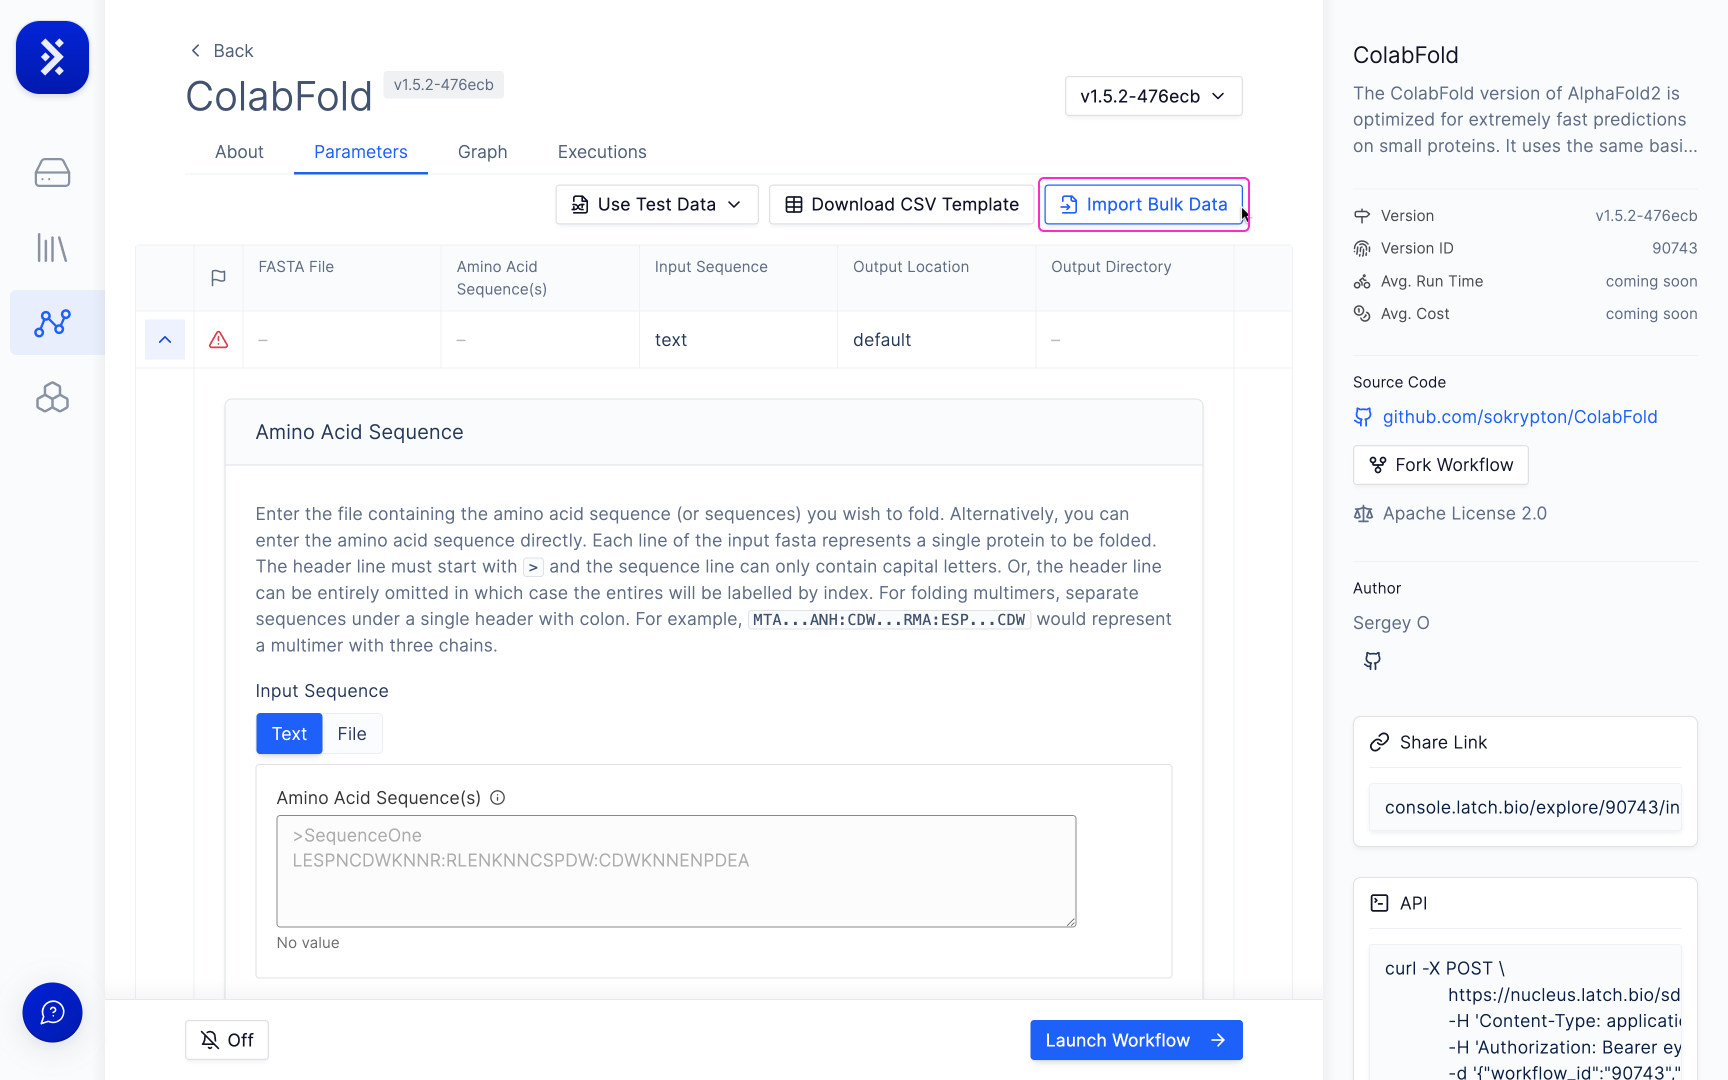
2
Select your CSV from your data on Latch.
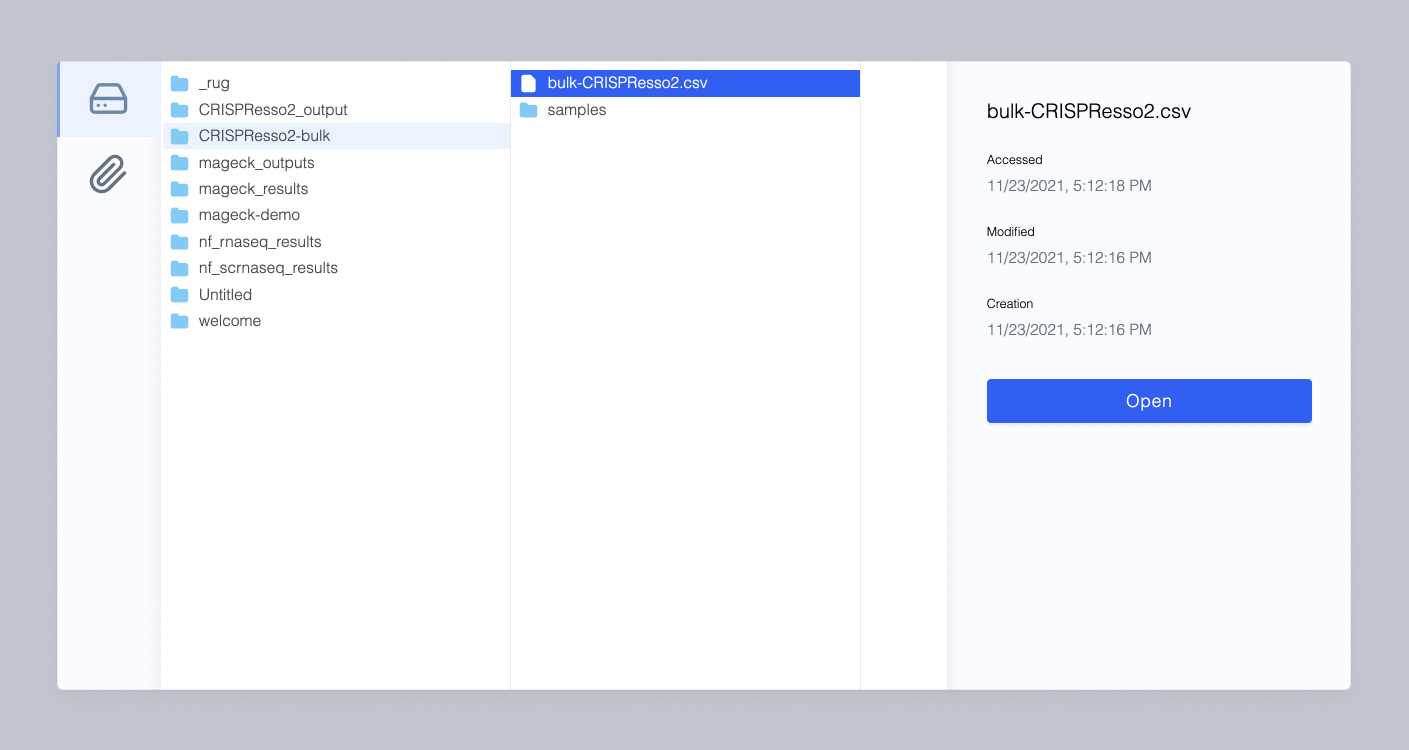
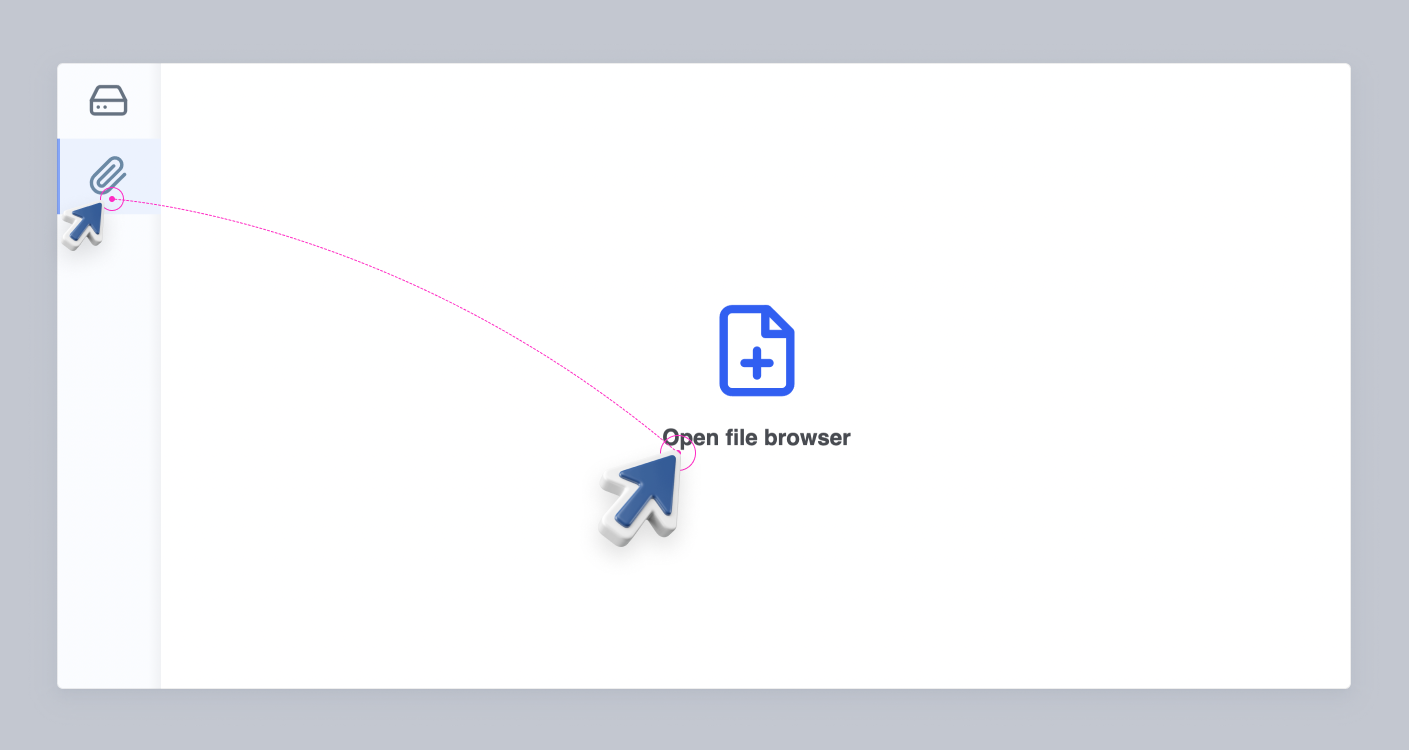
3
The importer will then automatically try to match the columns in your CSV to its corresponding parameter.
When a column is matched to a parameter it will either show: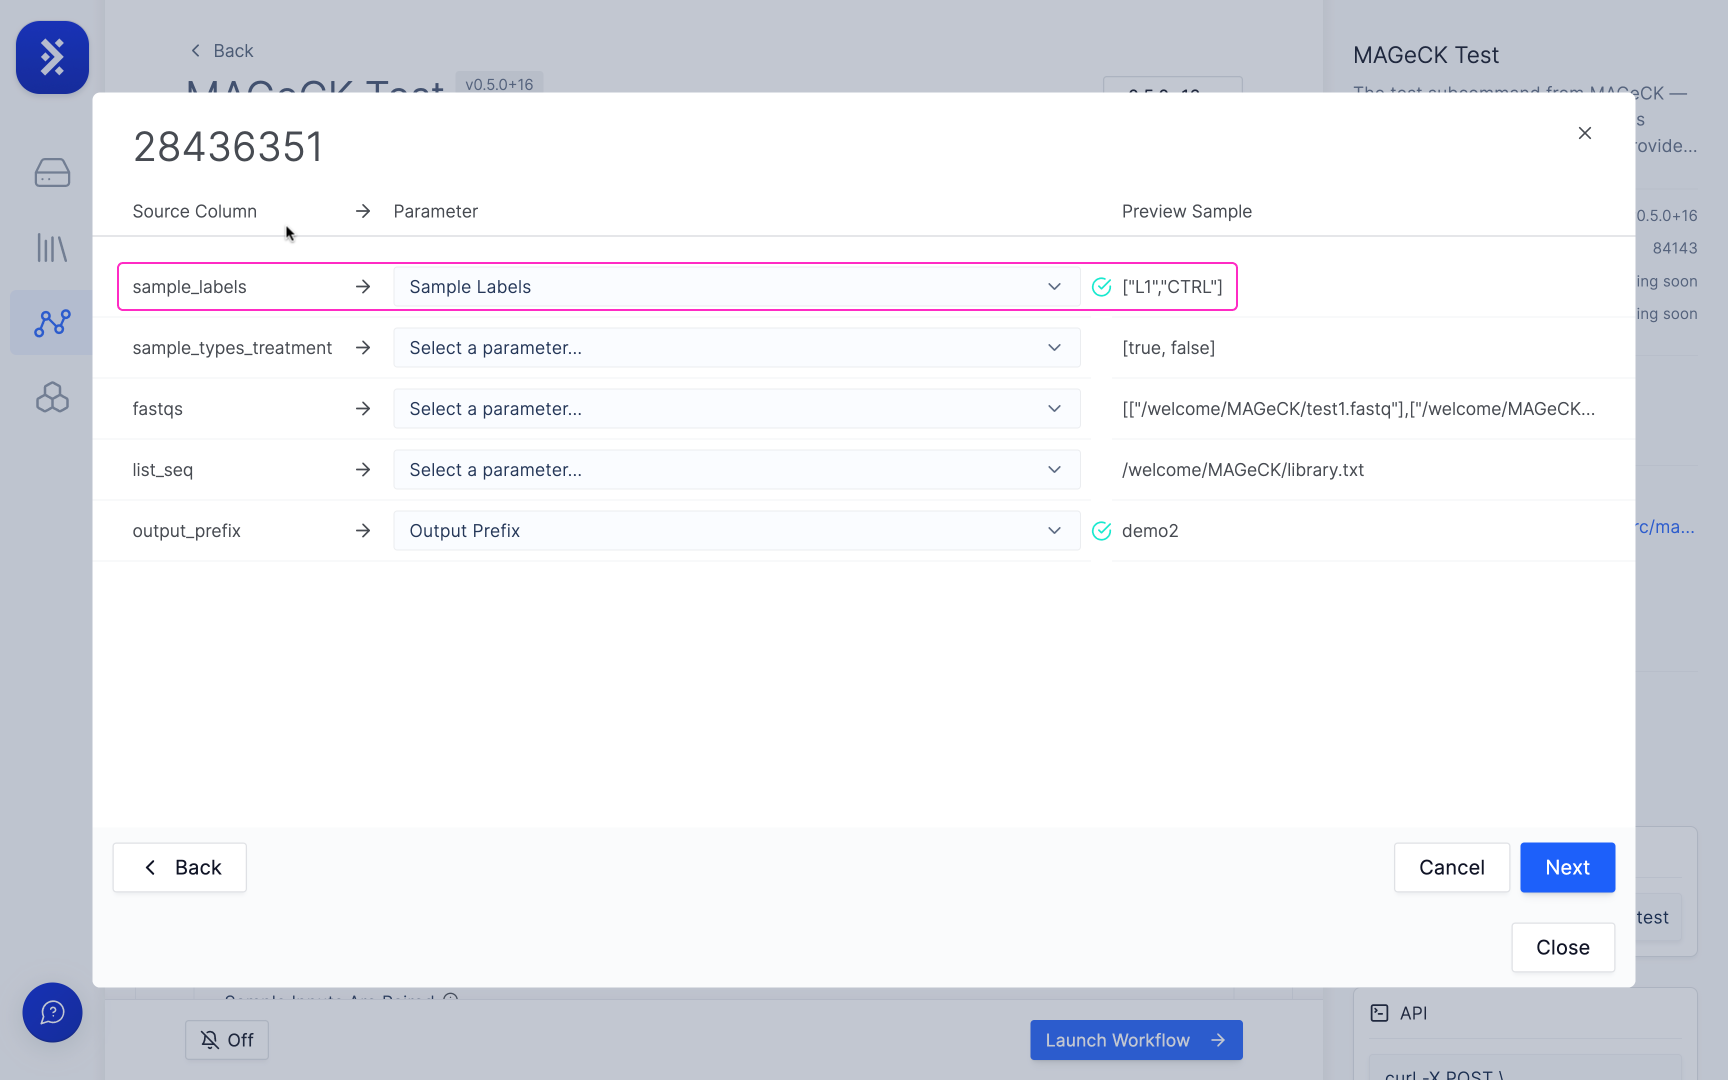


- A green check mark which means all of values in that column have passed the validation and are formatted correctly for that parameter.
- A red warning triangle which means that some of the data in the matched column is formatted incorrectly for that parameter.
4
You will then be able to review and edit all of the data before importing.
Any cells with errors will be marked with a red warning triangle which you can hover over to view details on the formatting error. You click into the cell to edit and fix any errors before importing.