This document is a work in progress and is subject to change.
Data Addition trigger type on Latch which will run a target workflow on all children of the target directory. We assume that you understand how to write and register Workflows on Latch.
Prerequisites:
- Target directory in Latch Data: this is the folder which is watched by the automation. The automation workflow will be triggered if a child is added to this folder.
- Automation Workflow: workflow which will be called by automation. This is the workflow we create in steps 3-5 of this tutorial.
- Target Workflow: workflow which will be ran by automation workflow on child of the target directory. This workflow should contain the logic on how to process the files in child directories. This is the workflow we create in step 1 of this tutorial.
- Registry Table: we use a Registry Table in this tutorial to record child directories which are processed by the target workflow to avoid reprocessing same directories in consequent runs of automation. We create this table in step 2 of this tutorial.
1: Create the Target Workflow
This example requires another target workflow which will get executes on every child folder when automation workflow gets triggered. Below is a simple workflow example which reads every file in a child directory and prints out its Latch Path.- Initialize a new workflow using
latch init test-workflow. - Replace
__init__.pyandtask.pywith the following sample code. - Register the sample target workflow with Latch using
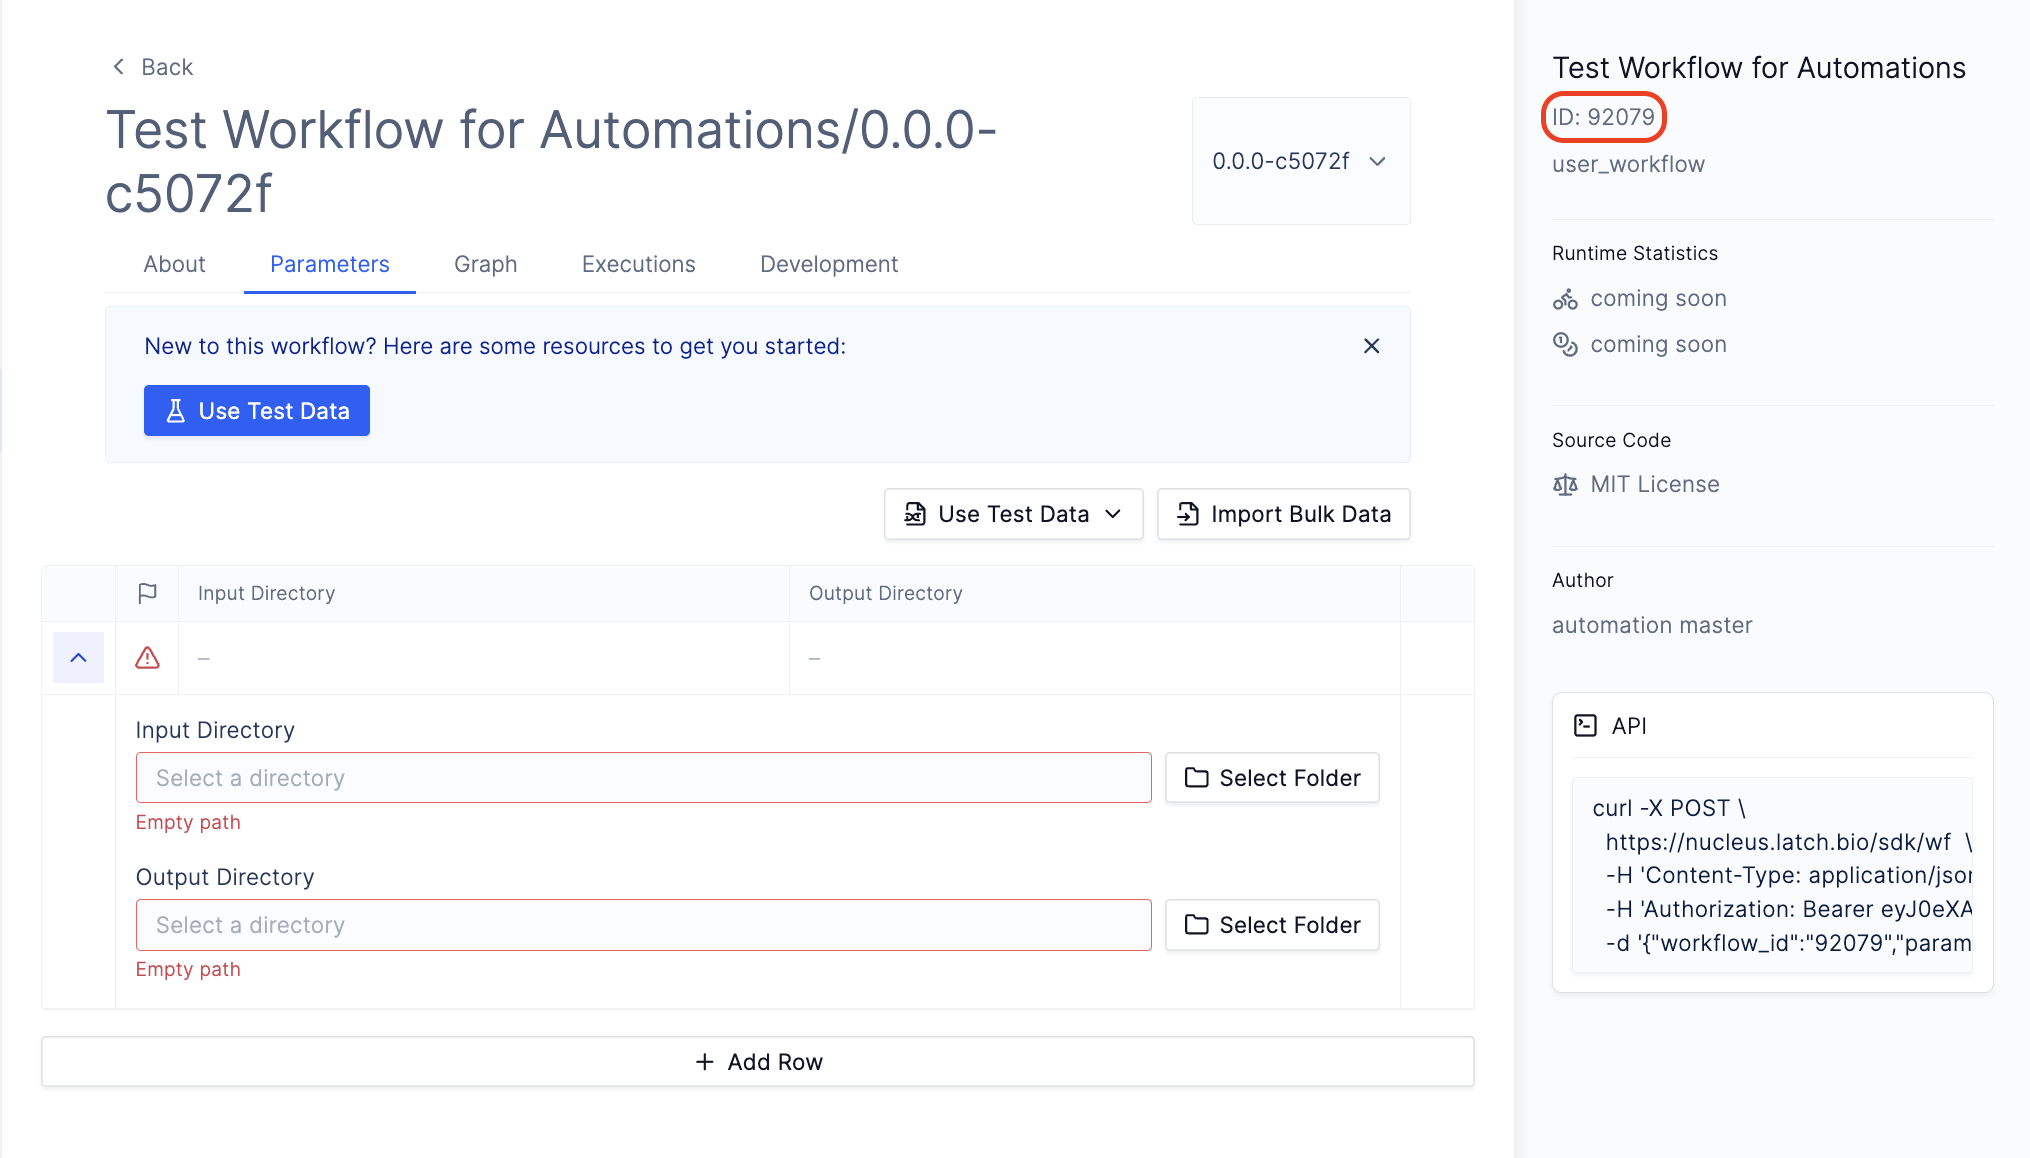
latch register --remote --yes test-workflow. - Record the ID of your workflow on the sidebar which we will use later in the example.
- Test the workflow by running it on Latch
- You will need to pass the parameters into your target workflow from your automation. To obtain the JSON representation of the workflow inputs, navigate to a previous execution of your workflow. Select Graph and Logs, click on square box around the first task, and select Inputs. Copy the workflow parameters inside the
literalobject, and pass it toparams.
i.e.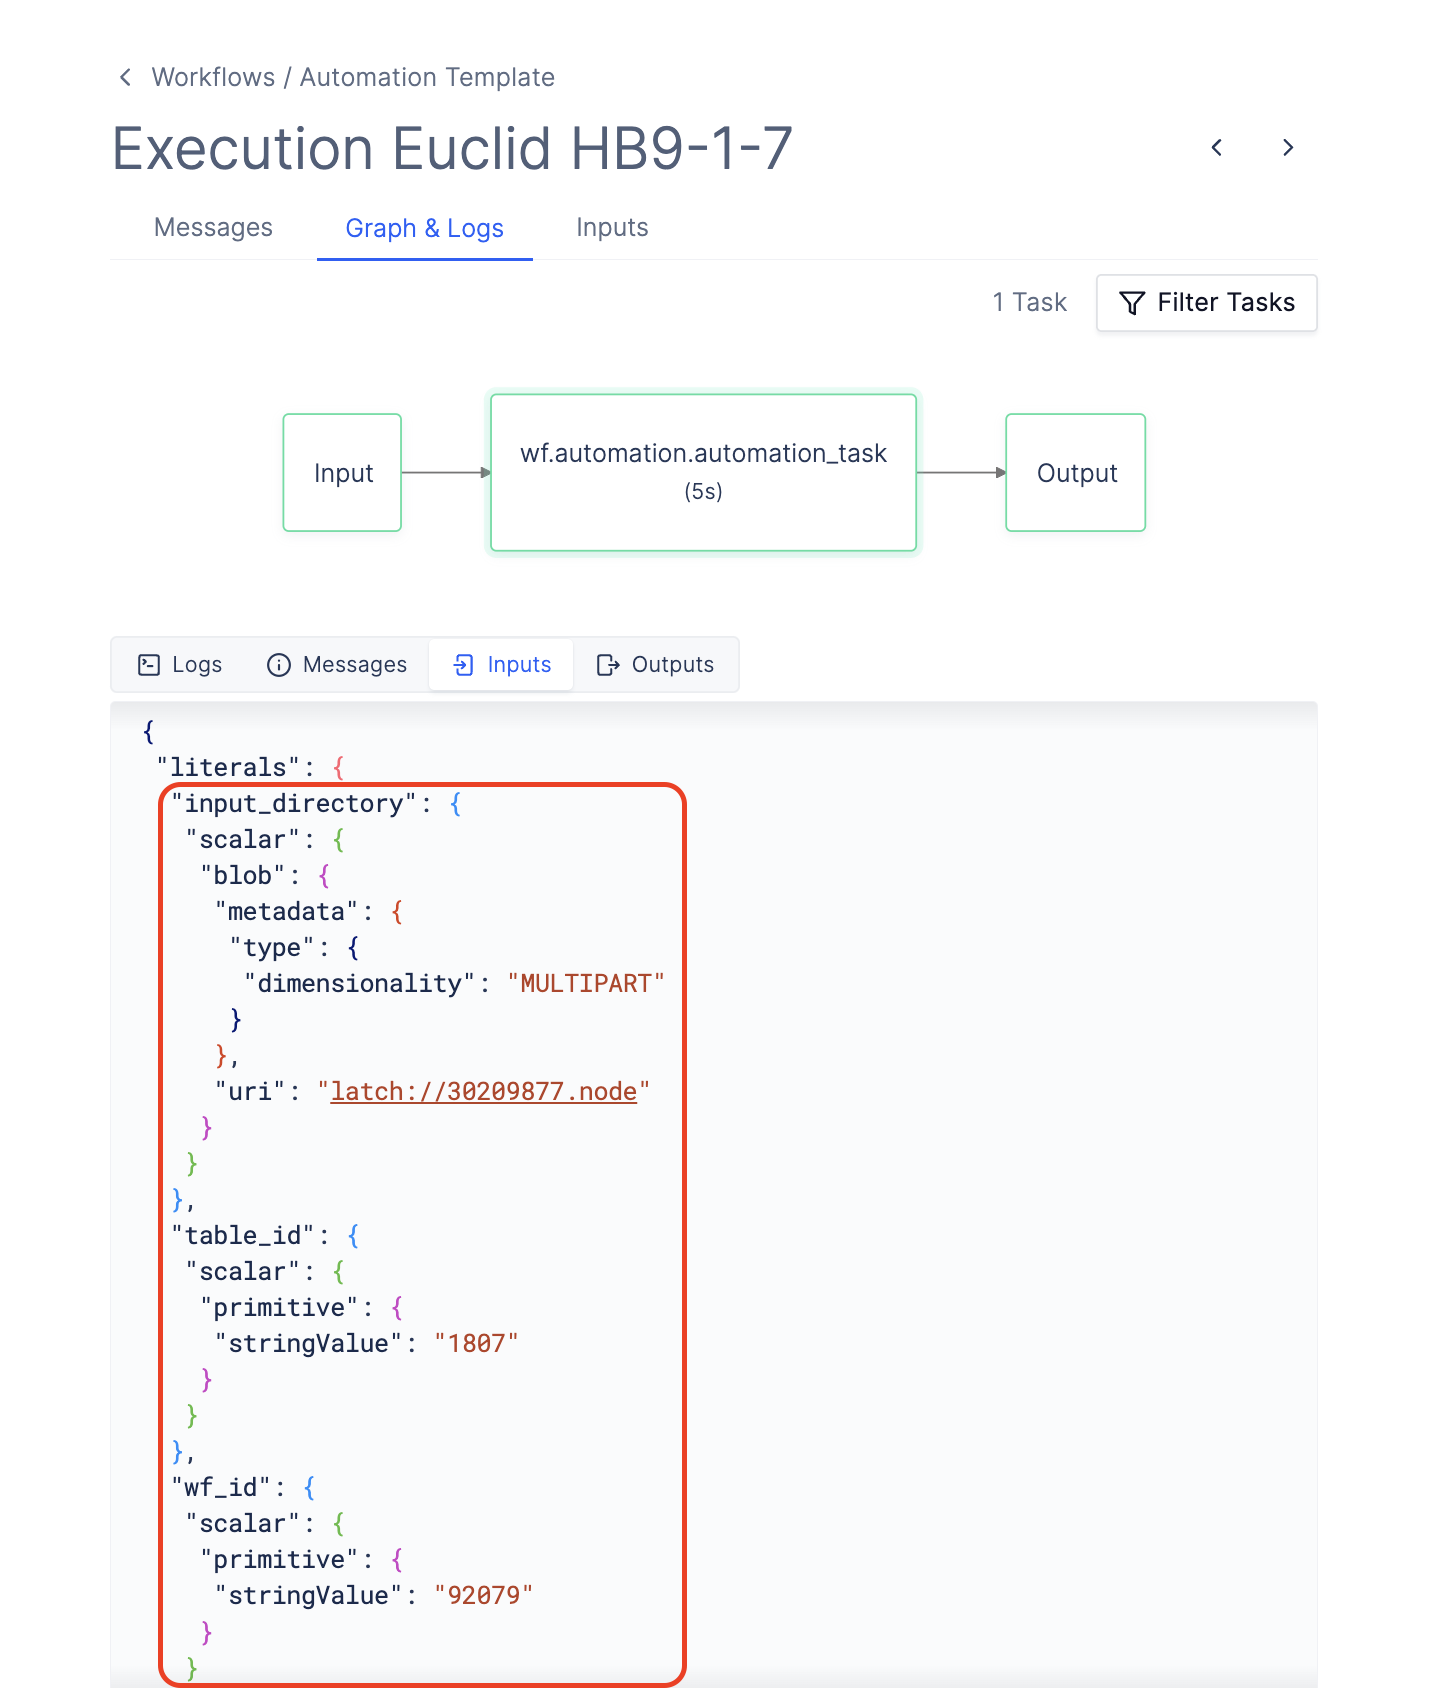
2: Create a New Registry Table
In this example, we record all processed child directories in the Registry Table to not reprocess directories when automation workflow is runs again. This example requires you to create a new table with no existing columns. The automation workflow will add a columnProcessed Directory with the directory name of processed children.
For many common use cases, Registry serves as the location to track workflow inputs and outputs, and hence we include an example of it here. However, having a registry table is not required, if you don’t want to use Registry as a mean to track your inputs and outputs.
To create a new table to be used with the automation:
- Go to Latch Registry.
- Select an existing project, and click
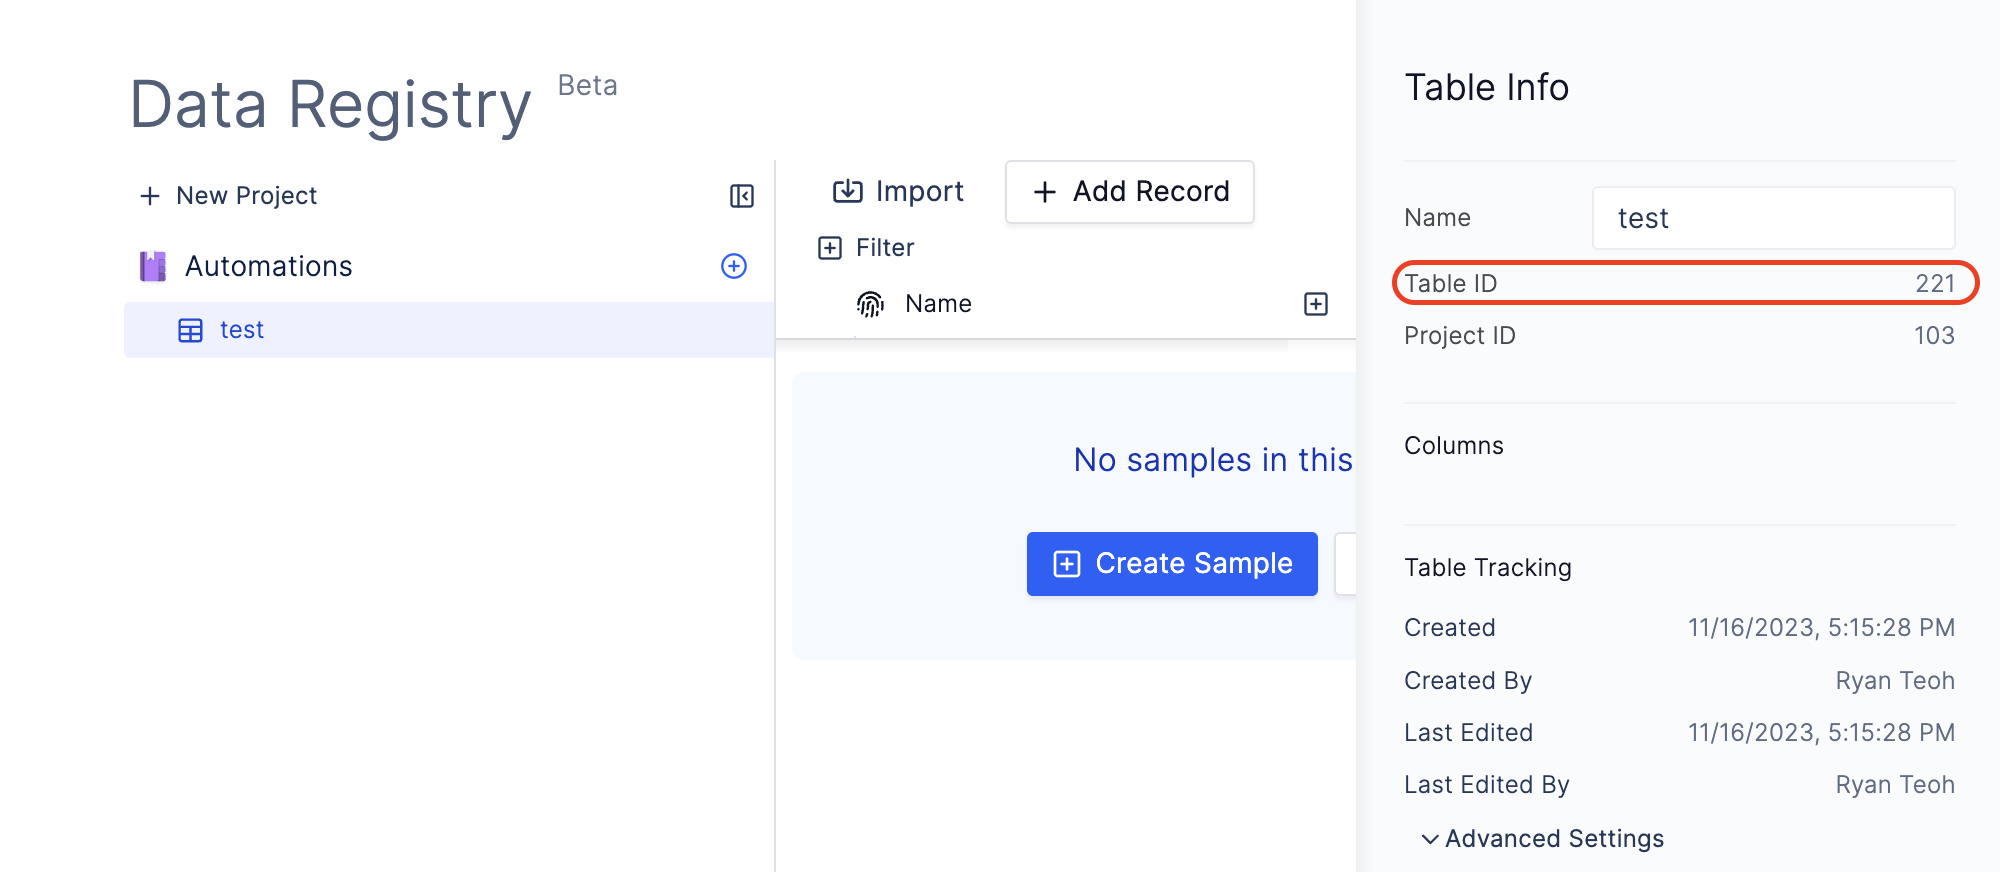
New Table. - Record the Table ID on the sidebar which we will use later in the example.
3: Create the Automation Workflow
This is the workflow which will be run when automation gets triggered. To create the automation workflow, clone the Automation Workflow Template and navigate to theautomation-wf/wf directory.
__init__.pycalls the automation task defined inautomation.py.automation.pycontains the Python logic to determine how a workflow should be launched.util.pycontains the utility function which launches target workflow.
4. Configure the Target Workflow
To specify the target workflow and the registry table which you have just created, configure the following parameters inwf/__init__.py and specify your name in workflow metadata:
output_directory: The Latch Path to the output folder which this automation workflow will populate. i.e.latch://...target_wf_id: The ID of the target workflow that you have just created.params: The parameters for your workflow. Refer to Create The Target Workflow to get the parameters.table_id: The ID of the table which you created that stores metadata for this automation. Refer to Create A New Registry Table to create a table and get the ID.
Important: Currently, automations are only passinginput_directoryas the parameter to the automation workflow. If your workflow has different parameters automation will fail to start it.
In case you need more parameters to pass to your automation workflow, we suggest to hard-code them into the workflow while we are working on adding parameter support for automations.
automation.py from step 1.6 if your target workflow takes different parameters than input_directory and output_directory:
- The
input_directoryrefers to the child directory (i.e. the trigger directory) to be passed to the target workflow. - The
output_directoryrefers to directory where the output of the target workflow will be stored.
5. (Optional) Modify Automation Logic
The filewf/automation.py contains the logic that determines how an execution for the target workflow should be launched.
The automation_task defines the logic that is used to launch the workflow. The code below checks a registry table to see whether an output directory exists, and launches an execution for the target workflow if that is not the case.
Modify the function below to change the logic for launching target workflows.
5. Register Automation Workflow
Register the automation workflow to your Latch workspace.6. Create Automation
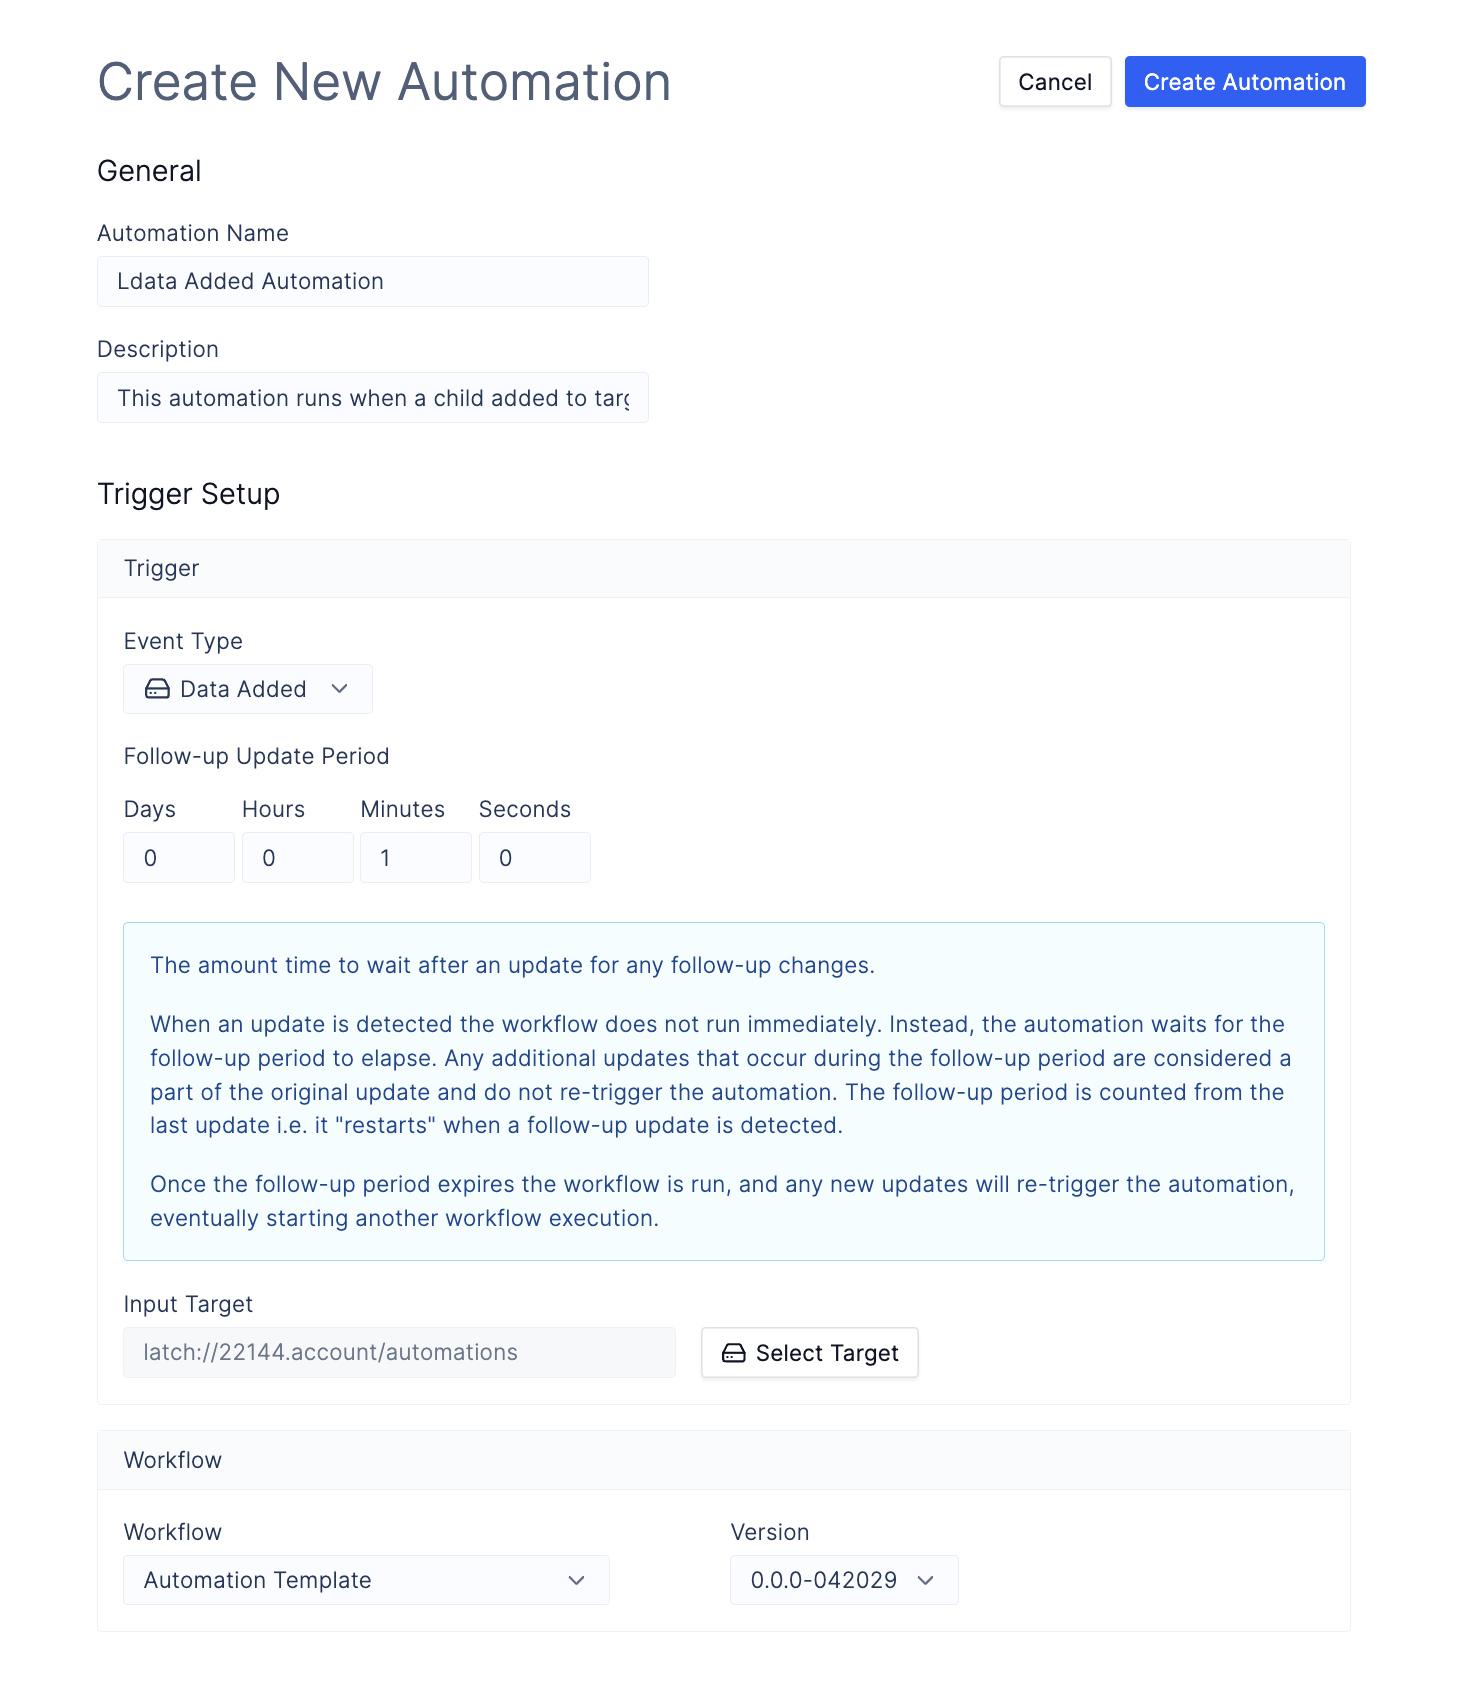
Navigate to Automations tab via Worfklows > Automations and click on the Create Automation button.- Input an Automation Name and Description.
-
Select the
Event TypeasData Added. -
Specify
Follow-up Update Periodto something short like 30 seconds to make your automation easy to test. -
Select a folder where files/folders will be uploaded using the
Select Targetbutton. Any items uploaded to this folder will trigger the automation workflow. - Select the automation workflow that you have just registered with Latch.