Prerequisites
- Register for an account and log into the Latch Console
- Install a compatible version of Python. The Latch SDK is currently only supported for Python
>=3.8and<=3.11 - Install the Latch SDK with Snakemake support. We recommend installing Latch SDK in a fresh environment for best behavior:
- Verify the Latch SDK version >= 2.38.8
Step 1: Ensure your Snakefile is Cloud Compatible
Update your workflow’sSnakefile to ensure compatibility with cloud execution on Latch.
Step 2: Define Metadata and Input Parameters
To construct a graphical interface from a Snakemake workflow, the input parameters need to be explicitly identified and defined so that they can be presented to scientists through a web application. The Latch SDK expects these parameters to be defined as a PythonSnakemakeMetadata object. Fortunately, the Latch SDK provides a command to automatically generate this object from an existing config file. Run the following command in the root directory of your project:
SnakemakeMetadata object, and the second file contains the input parameter definitions. Be sure to inspect the resulting files to verify that the input parameters are as expected.
Below is an explanation of the most relevant fields of the SnakemakeMetadata object:
display_name
Display the name of the workflow, as it will appear on the Latch UI.output_dir
Points to the folder in Latch Data where Snakemake outputs are stored after the workflow finishes executing.parameters
Input parameters to the workflow, defined asSnakemakeParameter objects. The Latch Console will expose these parameters to scientists before they execute the workflow. The type and default fields for each parameter are inferred from the config file when the generate-metadata command is run.
file_metadata
Every input parameter of type LatchFile or LatchDir must have a correspondingSnakemakeFileMetadata in the file_metadata field. LatchFile and LatchDir are pointers to remote files that are hosted on the Latch platform. The SnakemakeFileMetadata object provides required metadata about each remote file, such as:
path: The local path inside the container where the workflow engine will copy Latch Data files/directories before the job executesconfig: IfTrue, exposes the local file path in the Snakemake configdownload: IfTrue, downloads the file in the JIT step instead of creating an empty file. Note: To limit network consumption, thedownloadfield should only beTruefor files that the Snakefile reads at compilation time (such as configuration files).
Step 3: Define Container Environment
When registering a Snakemake workflow on Latch, we need to build a single container image containing all your runtime dependencies and the Latch packages. By default, all tasks (including the JIT step) will run inside this container. The Latch SDK provides a command to generate a Dockerfile with all the Latch-specific dependencies required to run Snakemake workflows in the cloud. This command also attempts to infer and install the workflow’s runtime dependencies based on the configuration files in your root directory. Read here for more details. Run the following command in the root directory of your project:Dockerfile and verify that it installs all required runtime dependencies for your workflow.
Per-Task Environments
Sometimes, it is preferable to use isolated environments for each Snakemake rule using thecontainer and conda Snakemake directives instead of building one large image.
When using the container directive, the Latch workflow will:
- Launch the workflow container.
- Execute Latch-specific commands to setup the Snakemake job.
- Pull the user-specified image and execute the Snakemake job in a sub-container of the workflow container.
env_config field to your workflow’s SnakemakeMetadata object in latch_metadata/__init__.py (this field is similar to the --use-conda and --use-singularity flags in Snakemake). For example:
Step 4: Register the Workflow
To register a Snakemake workflow to Latch, type:latch register command. This will take you to an interface like the one below:
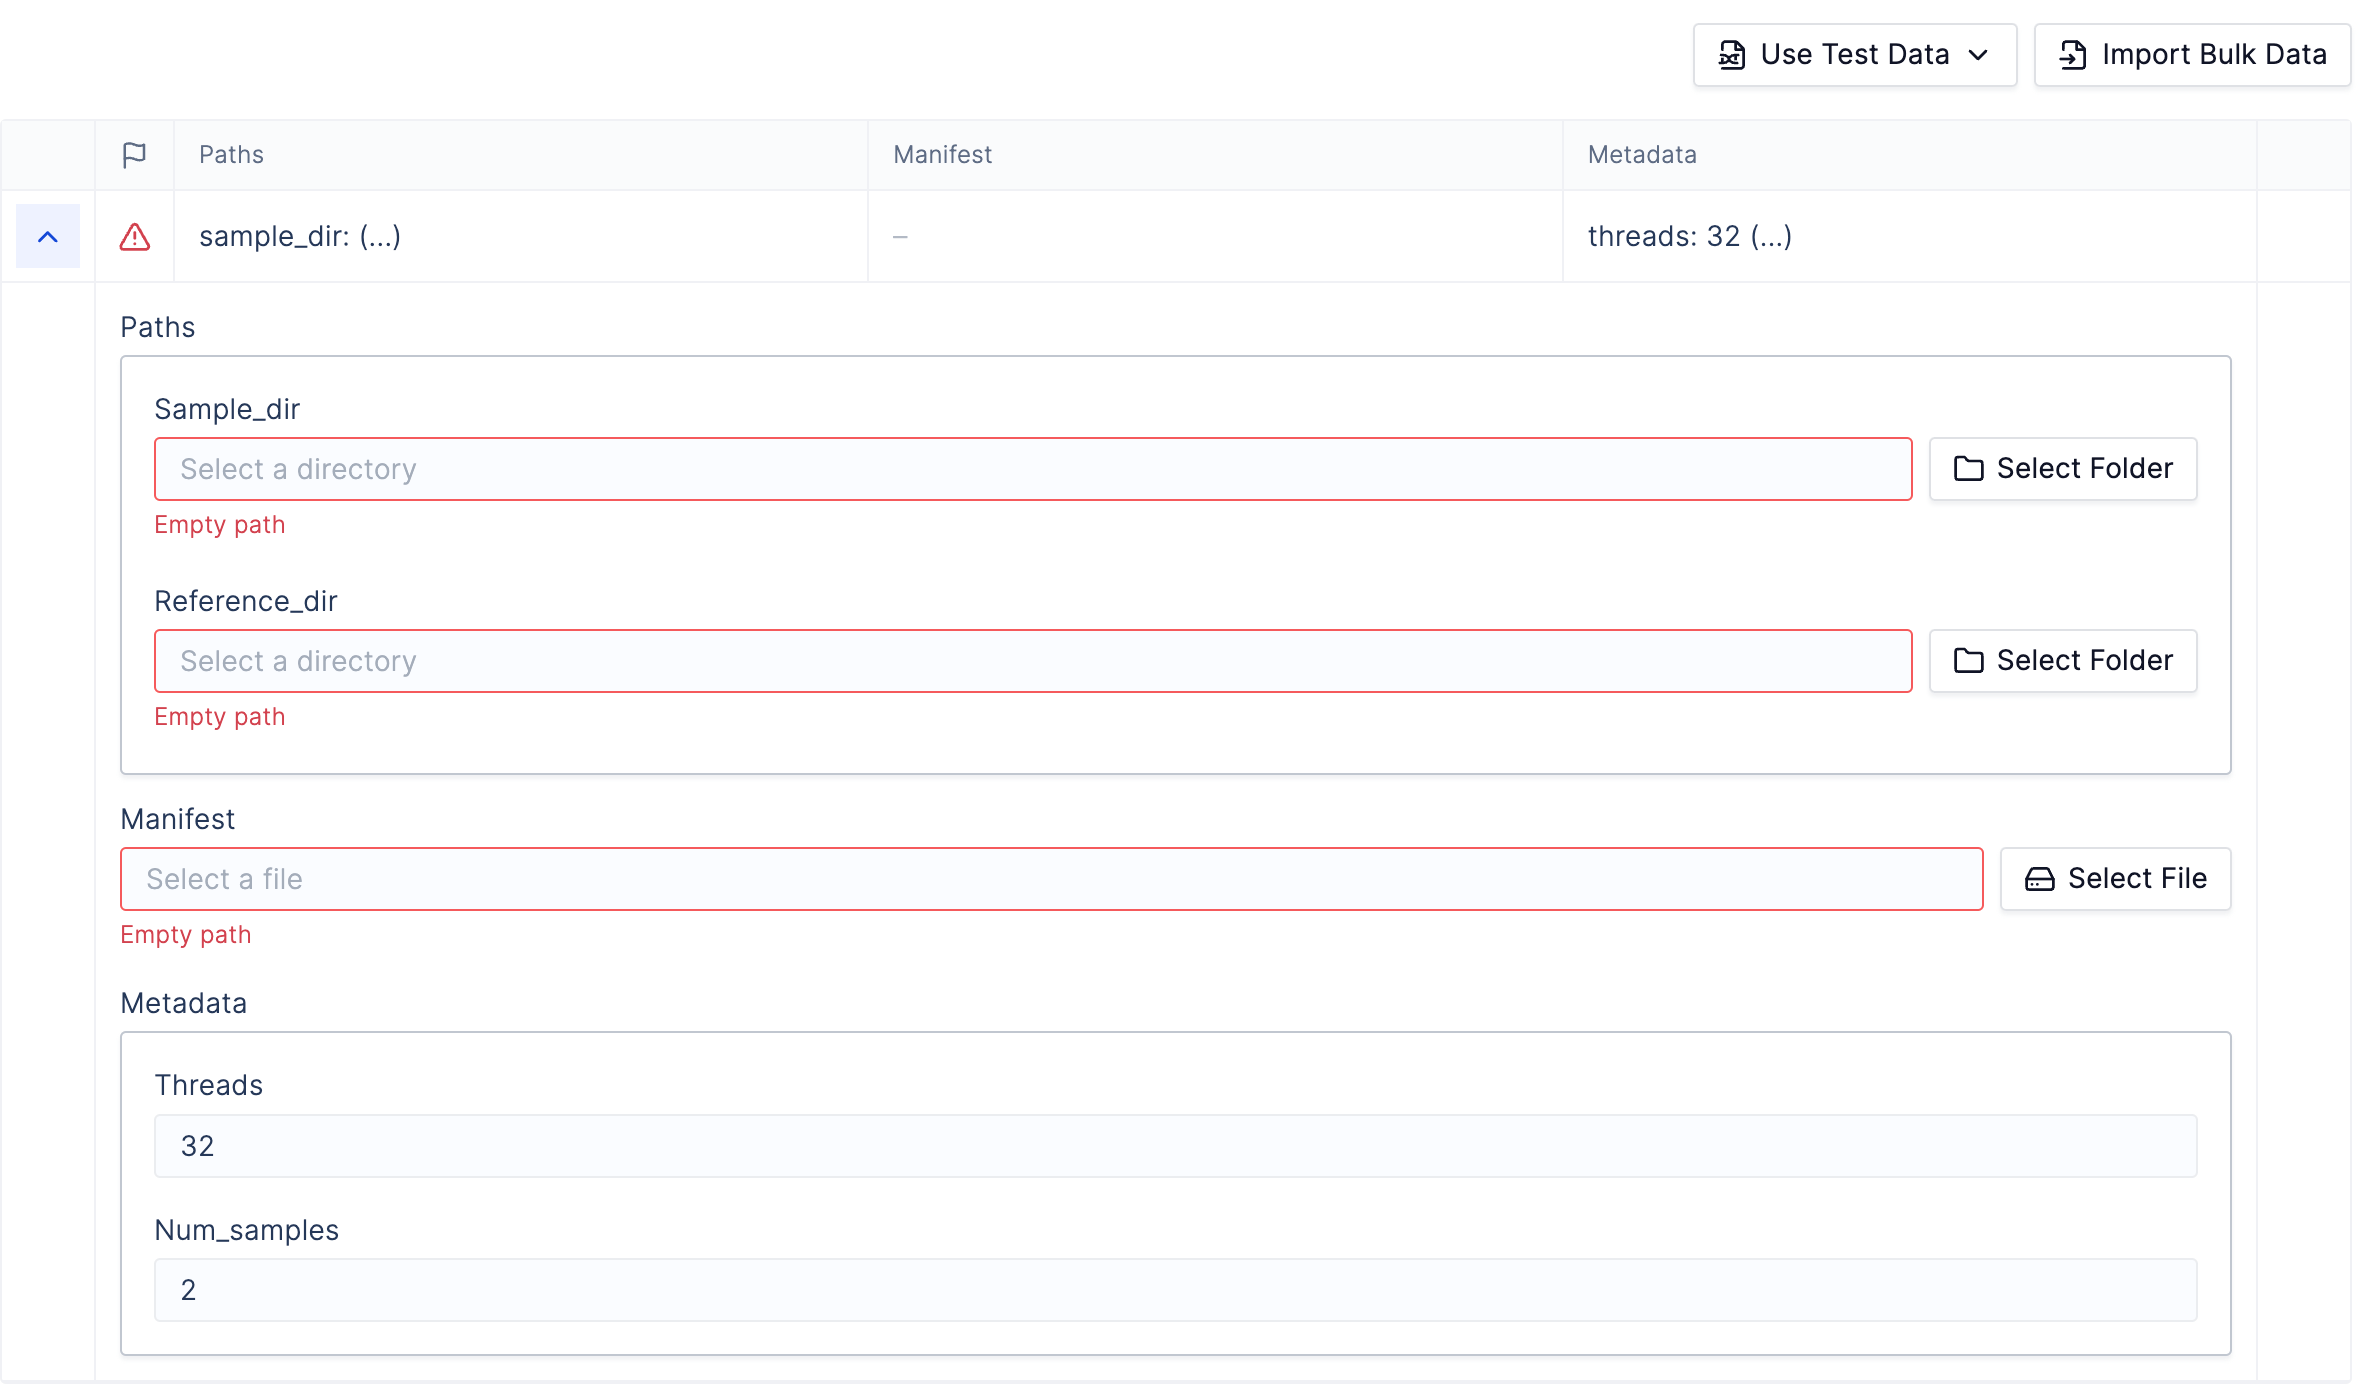
Launch Workflow in the bottom right.
Next Steps
- See the Advanced Configuration section to learn about more advanced workflow settings.
- See the Troubleshooting guide for debugging common workflow issues.