Click on the 'Authorize Project Access' button and go through the authentication flow with Google.
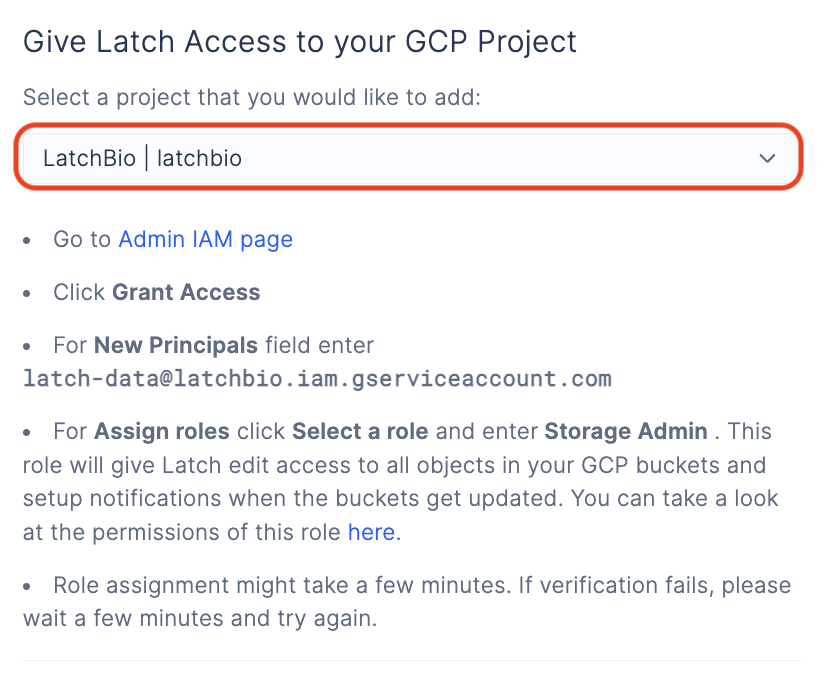
You will need to authorize Latch to list the buckets in your project and give 'Storage Admin' permission to the bucket that you want to mount.
storage.buckets.listpermission on the project level.Storage Adminon the bucket level.
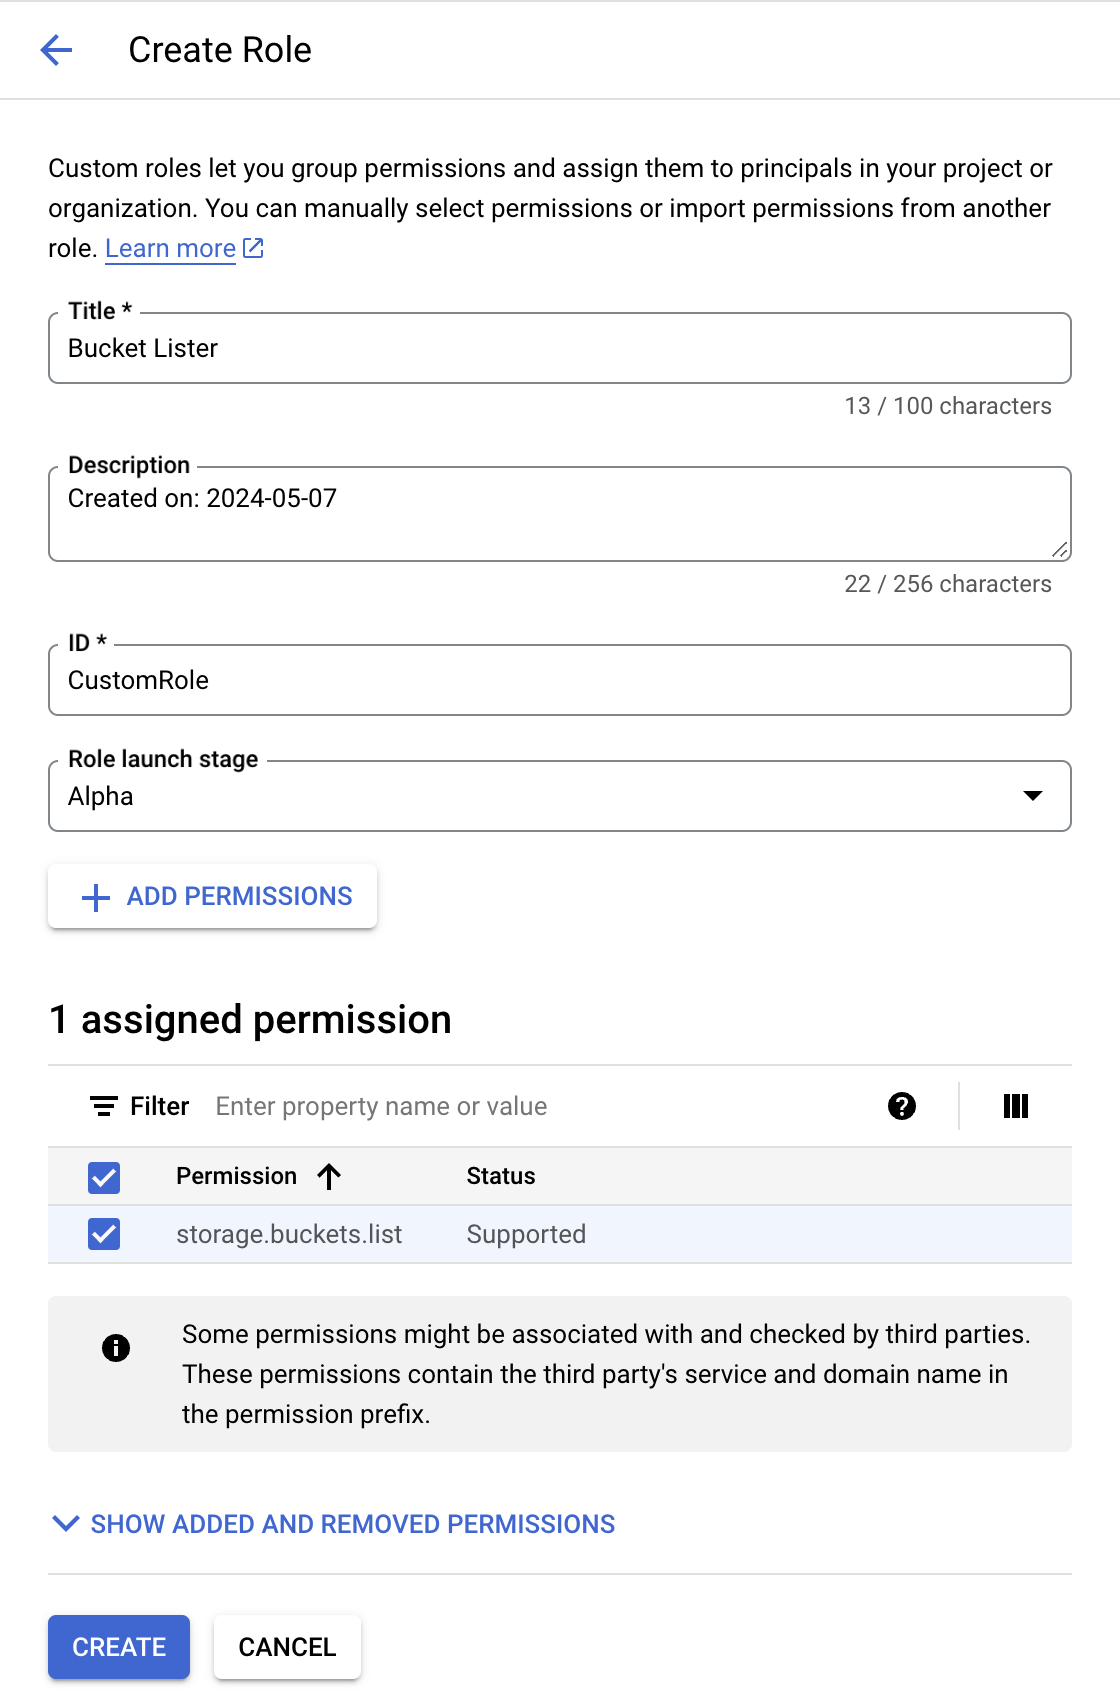
To give Latch 'storage.buckets.list' permission, go to the 'Create Custom Role' page in your project.
- Give the role name
Bucket Lister. - Click on Add Permissions and enter
storage.buckets.list. This will permit Latch to list buckets in your project which is required when mounting your bucket. After you have mounted the bucket, you can remove this permission. - Click on Create.
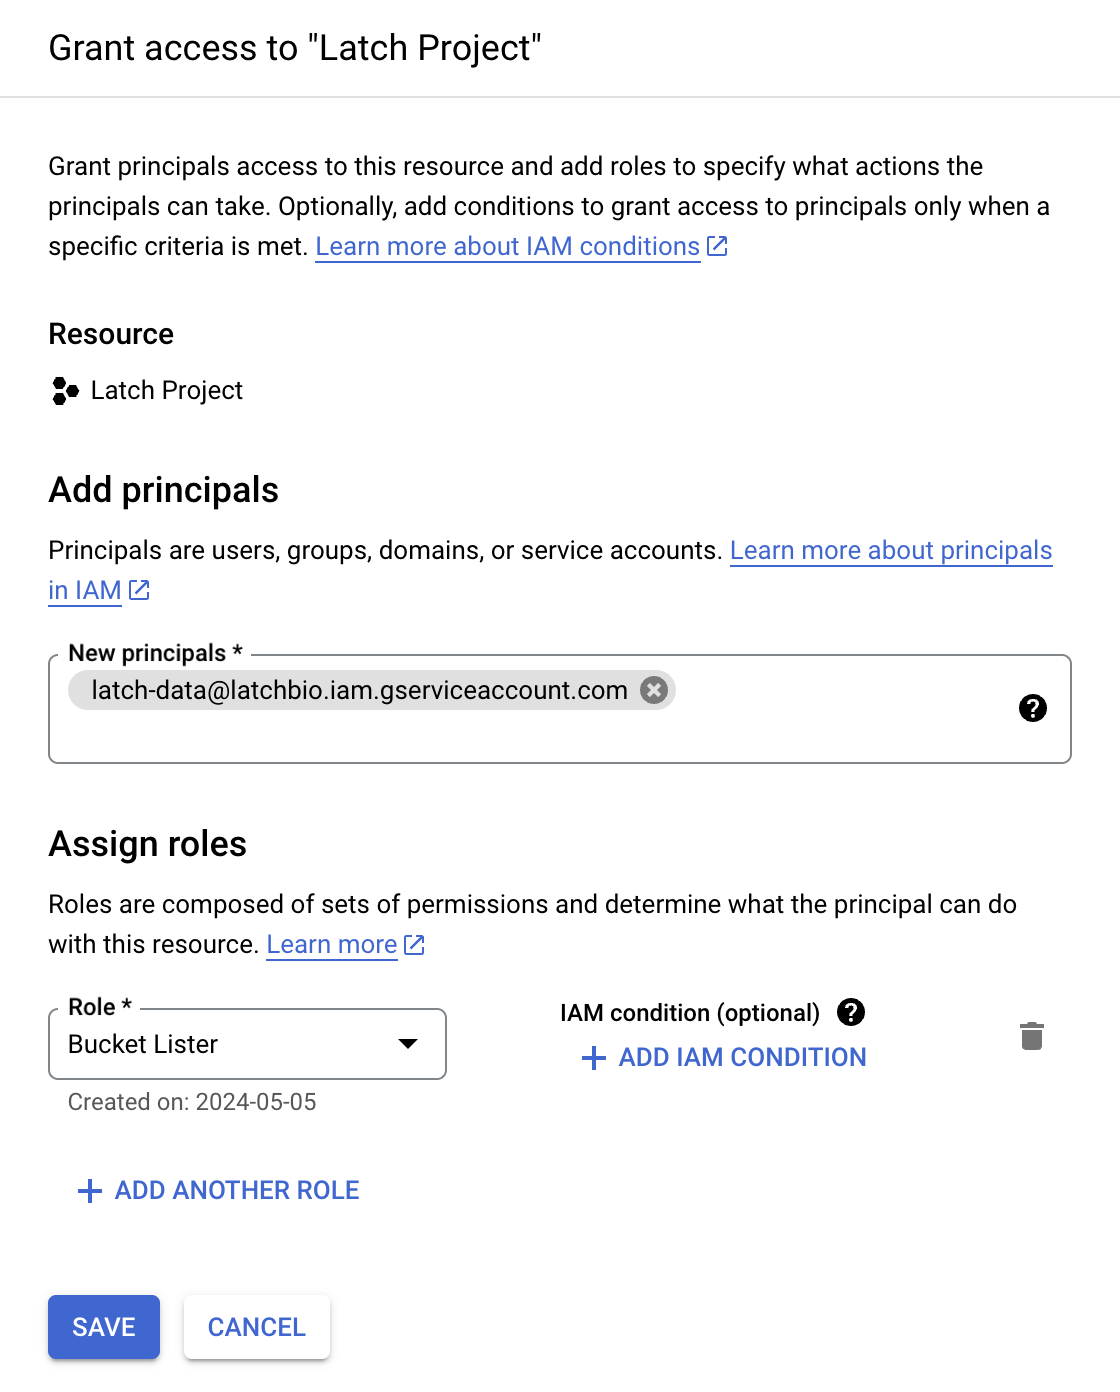
Go to the 'IAM & Admin' page in your project.
Click on 'Add' and enter the email address 'latch-data@latchbio.iam.gserviceaccount.com' and select the role 'Bucket Lister' that you created.

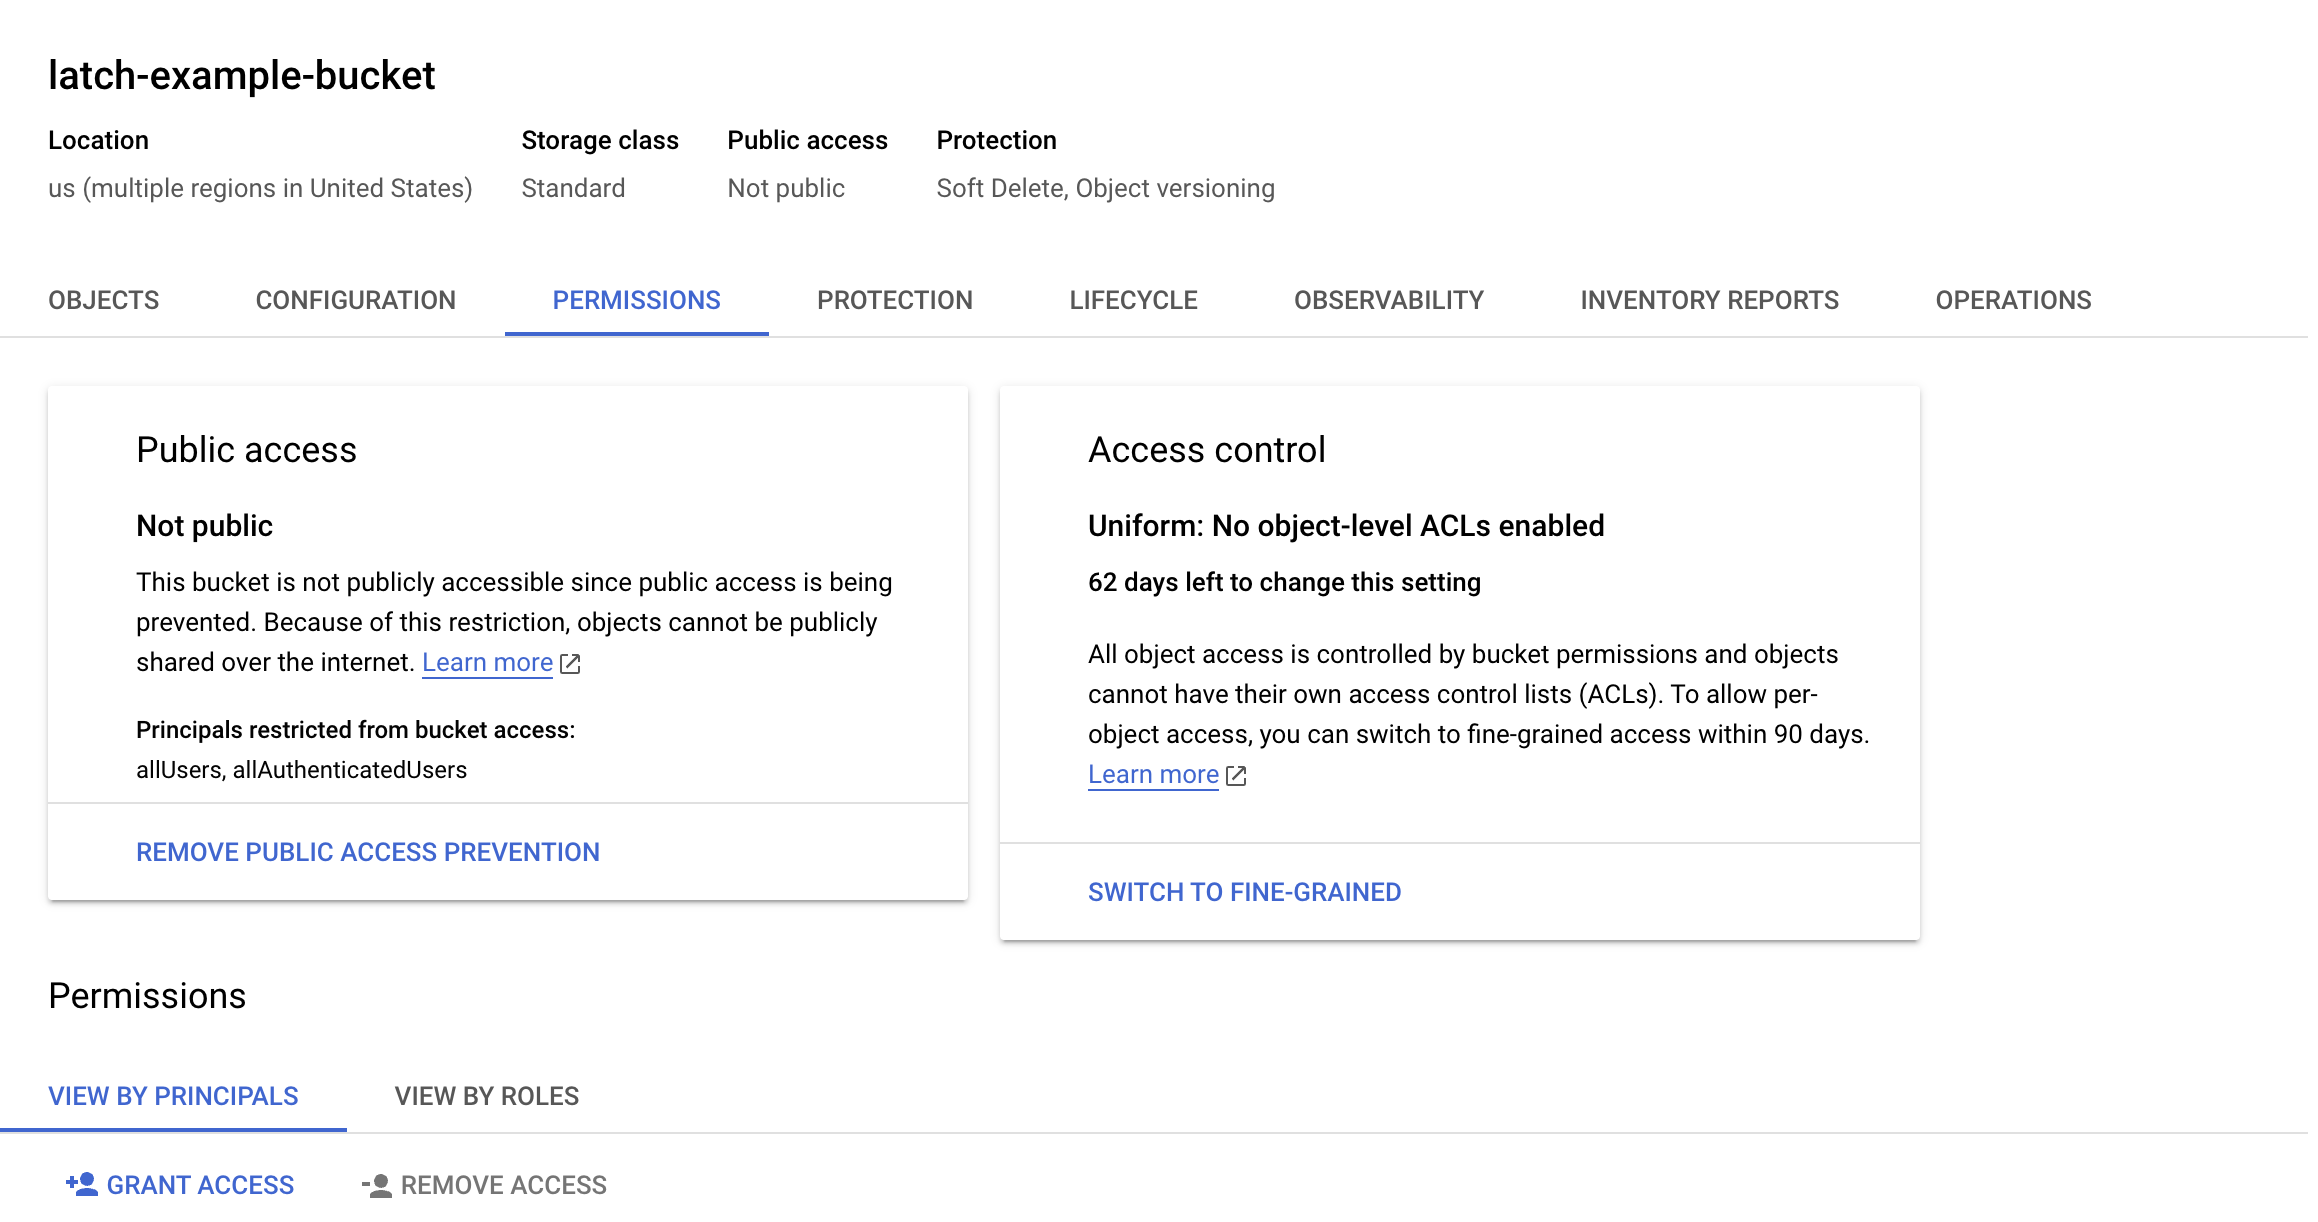
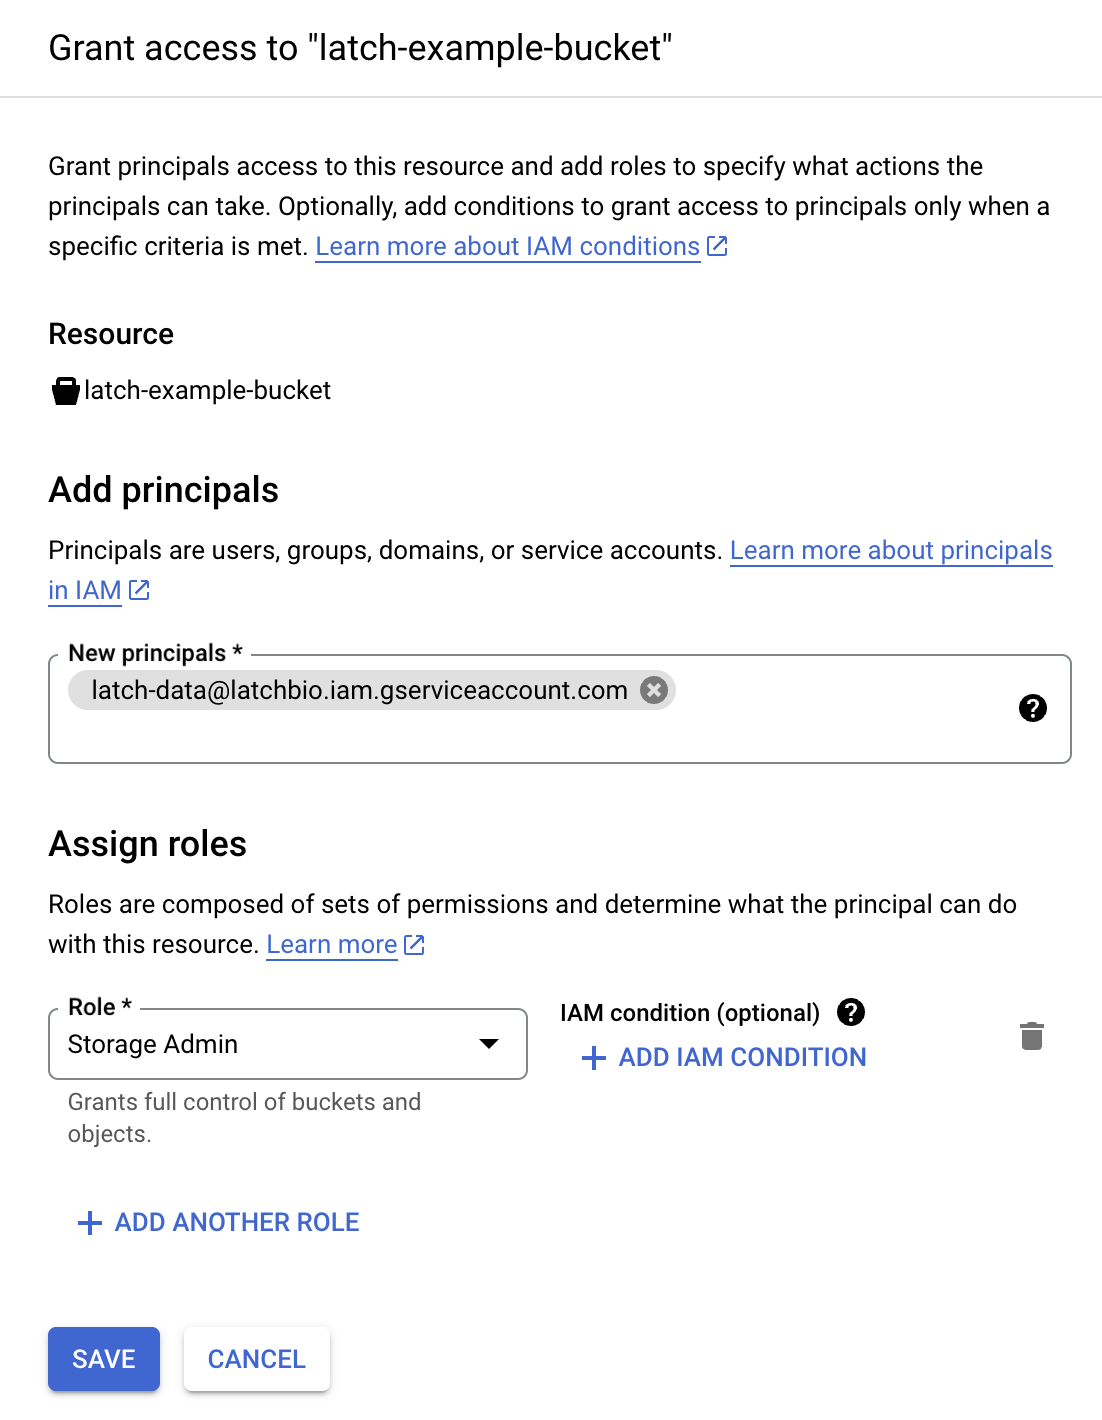
To give Latch 'Storage Admin' permission on the bucket level, you need to go to the 'Storage Browser' page in your project.
- Click on the bucket that you want to mount.
- Click on Permissions and
Grant Access. - Enter the email address
latch-data@latchbio.iam.gserviceaccount.comand select the roleStorage Admin. - Click on Save.
Click on 'Verify' on Latch Console to verify that Latch has the required permissions in your project.

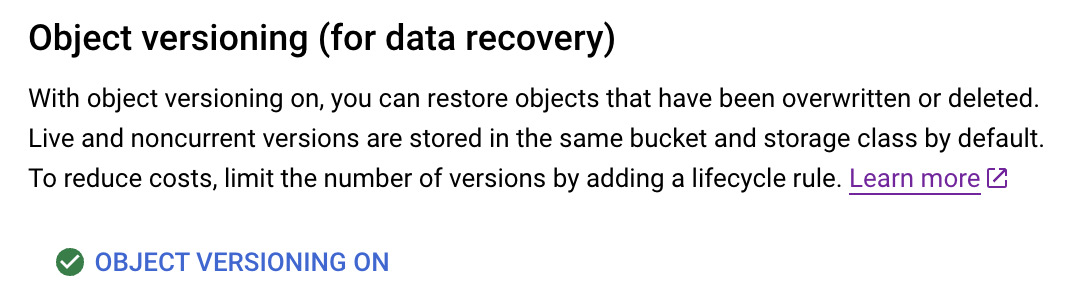
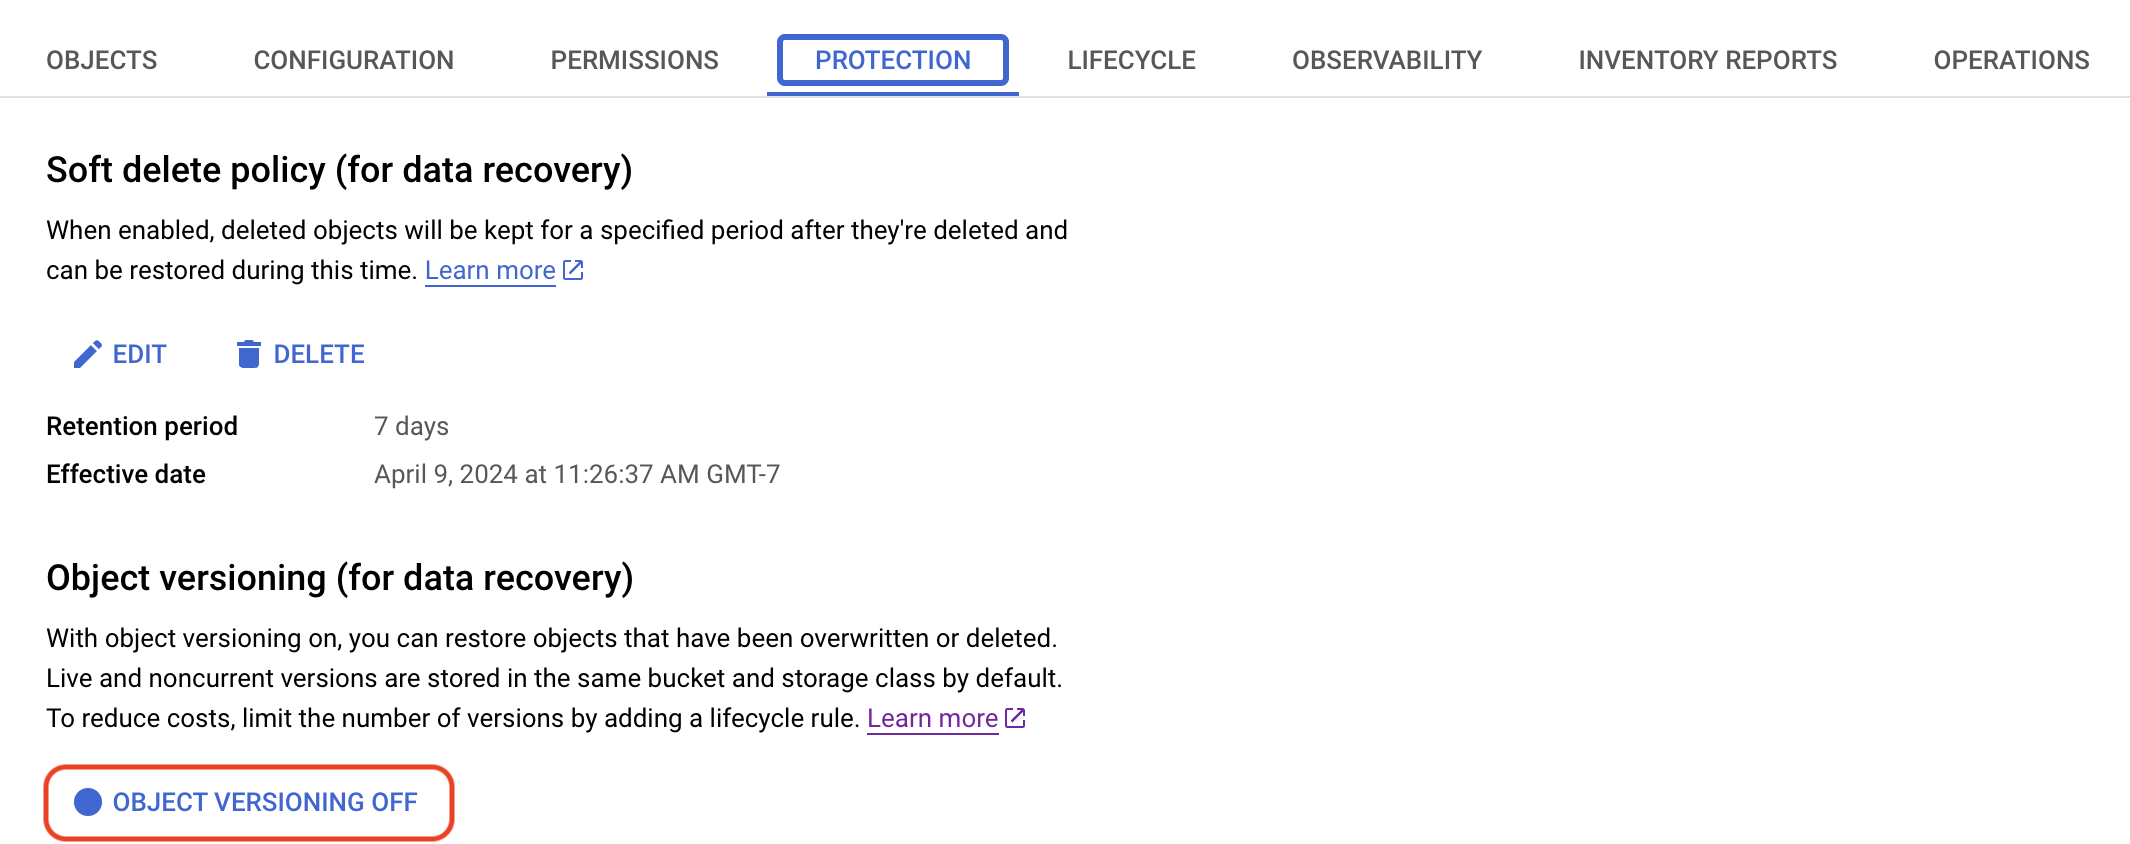
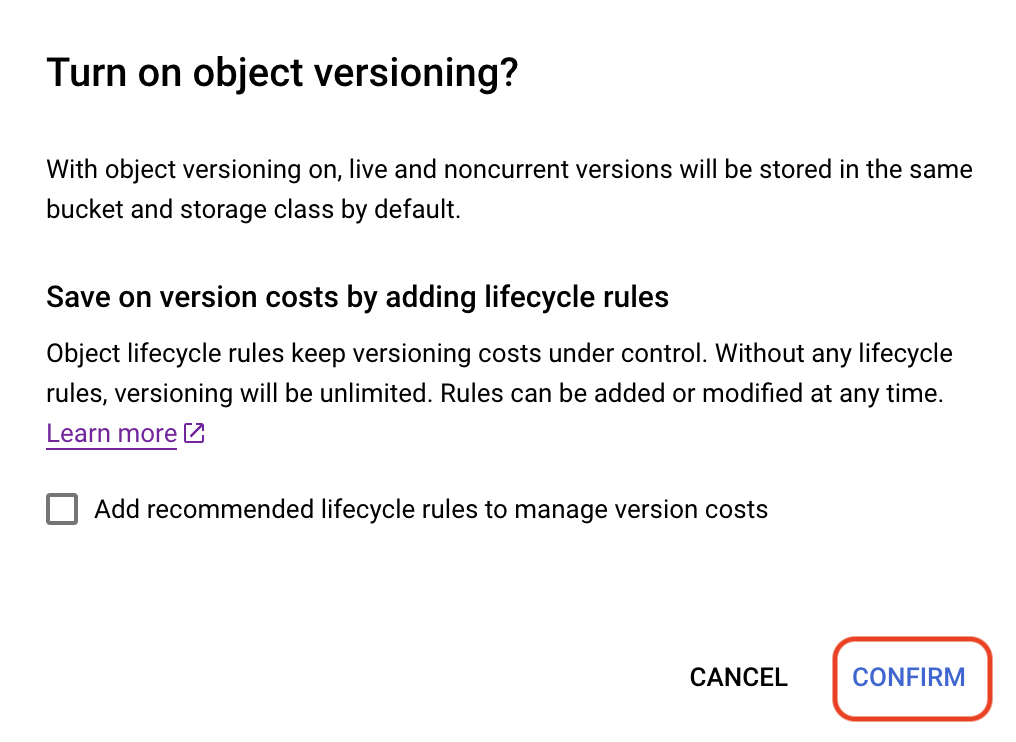
You need to enable versioning for your bucket before you can mount it.
- Go to the Storage Browser page in your project.
- Click on the bucket that you want to mount.
- Click on Protection and enable versioning.

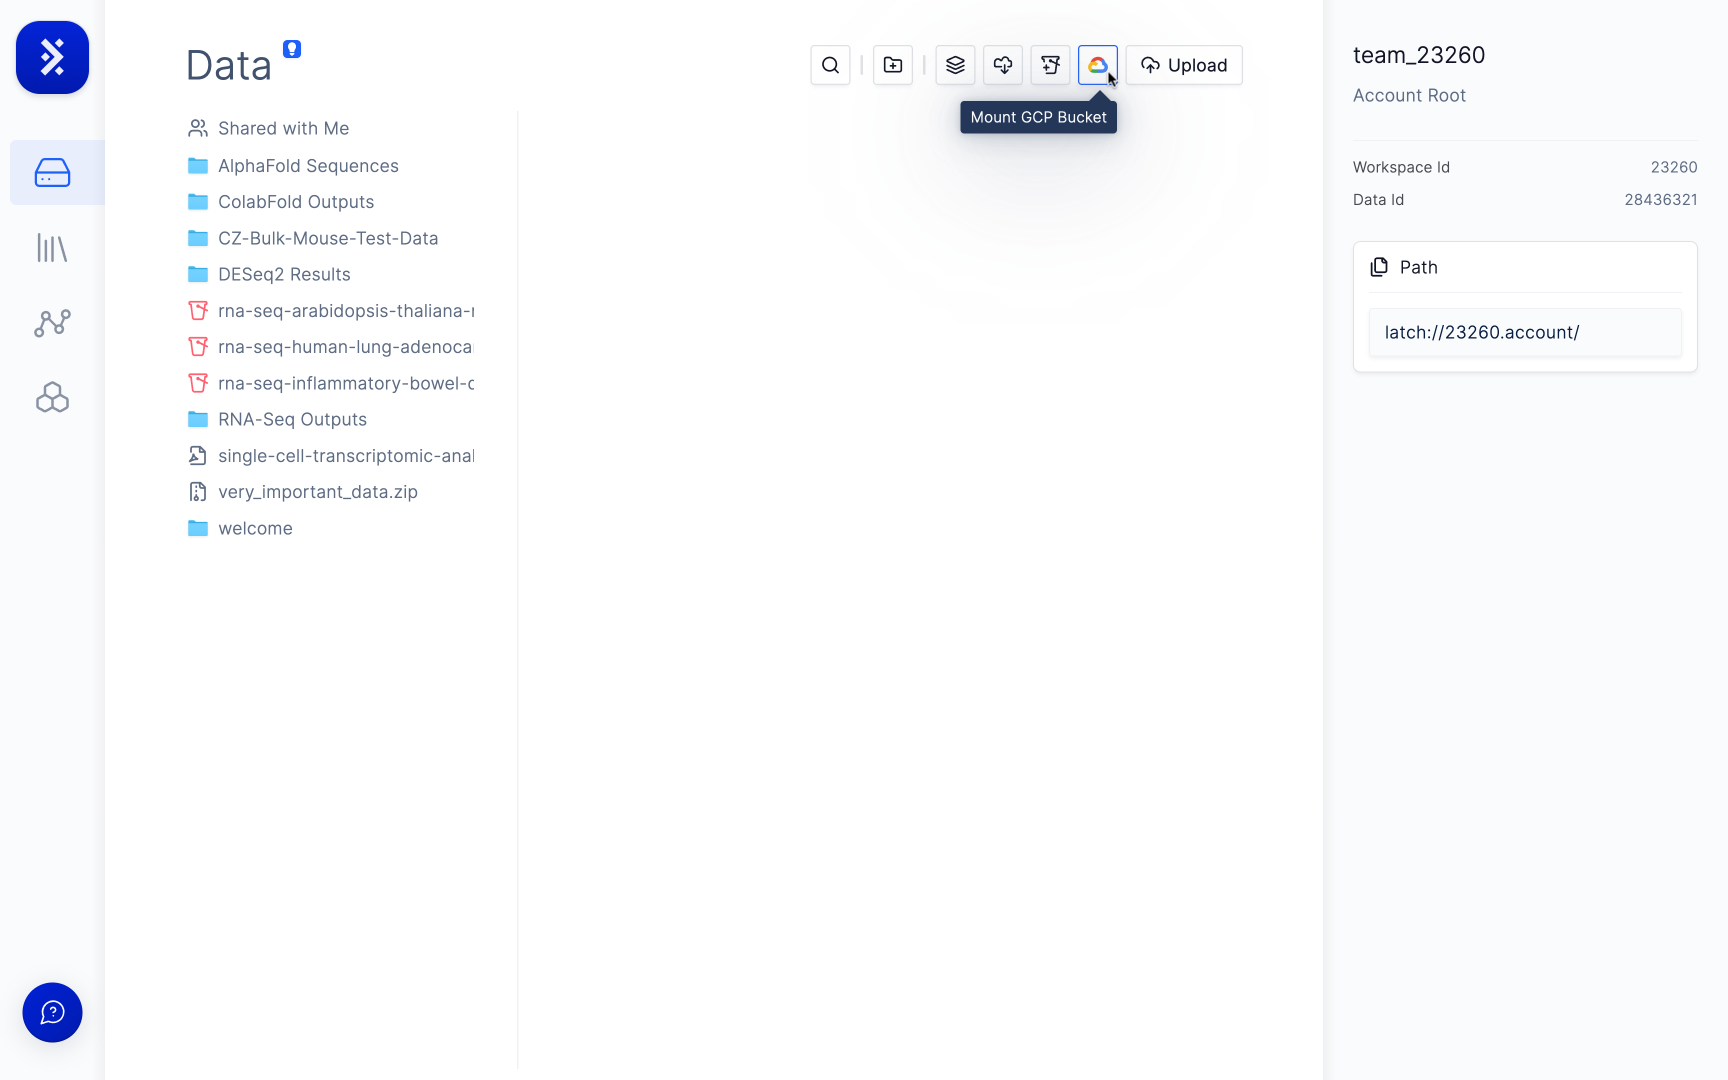
Removing a Mounted Bucket
Simply hover over the bucket in the data viewer, click the ellipsis and select Remove.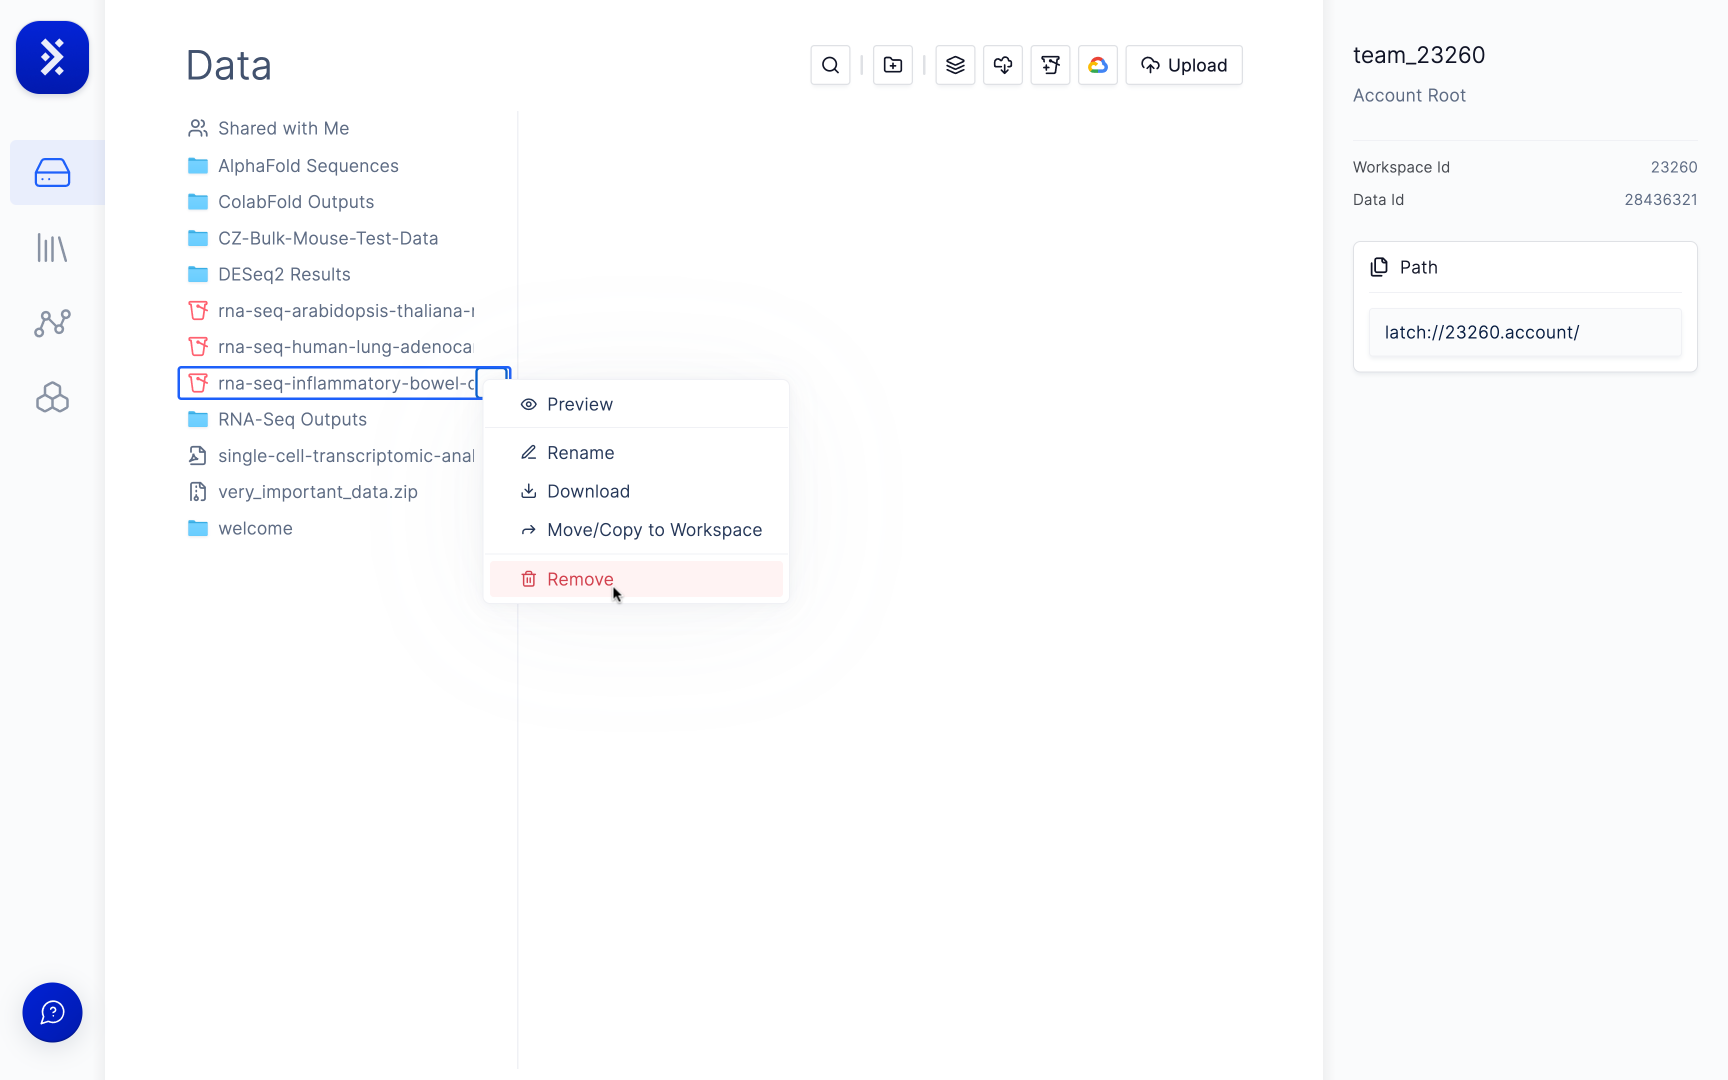
Troubleshooting
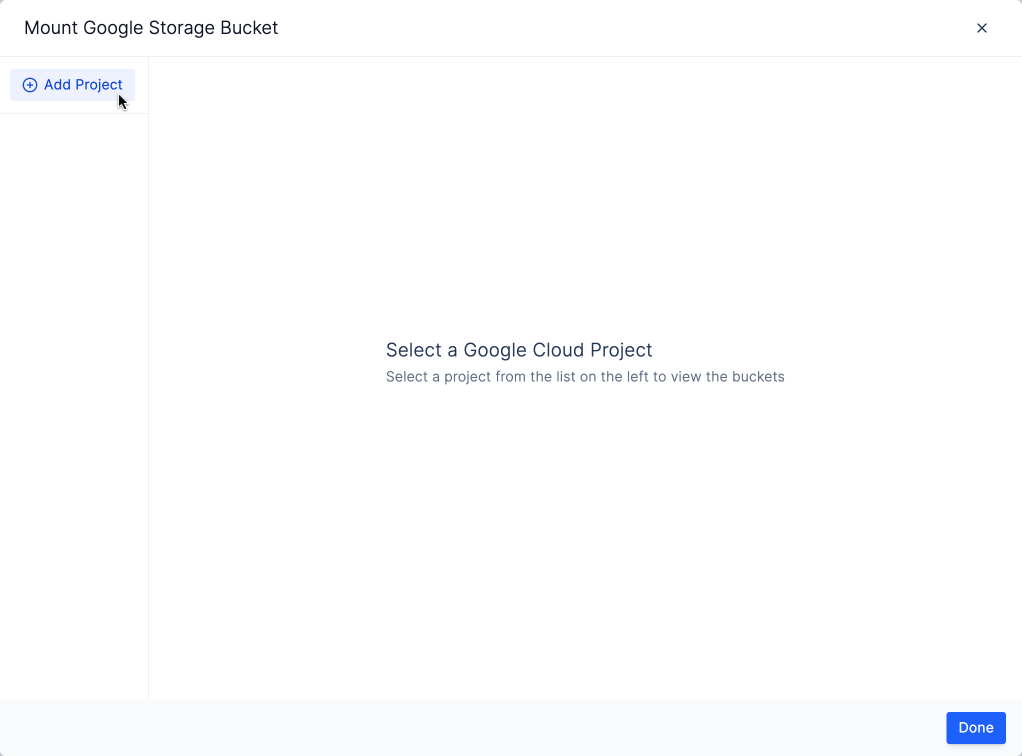
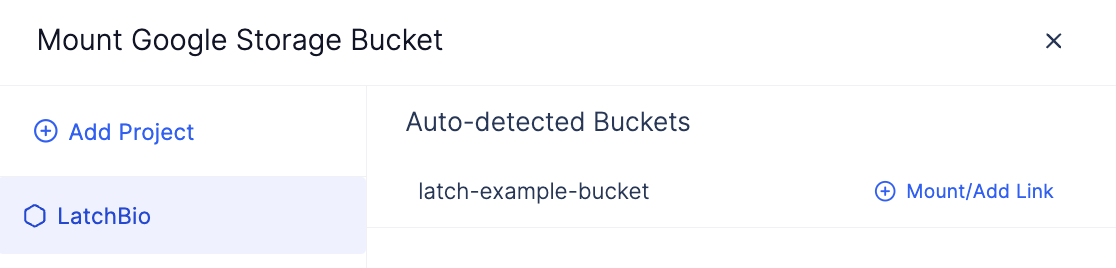
My bucket isn’t showing up in the list in the Mount GCP Bucket modal.
This might be because your bucket isn’t versioned. Latch only supports versioned buckets for mounting. To check to see if your bucket is versioned or not, open the bucket in GCP, go to the Protection tab and check that the Object Versioning is enabled.