Download the Google Sheet to your local computer.
Note that Registry CSV import only supports .csv at the moment. If you
have an Excel file (.xls, .xlsx) or text file (.txt), please make sure to save
them as a CSV first.
Once you have clicked “Import CSV”, a new modal will pop up with a view of your Latch Data.
Select “Upload Files” to upload the metadata sheet downloaded in the previous step.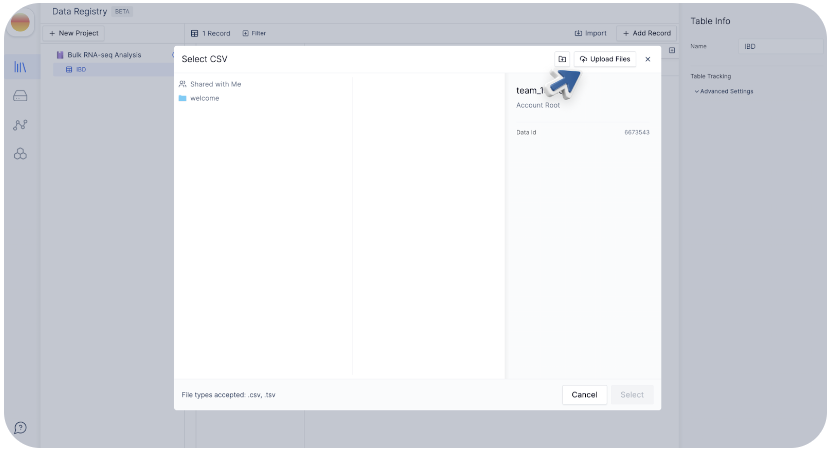
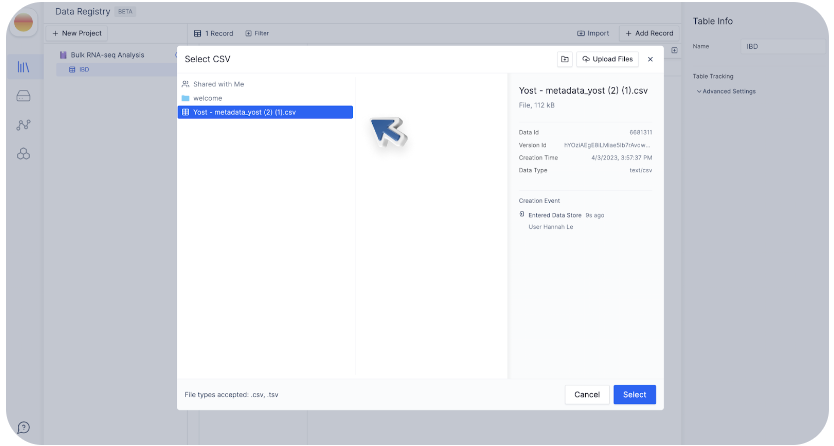
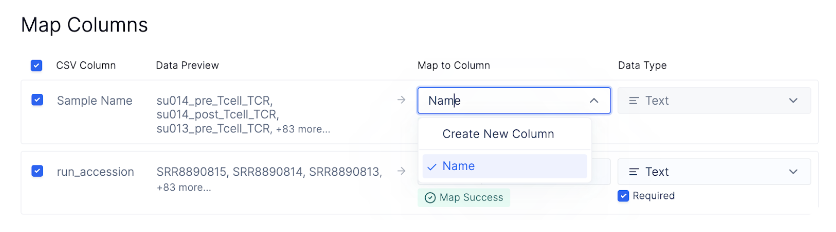
Once you choose the CSV file, a pop-up window will show up, which lets you map the columns from the CSV to the registry table columns.
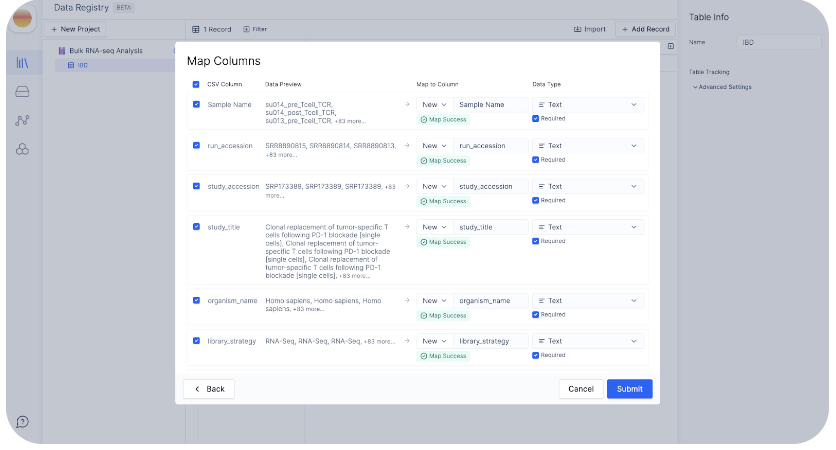
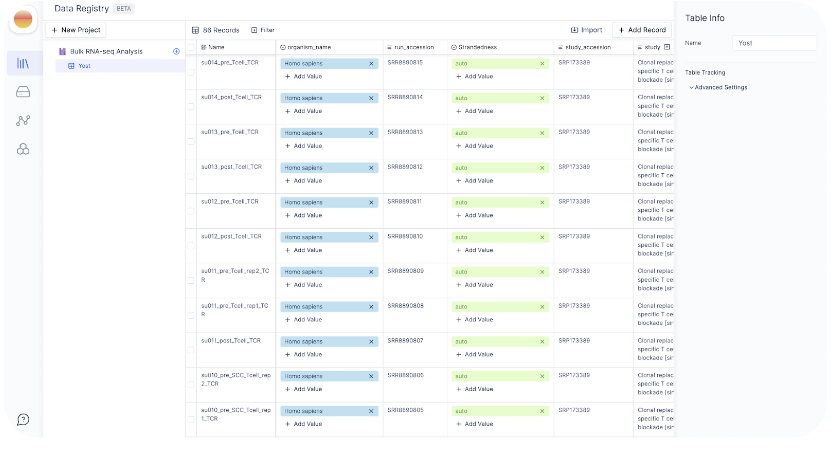
You can choose to create new columns for Registry or select existing columns to map the data to.
New tables only have one default existing column, which is “Name”. Let’s change the mapped column for the “Sample Name” (in the original CSV) to “Name” (in the Registry).