1
Create an Account.
To create an account on Latch simply continue with a Google, GitHub, or Microsoft account. Latch offers several single sign-on (SSO) options: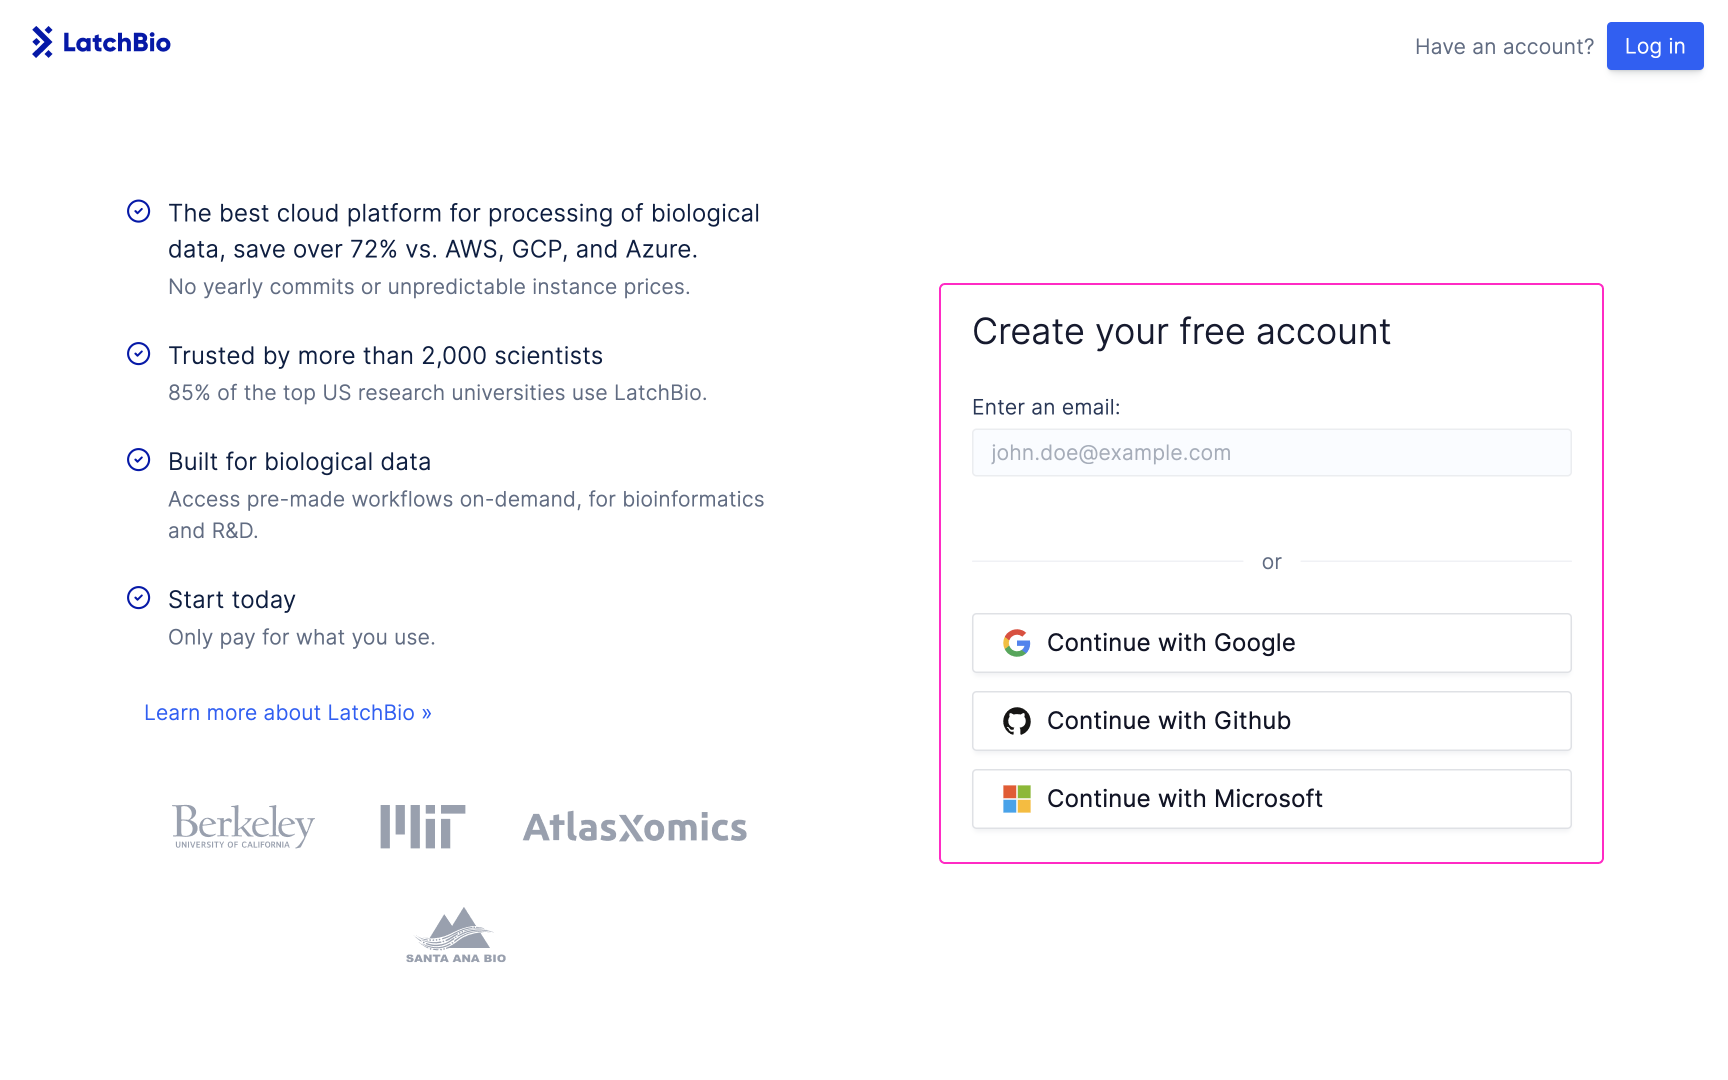
Some Microsoft organization accounts require additional setup to be used. Alternatively non SSO accounts can be administered by request.
2
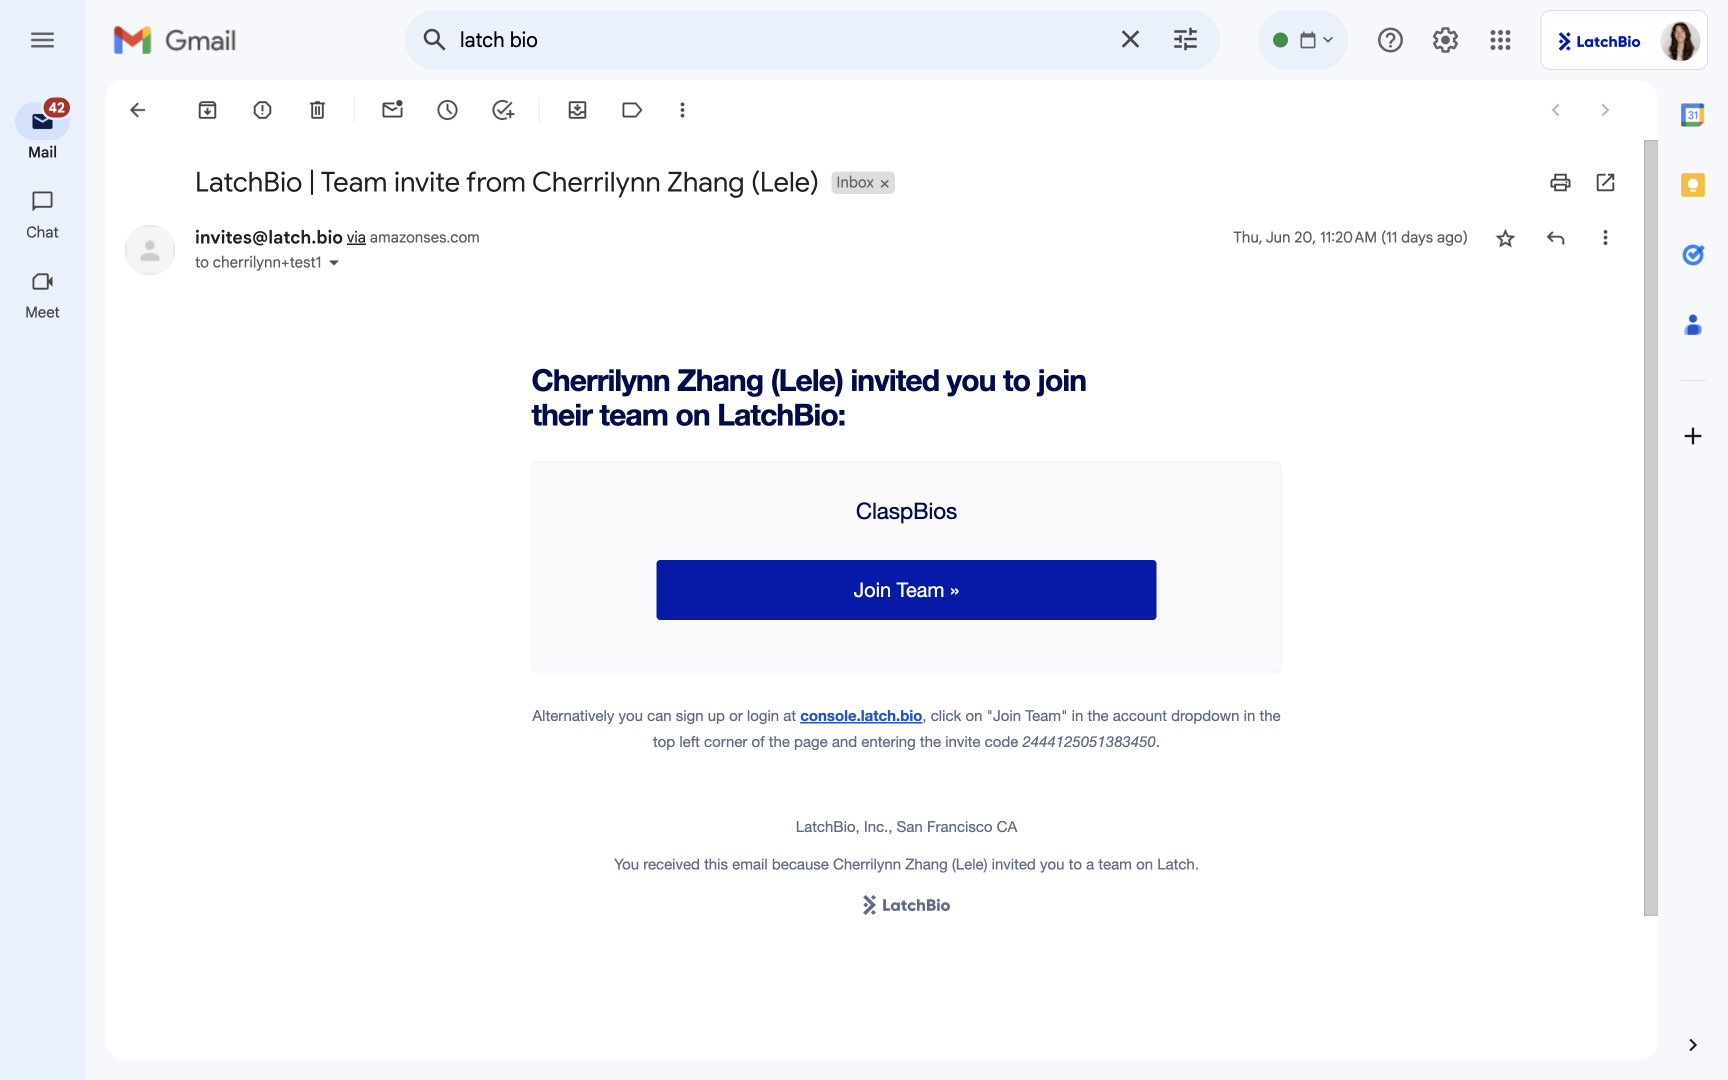
Set up your workspace.
Every new account starts with a Personal Workspace. To collaborate with team members on Latch you can create or join a team Workspace.To join a team, a team member can share the team invite code with you, which you can enter in the Join Workspace modal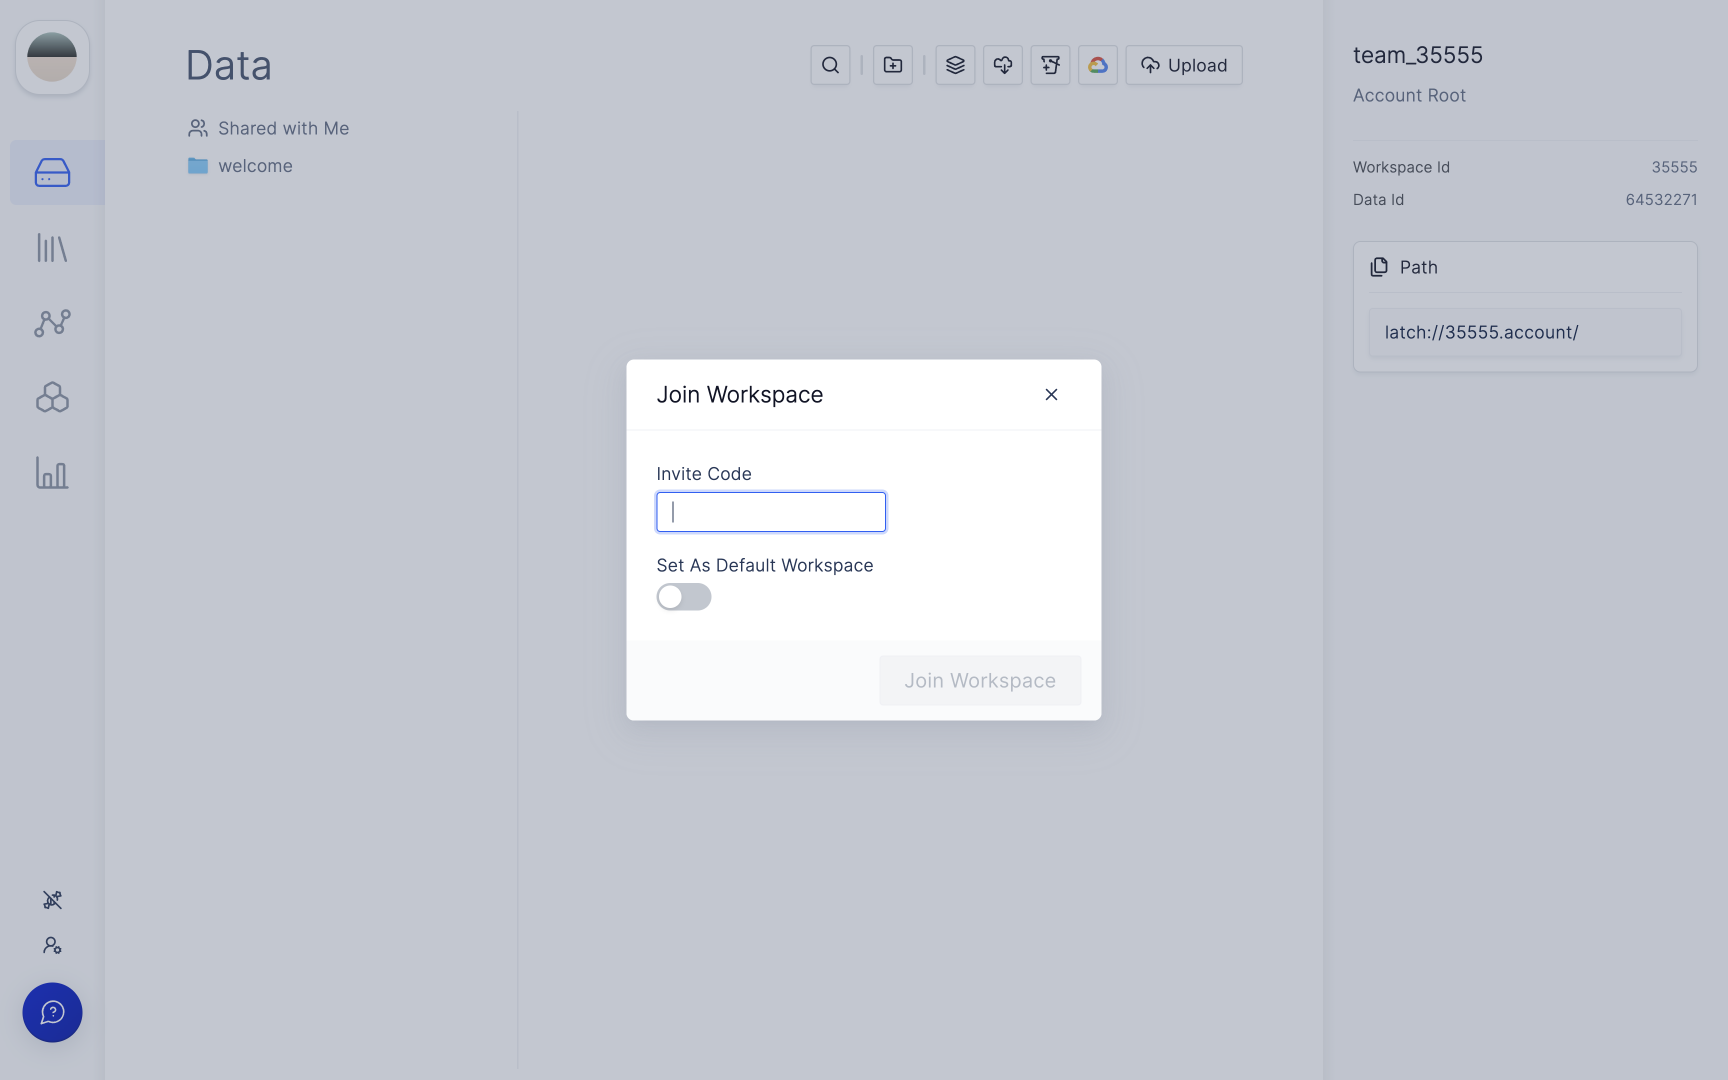
3
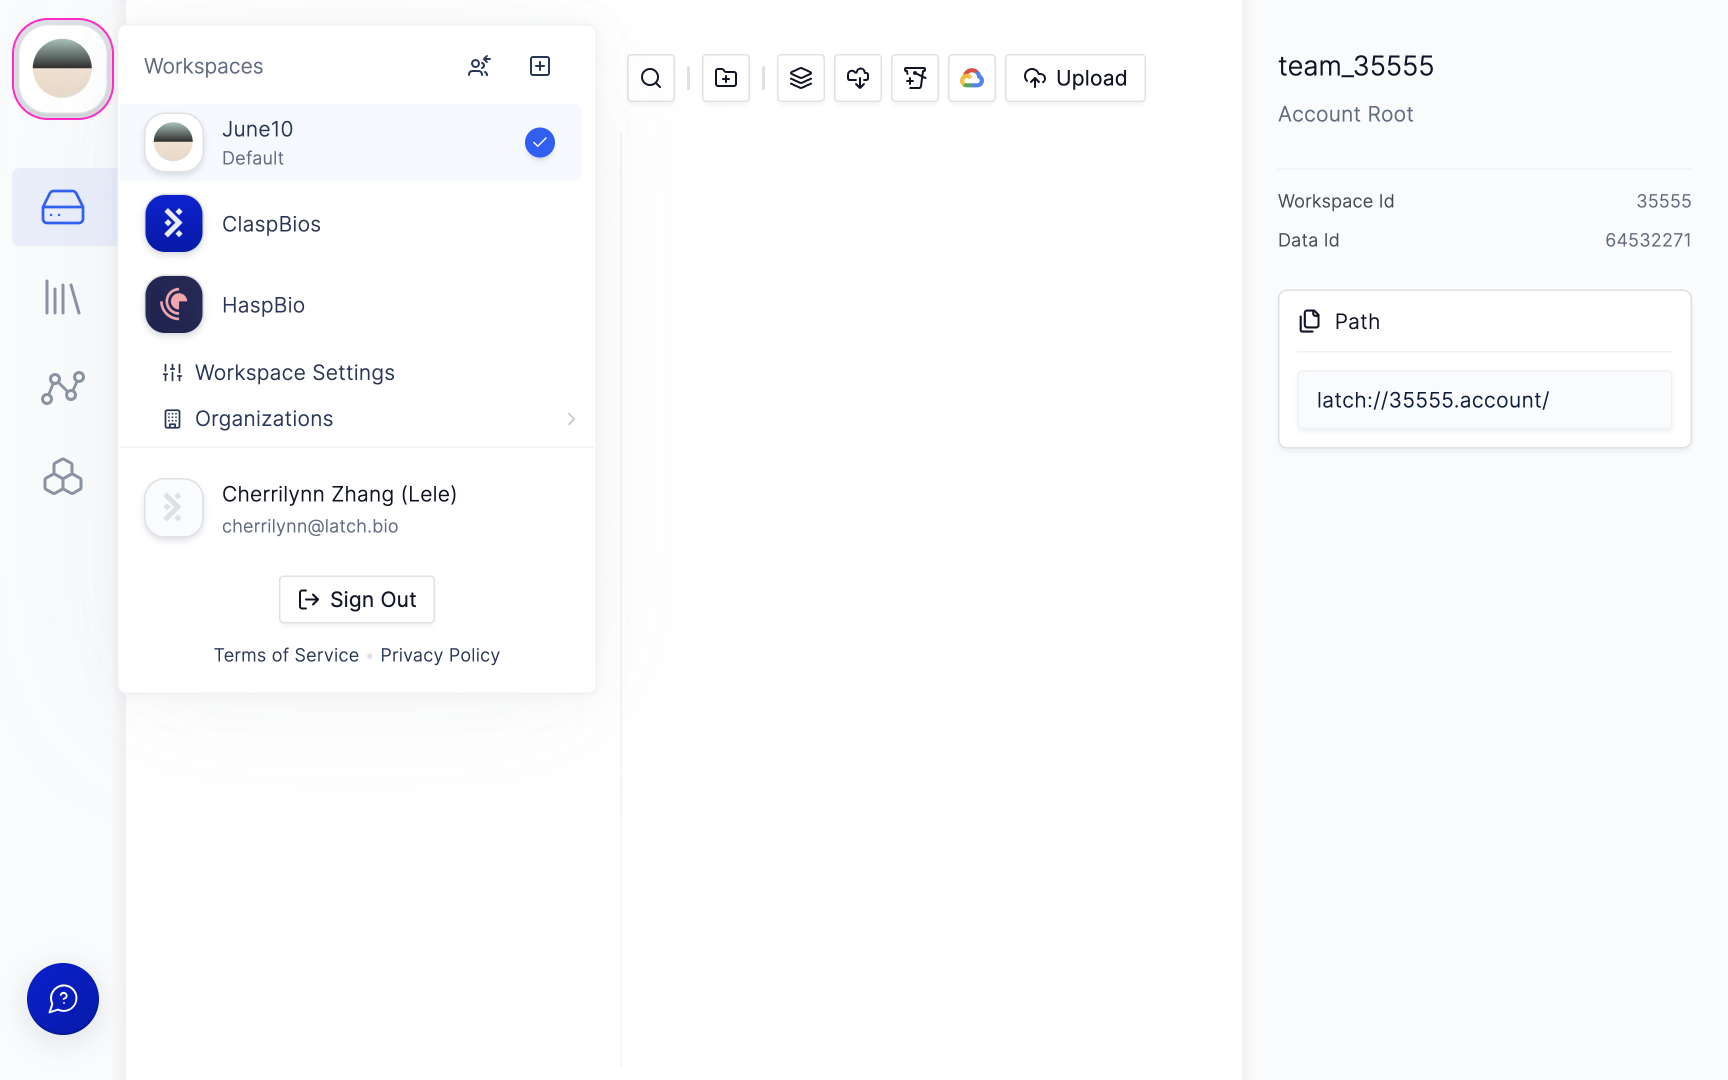
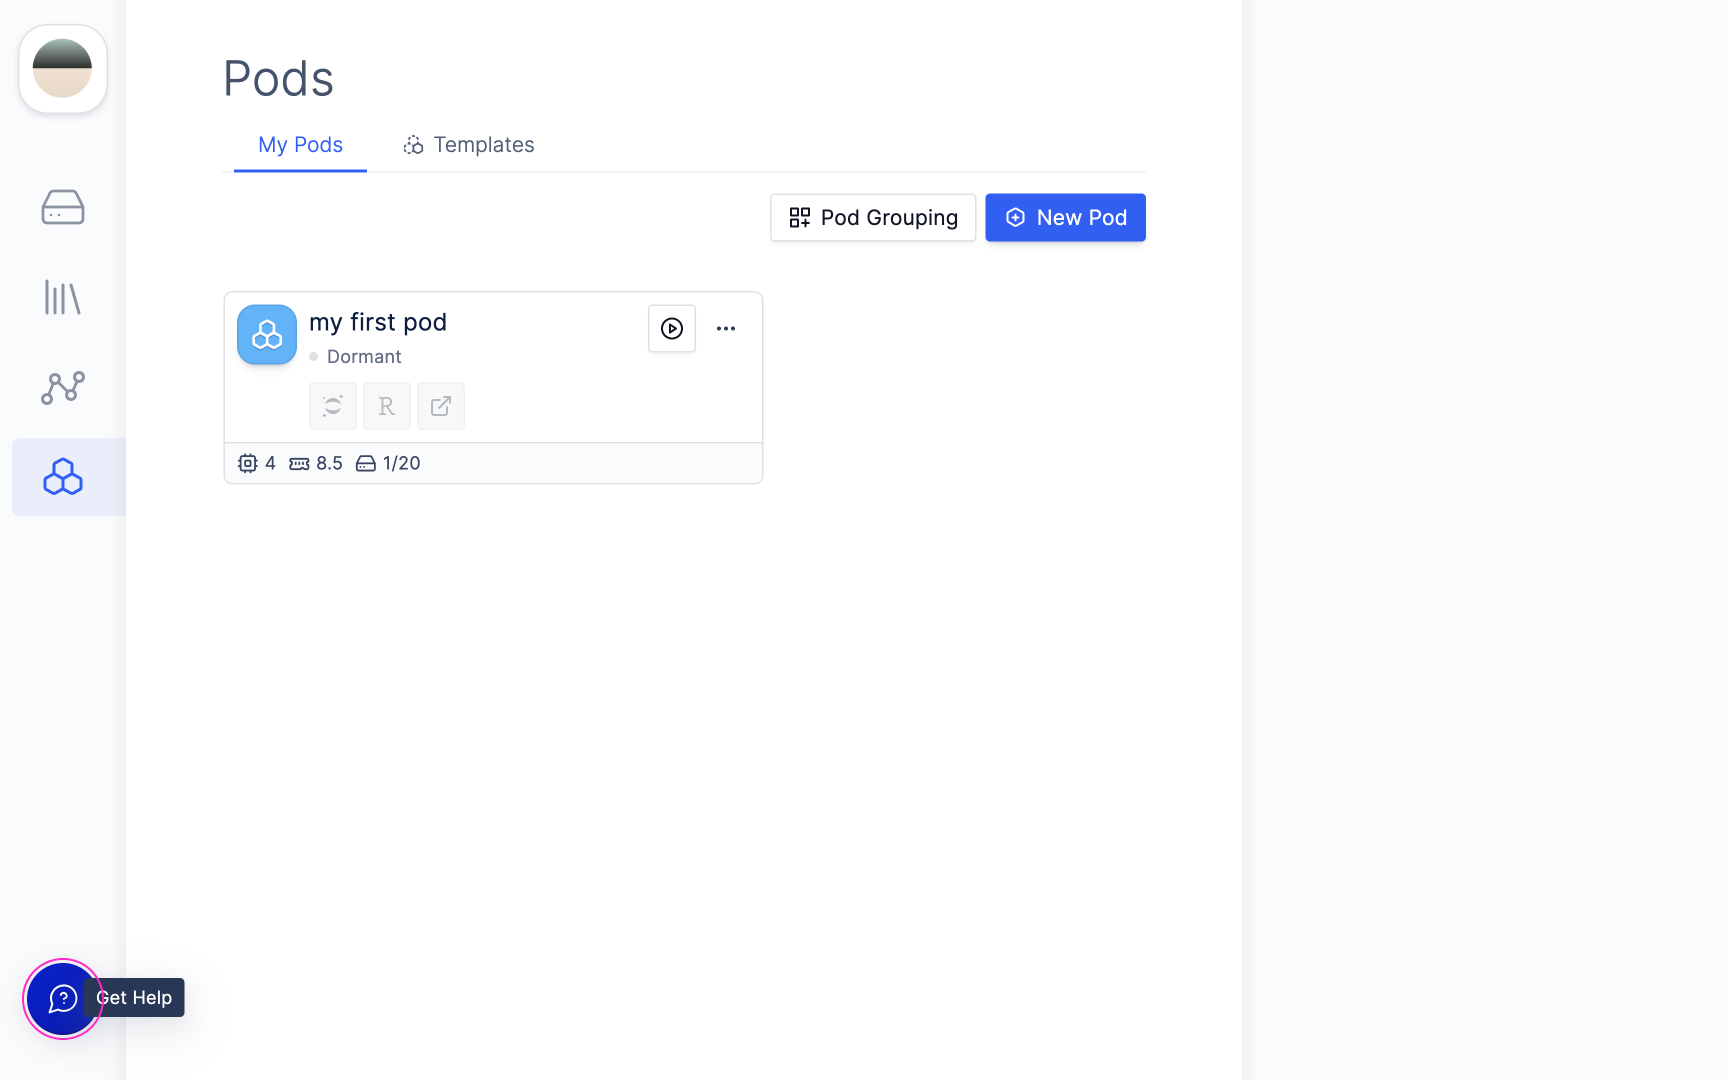
Navigate the workspace.
After you’ve created an account (and optionally joined a team workspace) you can explore your workspace.The left navbar contains tabs to switch between the different aspects of the platform, these are:
-
Workspace Avatar: Here you can switch workspaces and access a workspace settings.
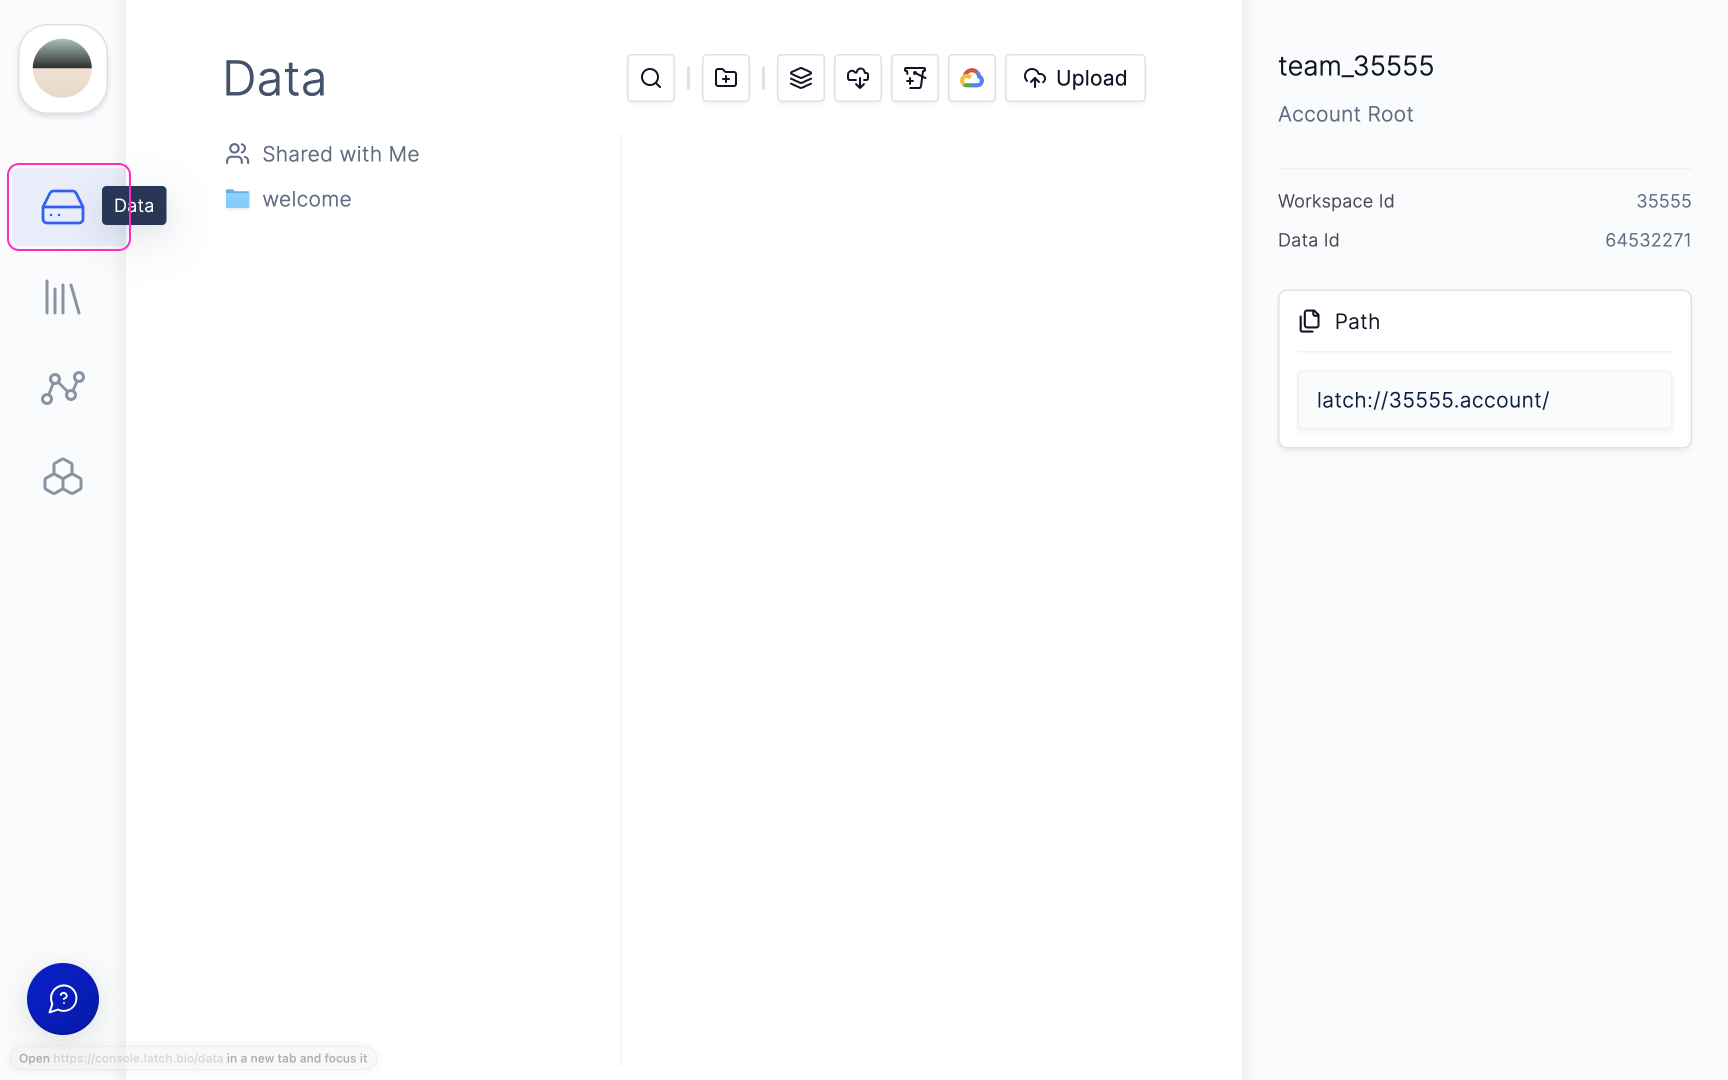
-
Latch Data: A cloud file system to store experiment files and results.
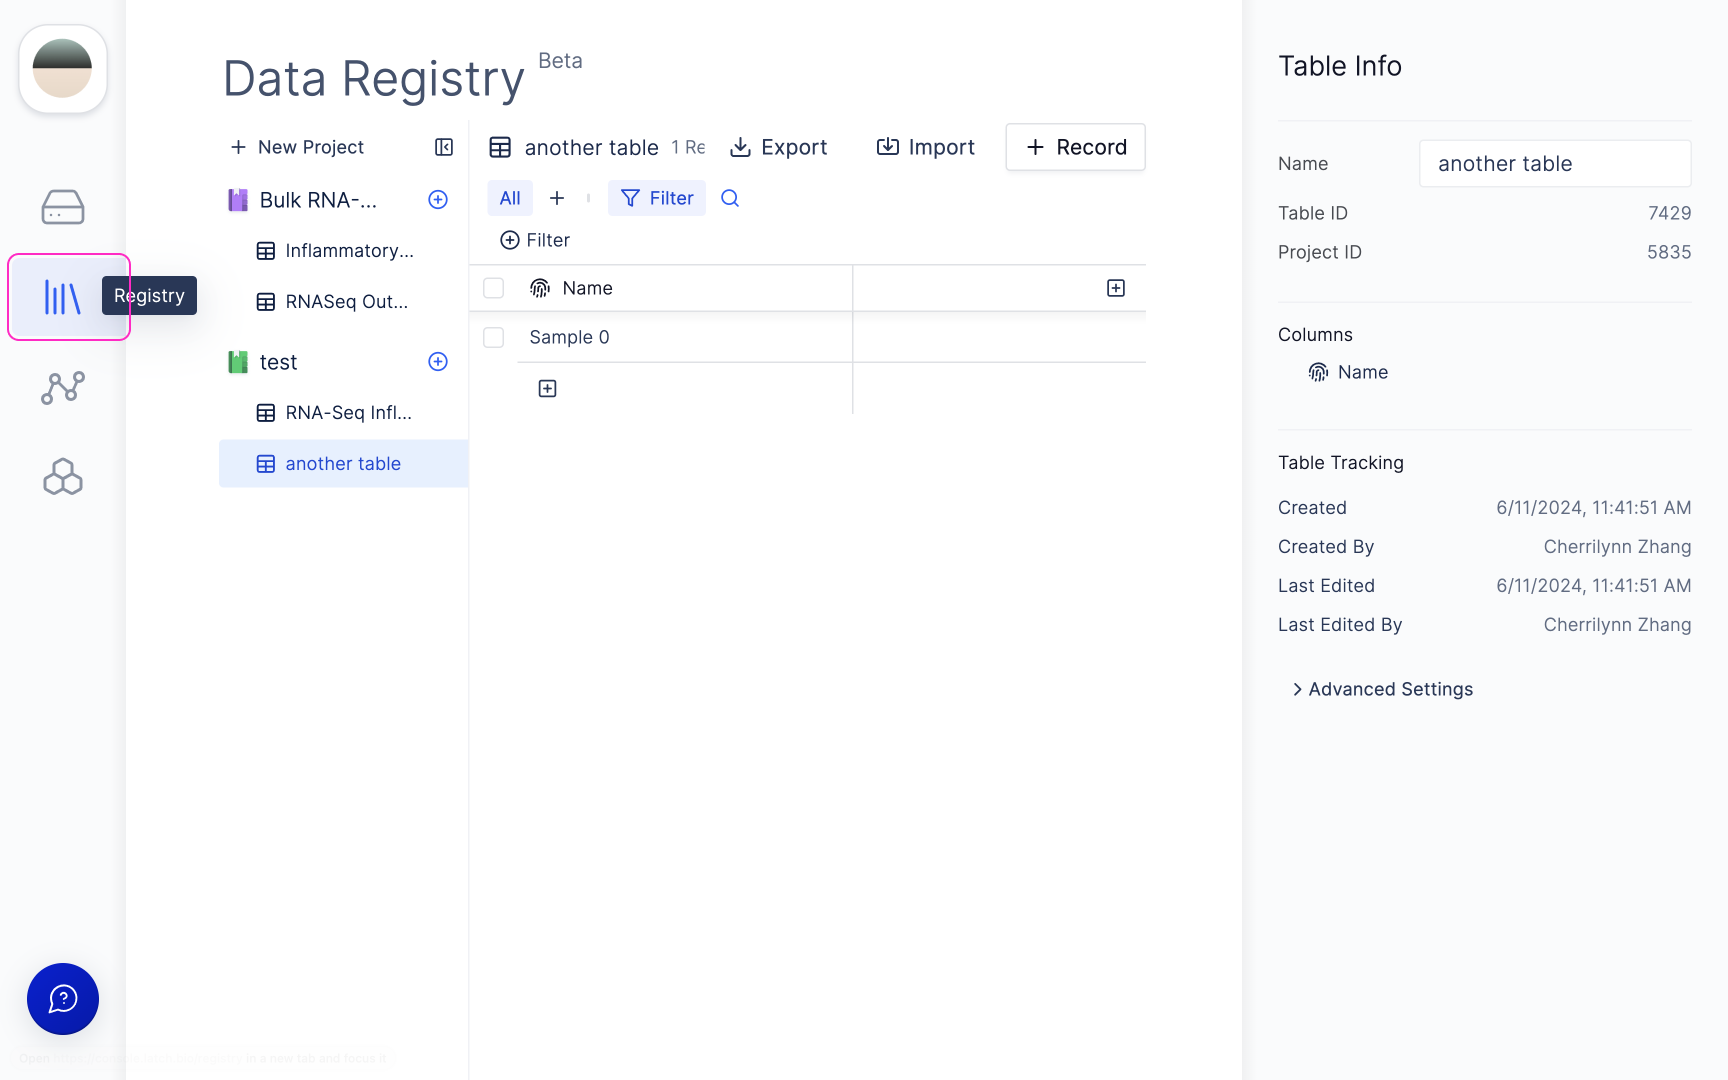
-
Latch Registry: Keep track of experiment metadata and files in table interface.
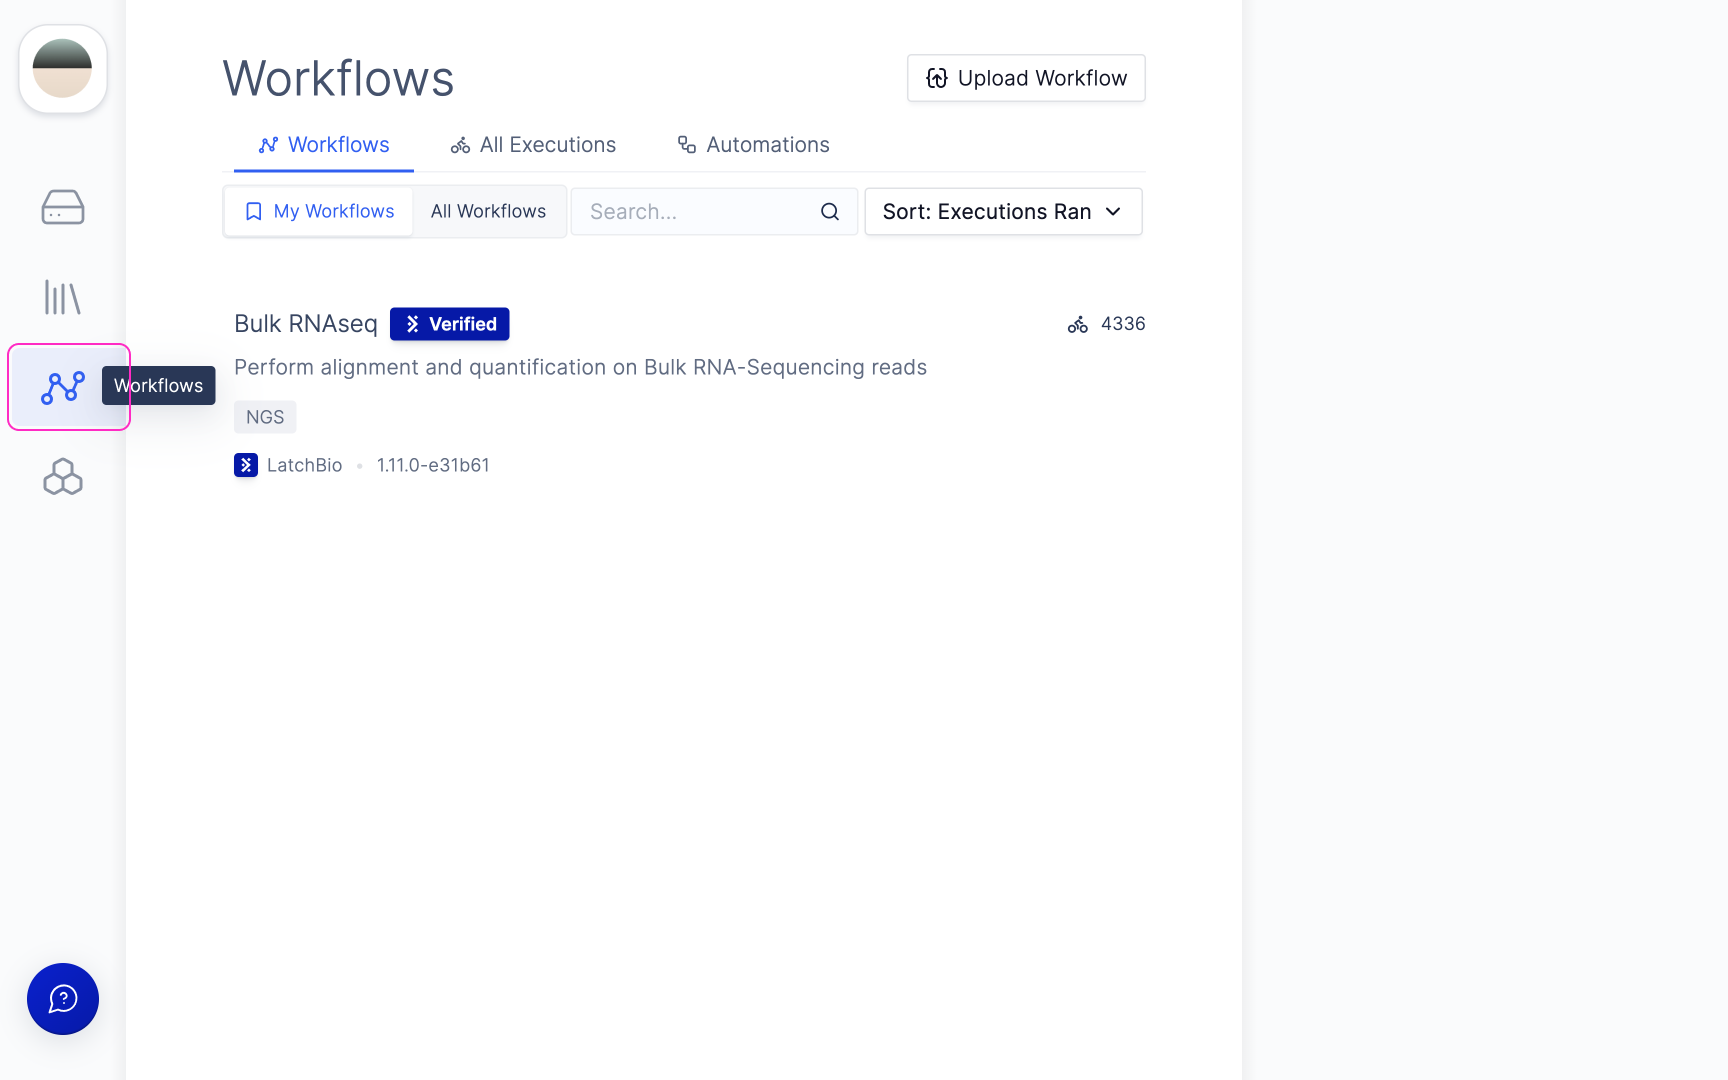
-
Latch Workflows: Run analysis workflows through a user-friendly interface.
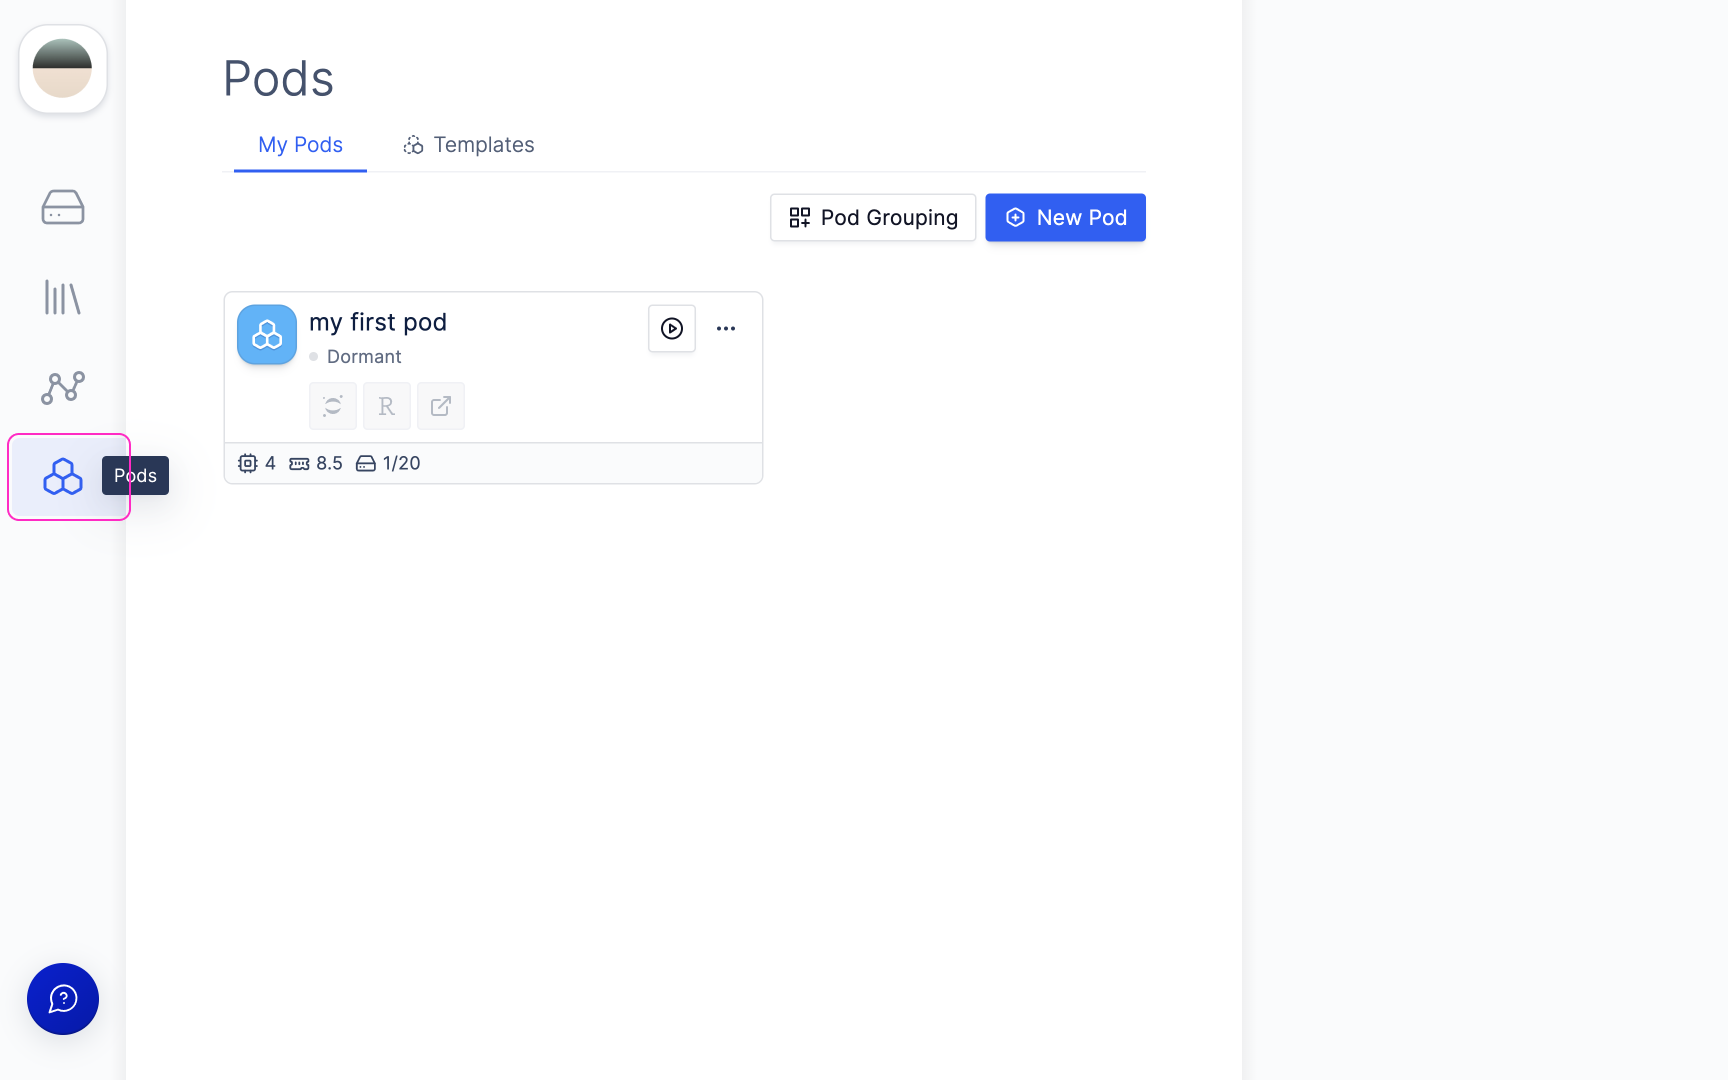
-
Latch Pods: Run downstream analysis through preconfigured apps and notebooks.
-
Help Button: Find help resources and contact Latch support
- The Help Menu has a list of resources (this Wiki included) and also allows you to
easily contact the Latch team through Intercom chat. Our Intercom is always answered
by a real person and we always try to answer quickly but for best results contact
during Pacific Time US business hours.
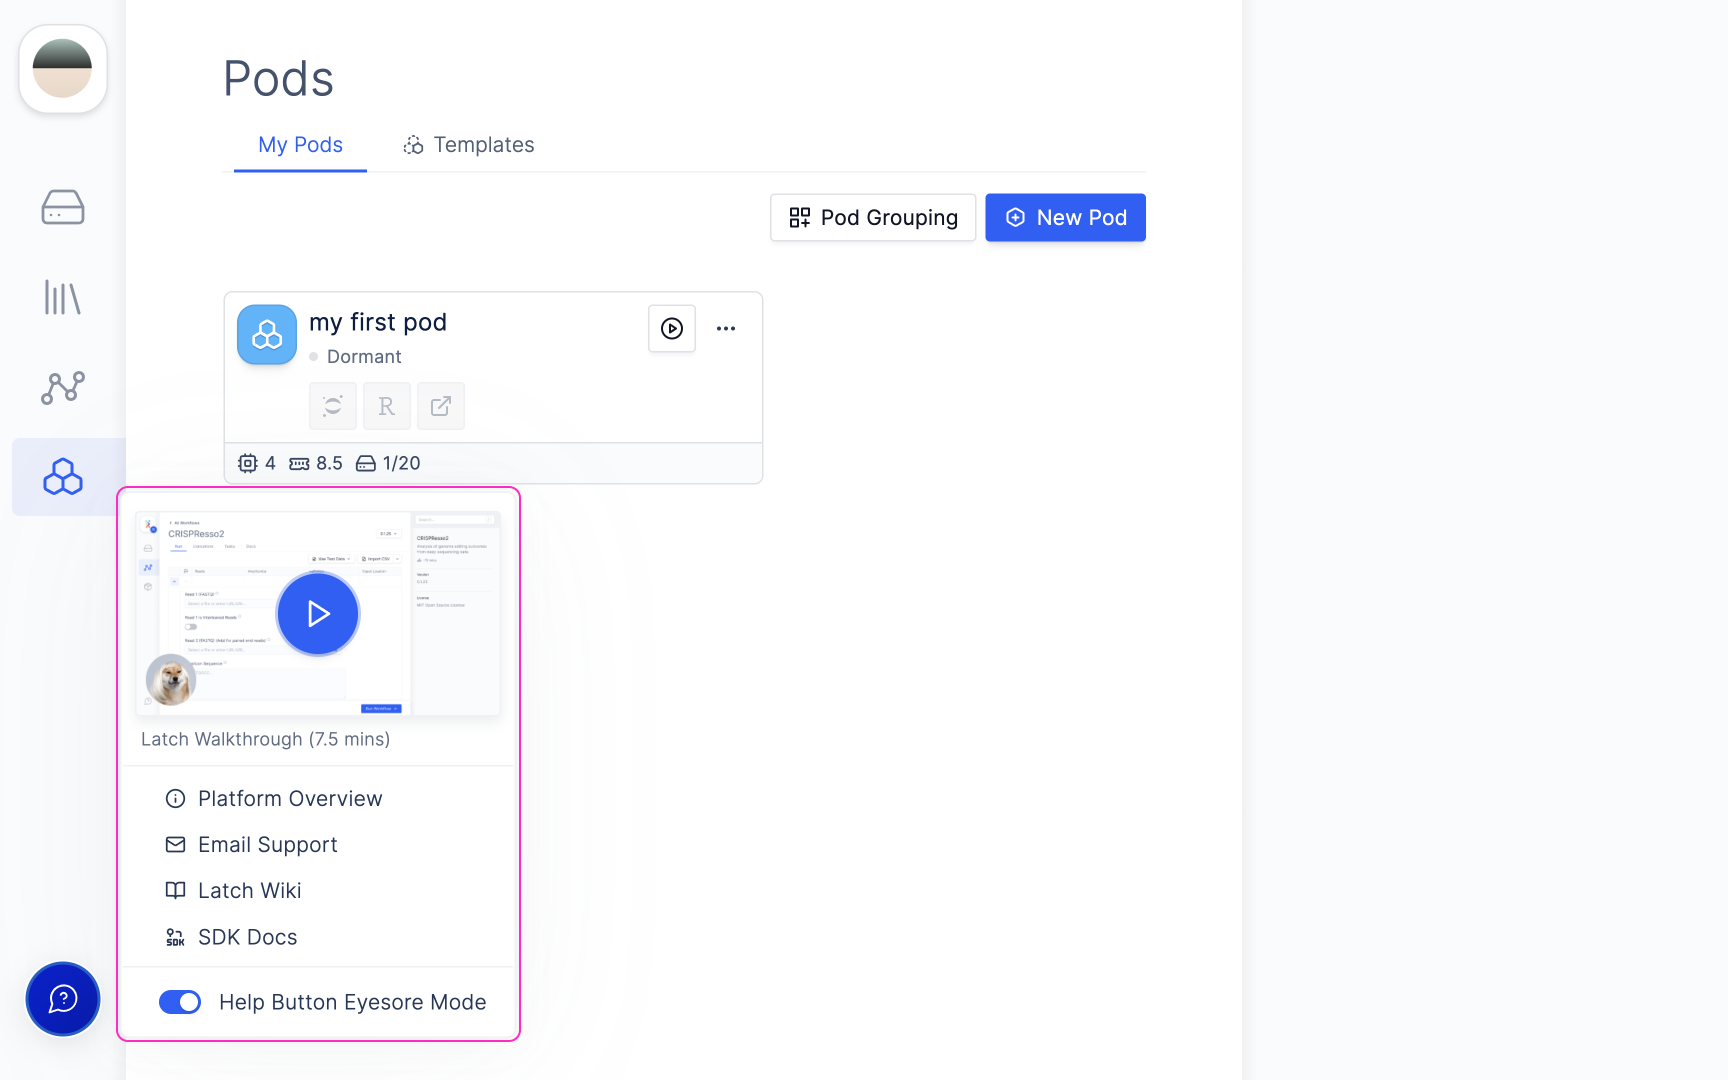
The “Eyesore Help Button Mode” changes the style of the help button to something more muted. An engineer added it because he thought the darker button was an eyesore. - The Help Menu has a list of resources (this Wiki included) and also allows you to
easily contact the Latch team through Intercom chat. Our Intercom is always answered
by a real person and we always try to answer quickly but for best results contact
during Pacific Time US business hours.