> ## Documentation Index
> Fetch the complete documentation index at: https://wiki.latch.bio/llms.txt
> Use this file to discover all available pages before exploring further.
# Benchling Integration
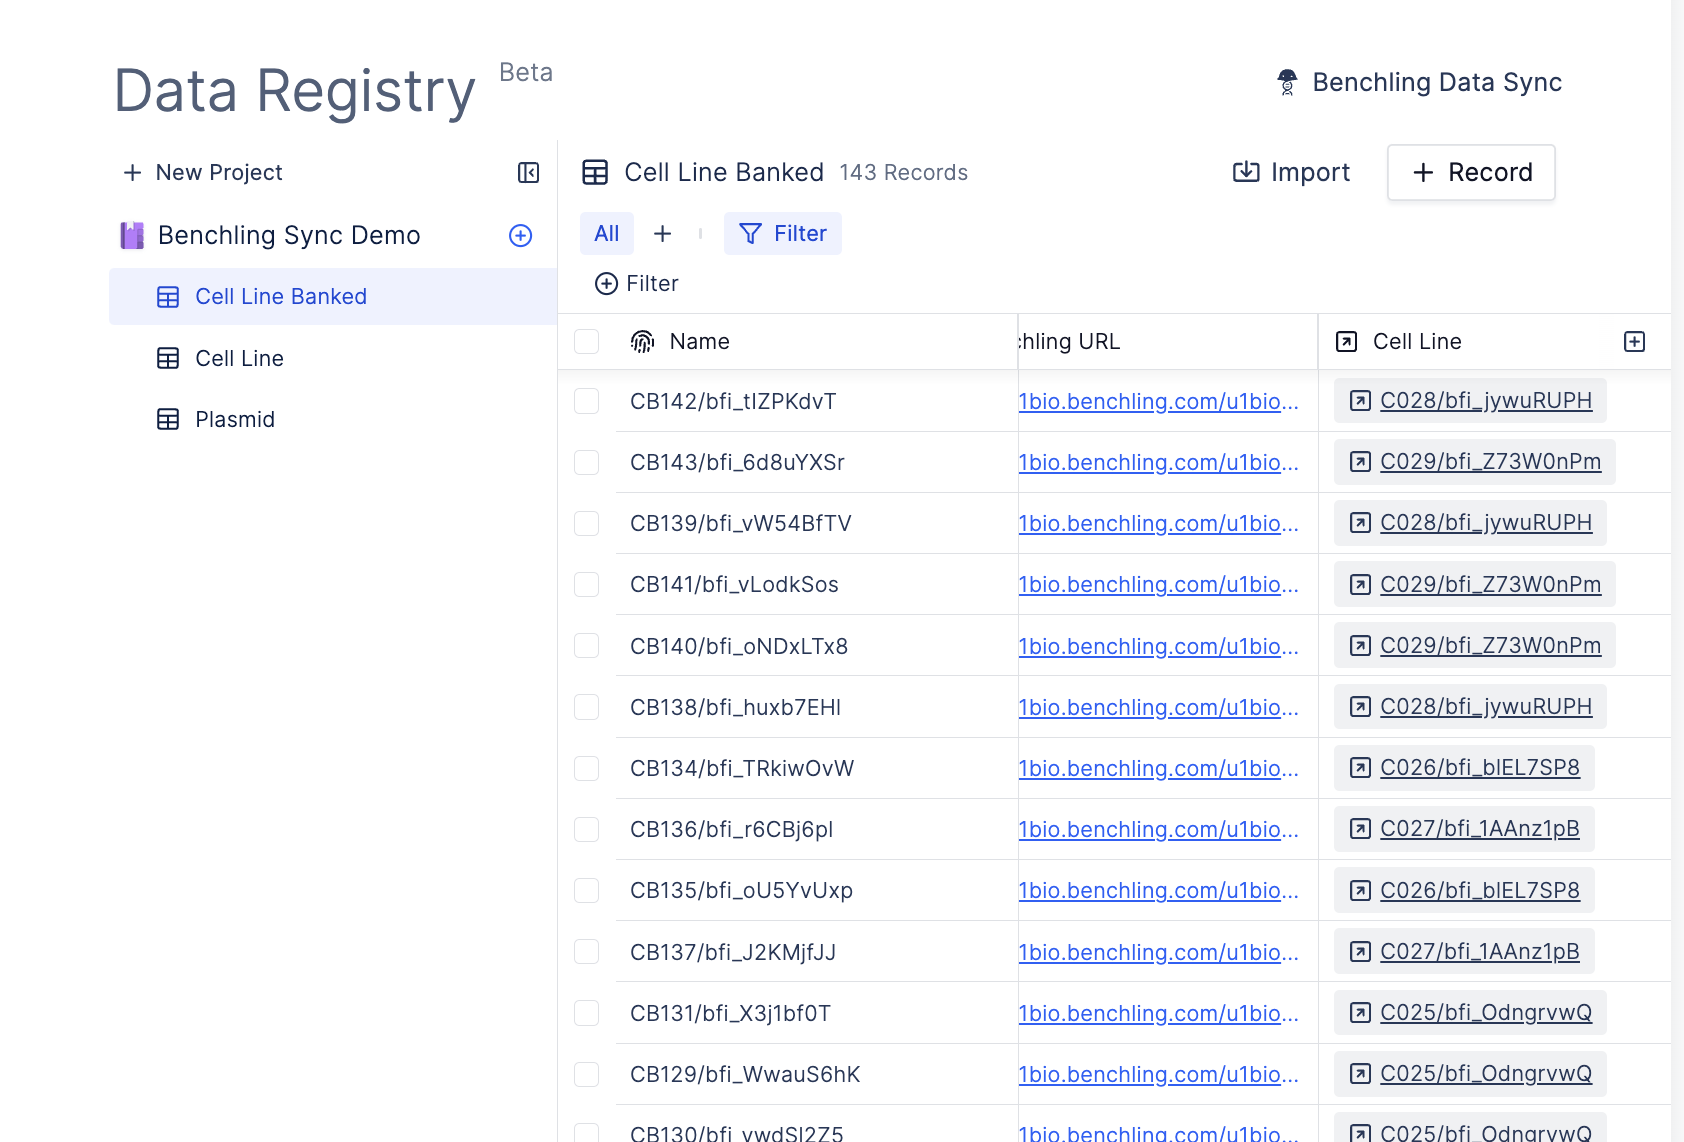
Latch Registry allows you to perform a one-way sync to bring entities from [Benchling Registry](https://www.benchling.com/resources/benchling-registry-product-sheet) and [Benchling Inventory](https://www.benchling.com/resources/benchling-inventory-product-sheet) to Latch Registry as tables.
Once Benchling data is transformed into table forms on Latch, you can:
* Easily search, sort, filter, and join data across tables.
* Directly sync sequences from Benchling Protein entities, for example, and kick-start hundreds of AlphaFold2 for protein prediction or DNA Chisel for codon optimization.
This document walks through the process of setting up the Benchling one-way data sync to the Latch Registry.
The list of currently supported Benchling schemas are Custom Entities, DNA Sequences, AA Sequences, Mixtures, DNA Oligos, RNA Oligos, Molecules, and Plates.
## Setup Benchling Sync
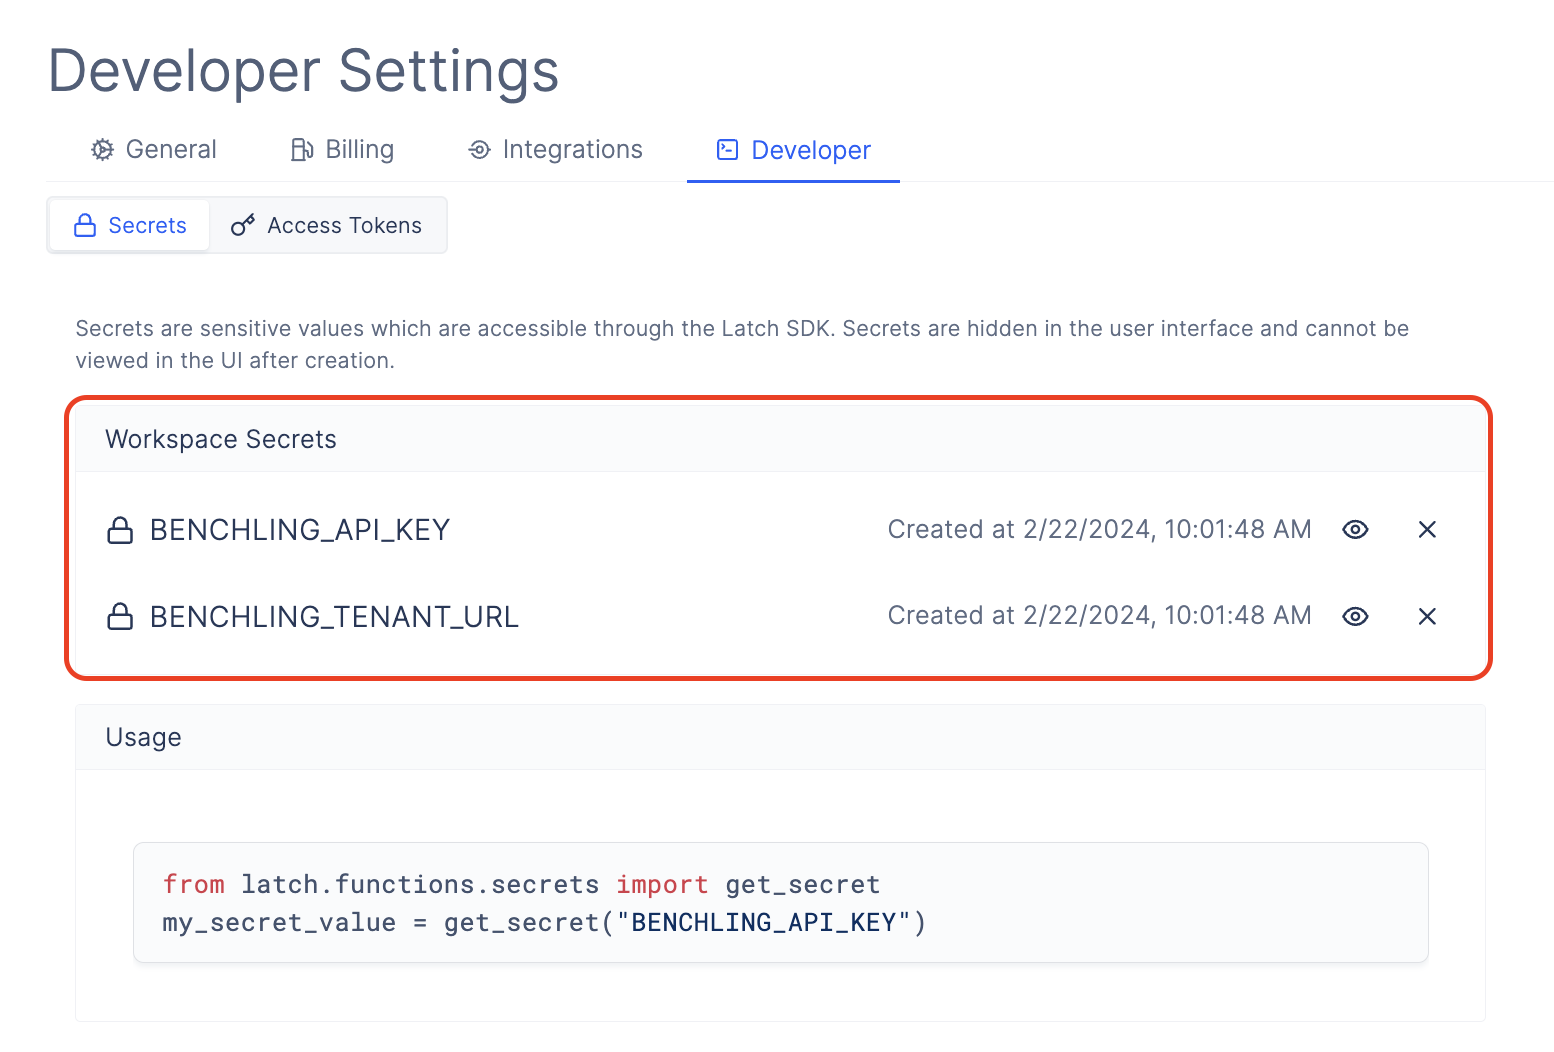
The integration works by using your Benchling developer API key.
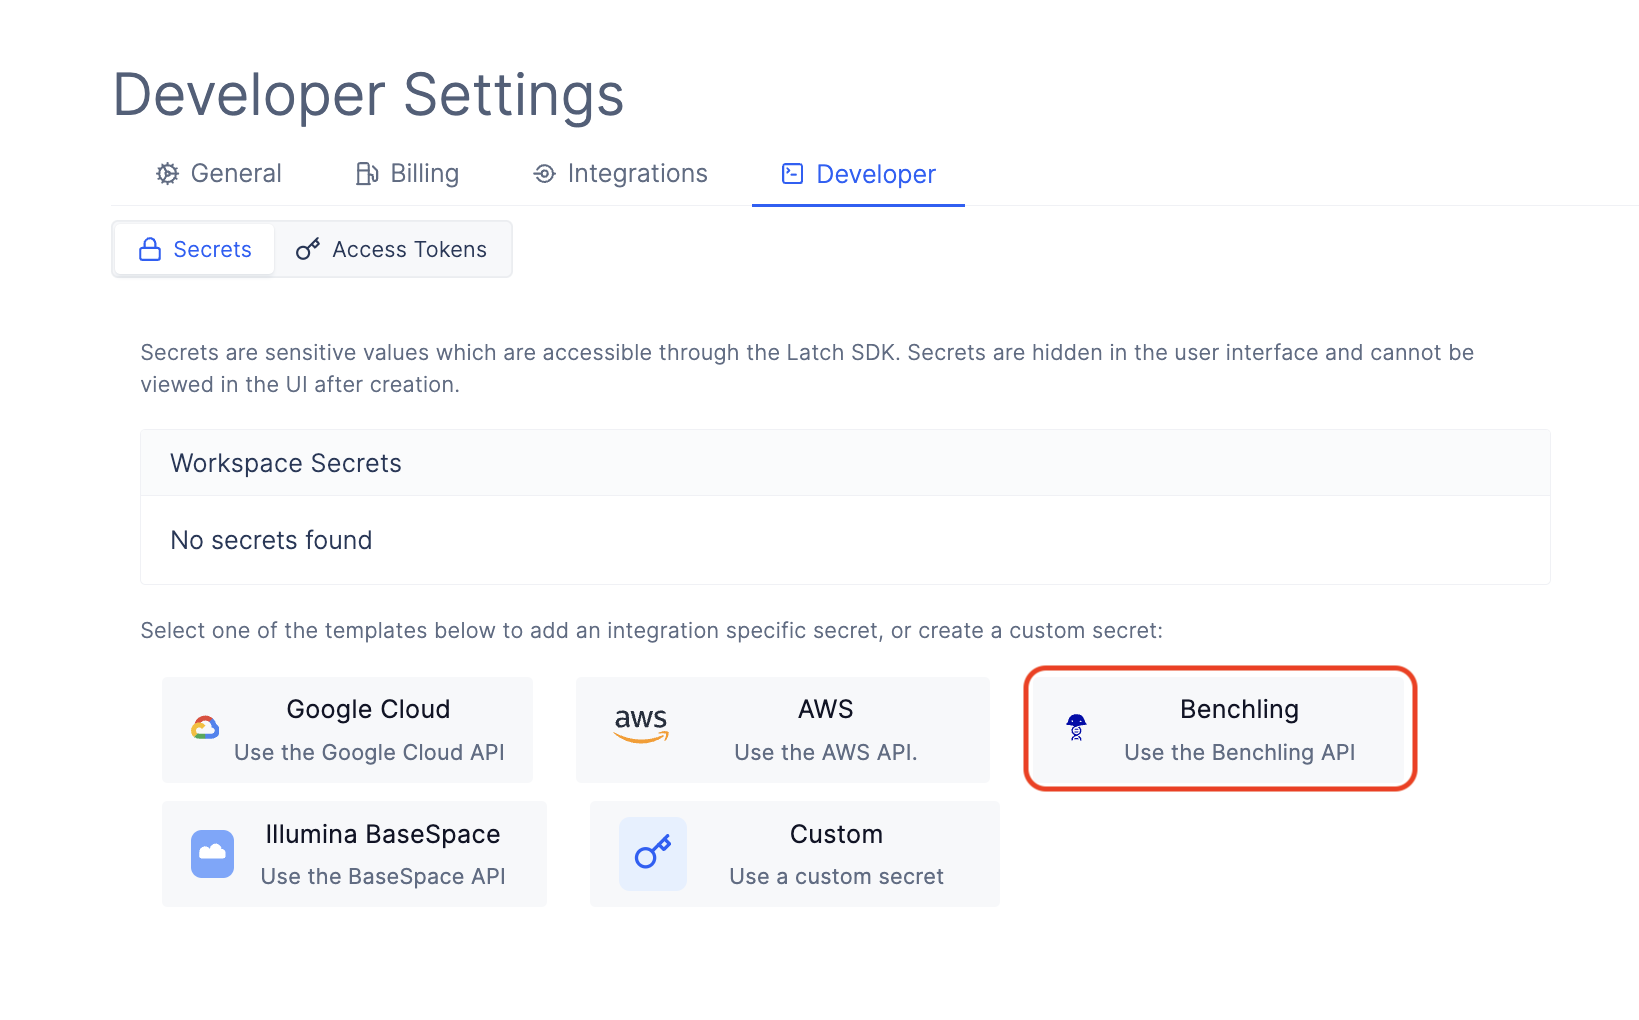
In [Latch Console](https://console.latch.bio/settings/developer), go to Workspace Settings > Developer, and click on `Benchling`.
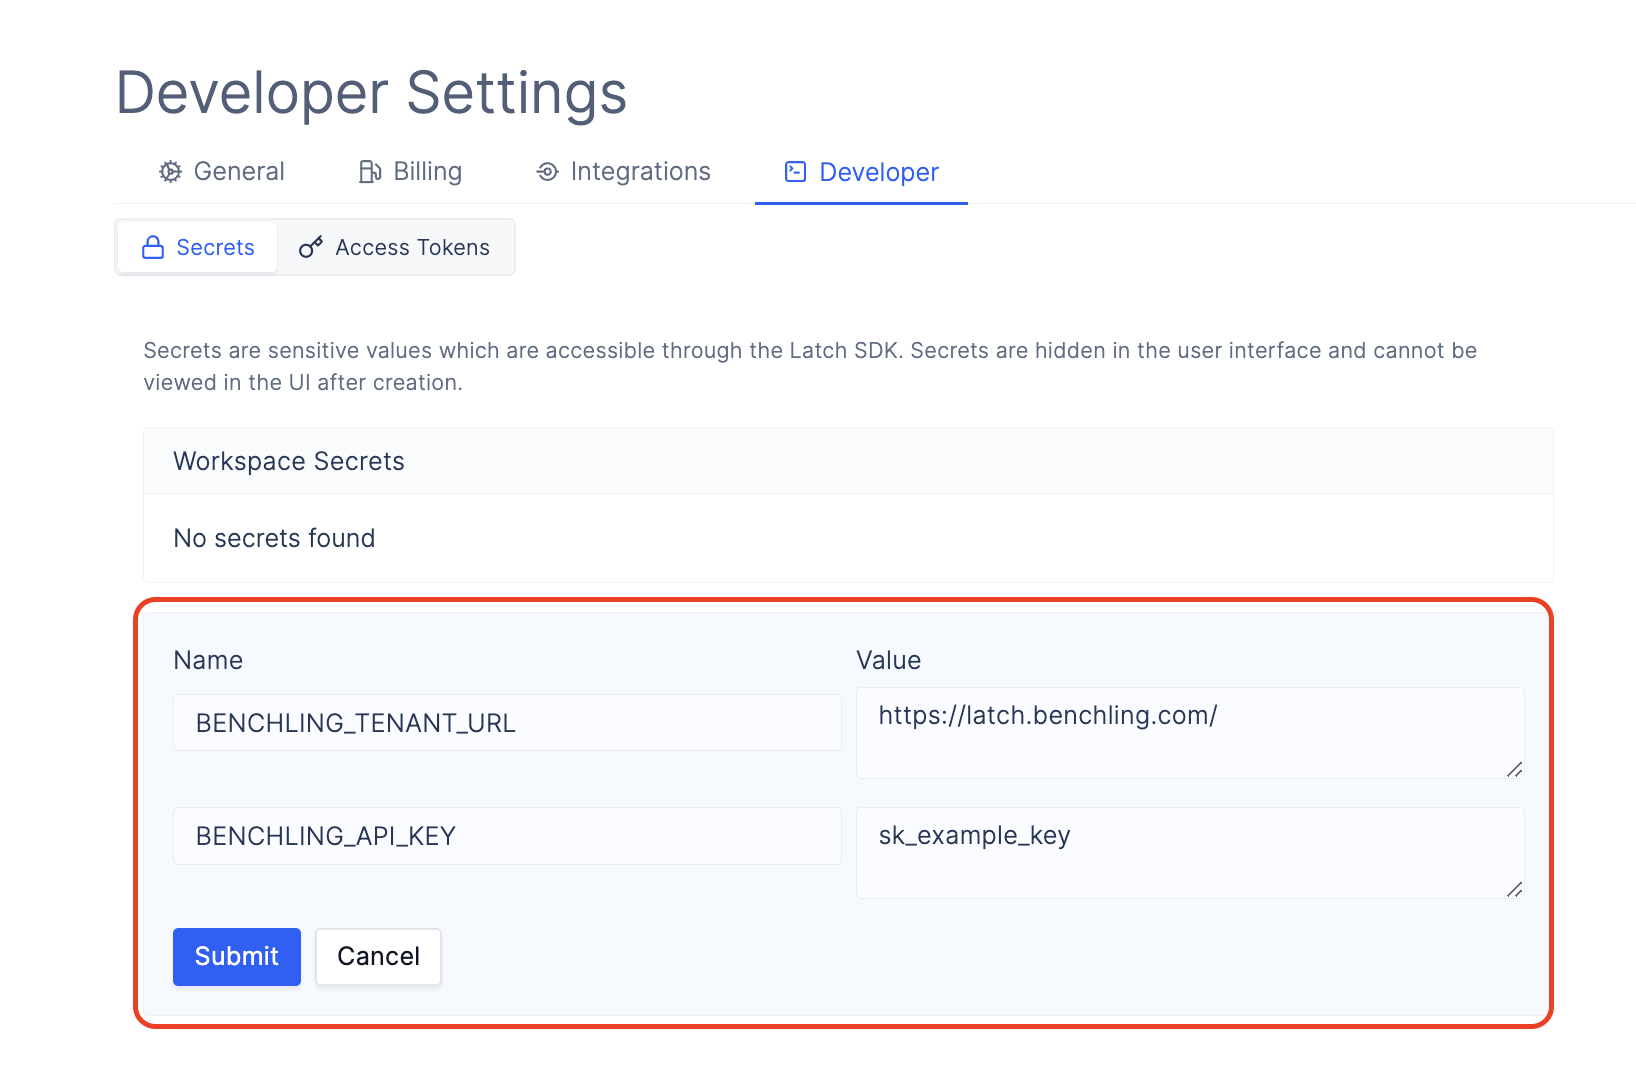
 Follow the official [Benchling tutorial](https://help.benchling.com/hc/en-us/articles/9714802977805-Access-the-Benchling-Developer-Platform#h_2962600be3) to get your personal user API key.
Ex. `sk_example_key`.
Include the full tenant URL including `https://`.
To find the tenant URL, log into your Benchling account or organization and copy the URL in the address bar as indicated in the image below.
Follow the official [Benchling tutorial](https://help.benchling.com/hc/en-us/articles/9714802977805-Access-the-Benchling-Developer-Platform#h_2962600be3) to get your personal user API key.
Ex. `sk_example_key`.
Include the full tenant URL including `https://`.
To find the tenant URL, log into your Benchling account or organization and copy the URL in the address bar as indicated in the image below.
 Ex. `https://latch.benchling.com/`.
 ## Syncing Data Using Benchling Sync
After successfully adding your Benchling credentials to Latch, you can go to the Latch Registry and sync your Benchling data to a new project on Latch.
Only one-way sync from Benchling to Latch is supported at the moment.
## Syncing Data Using Benchling Sync
After successfully adding your Benchling credentials to Latch, you can go to the Latch Registry and sync your Benchling data to a new project on Latch.
Only one-way sync from Benchling to Latch is supported at the moment.
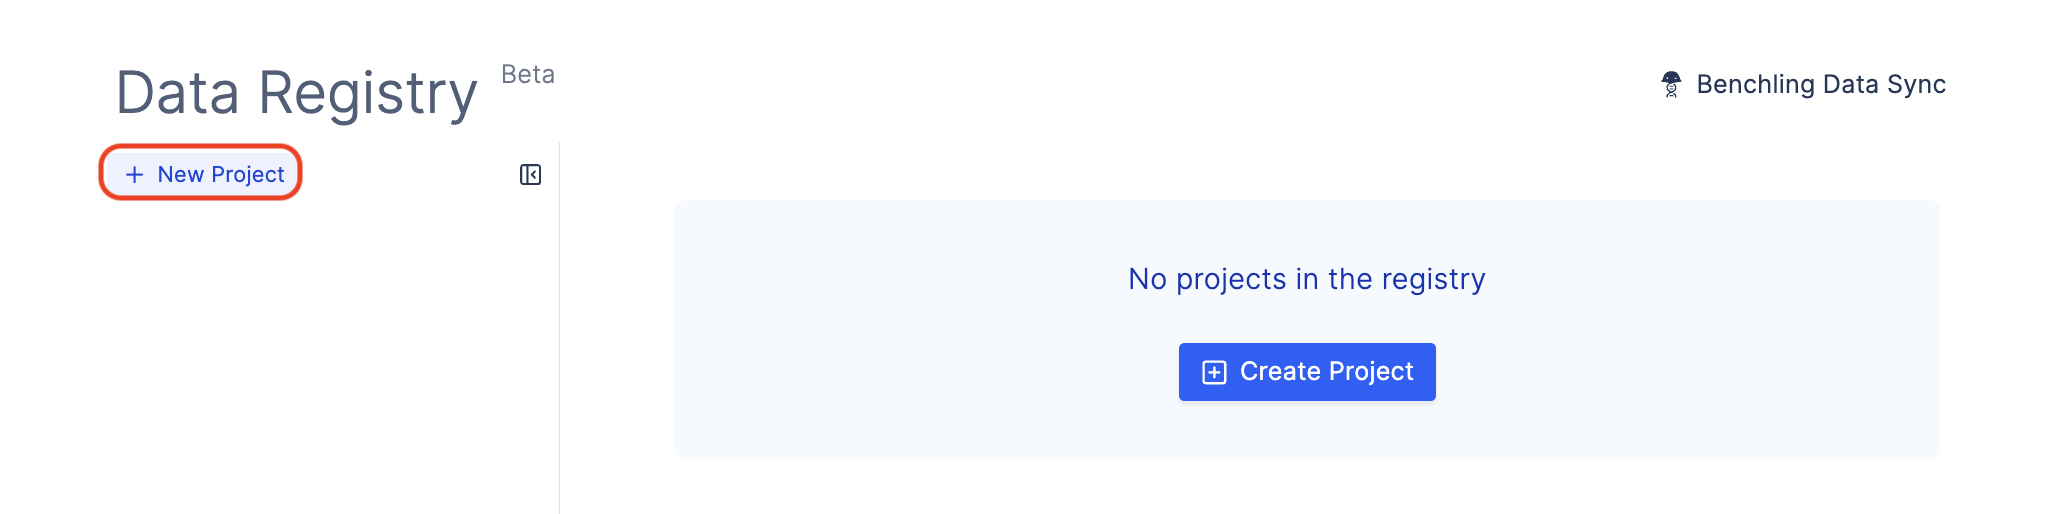
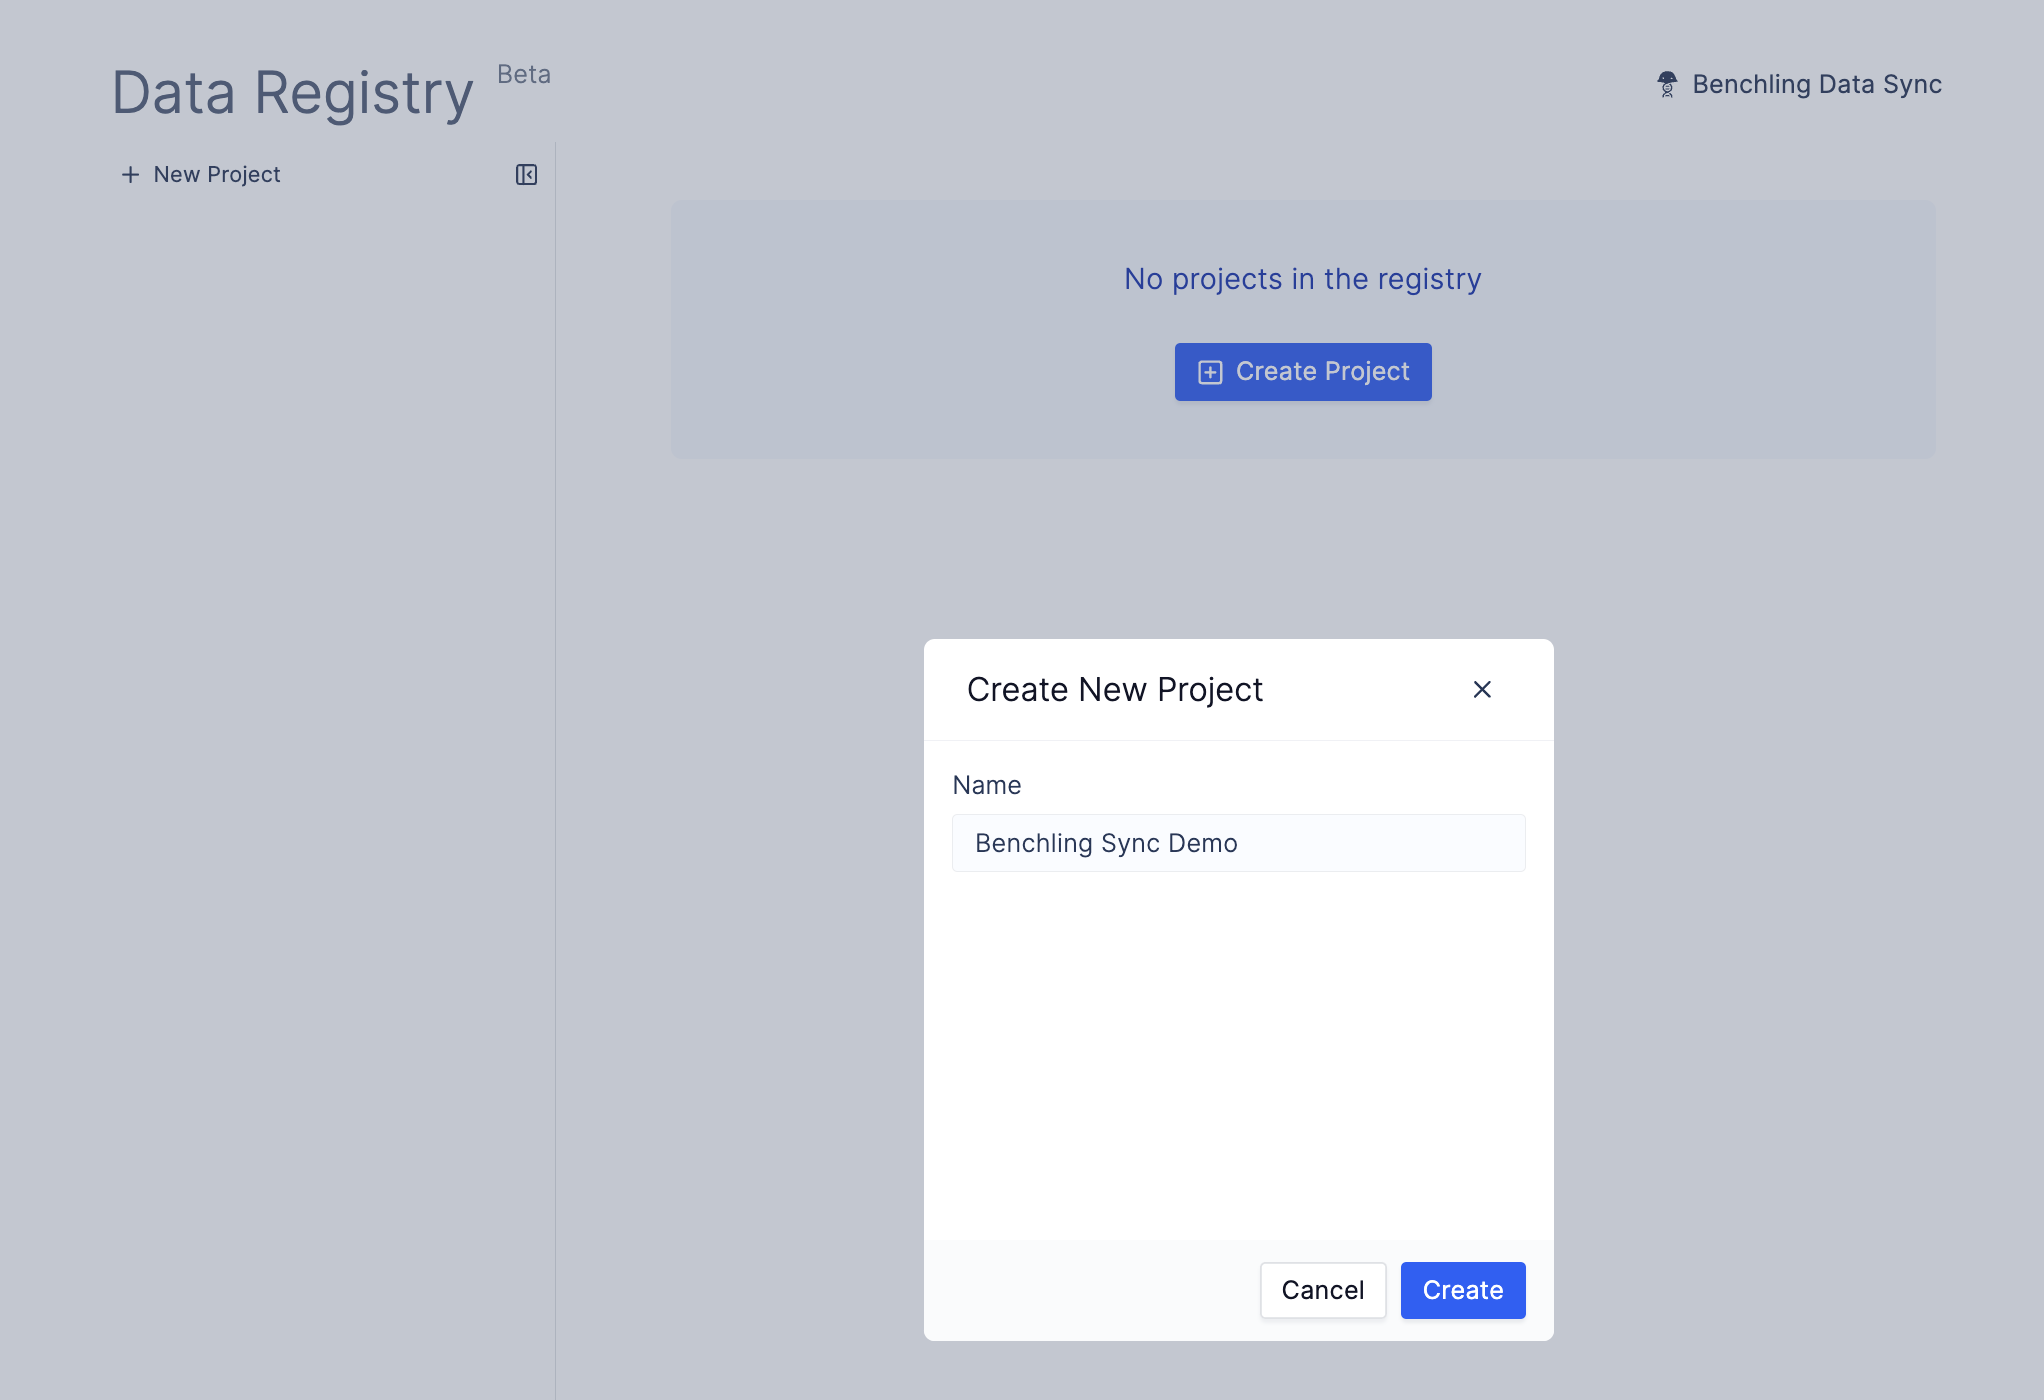

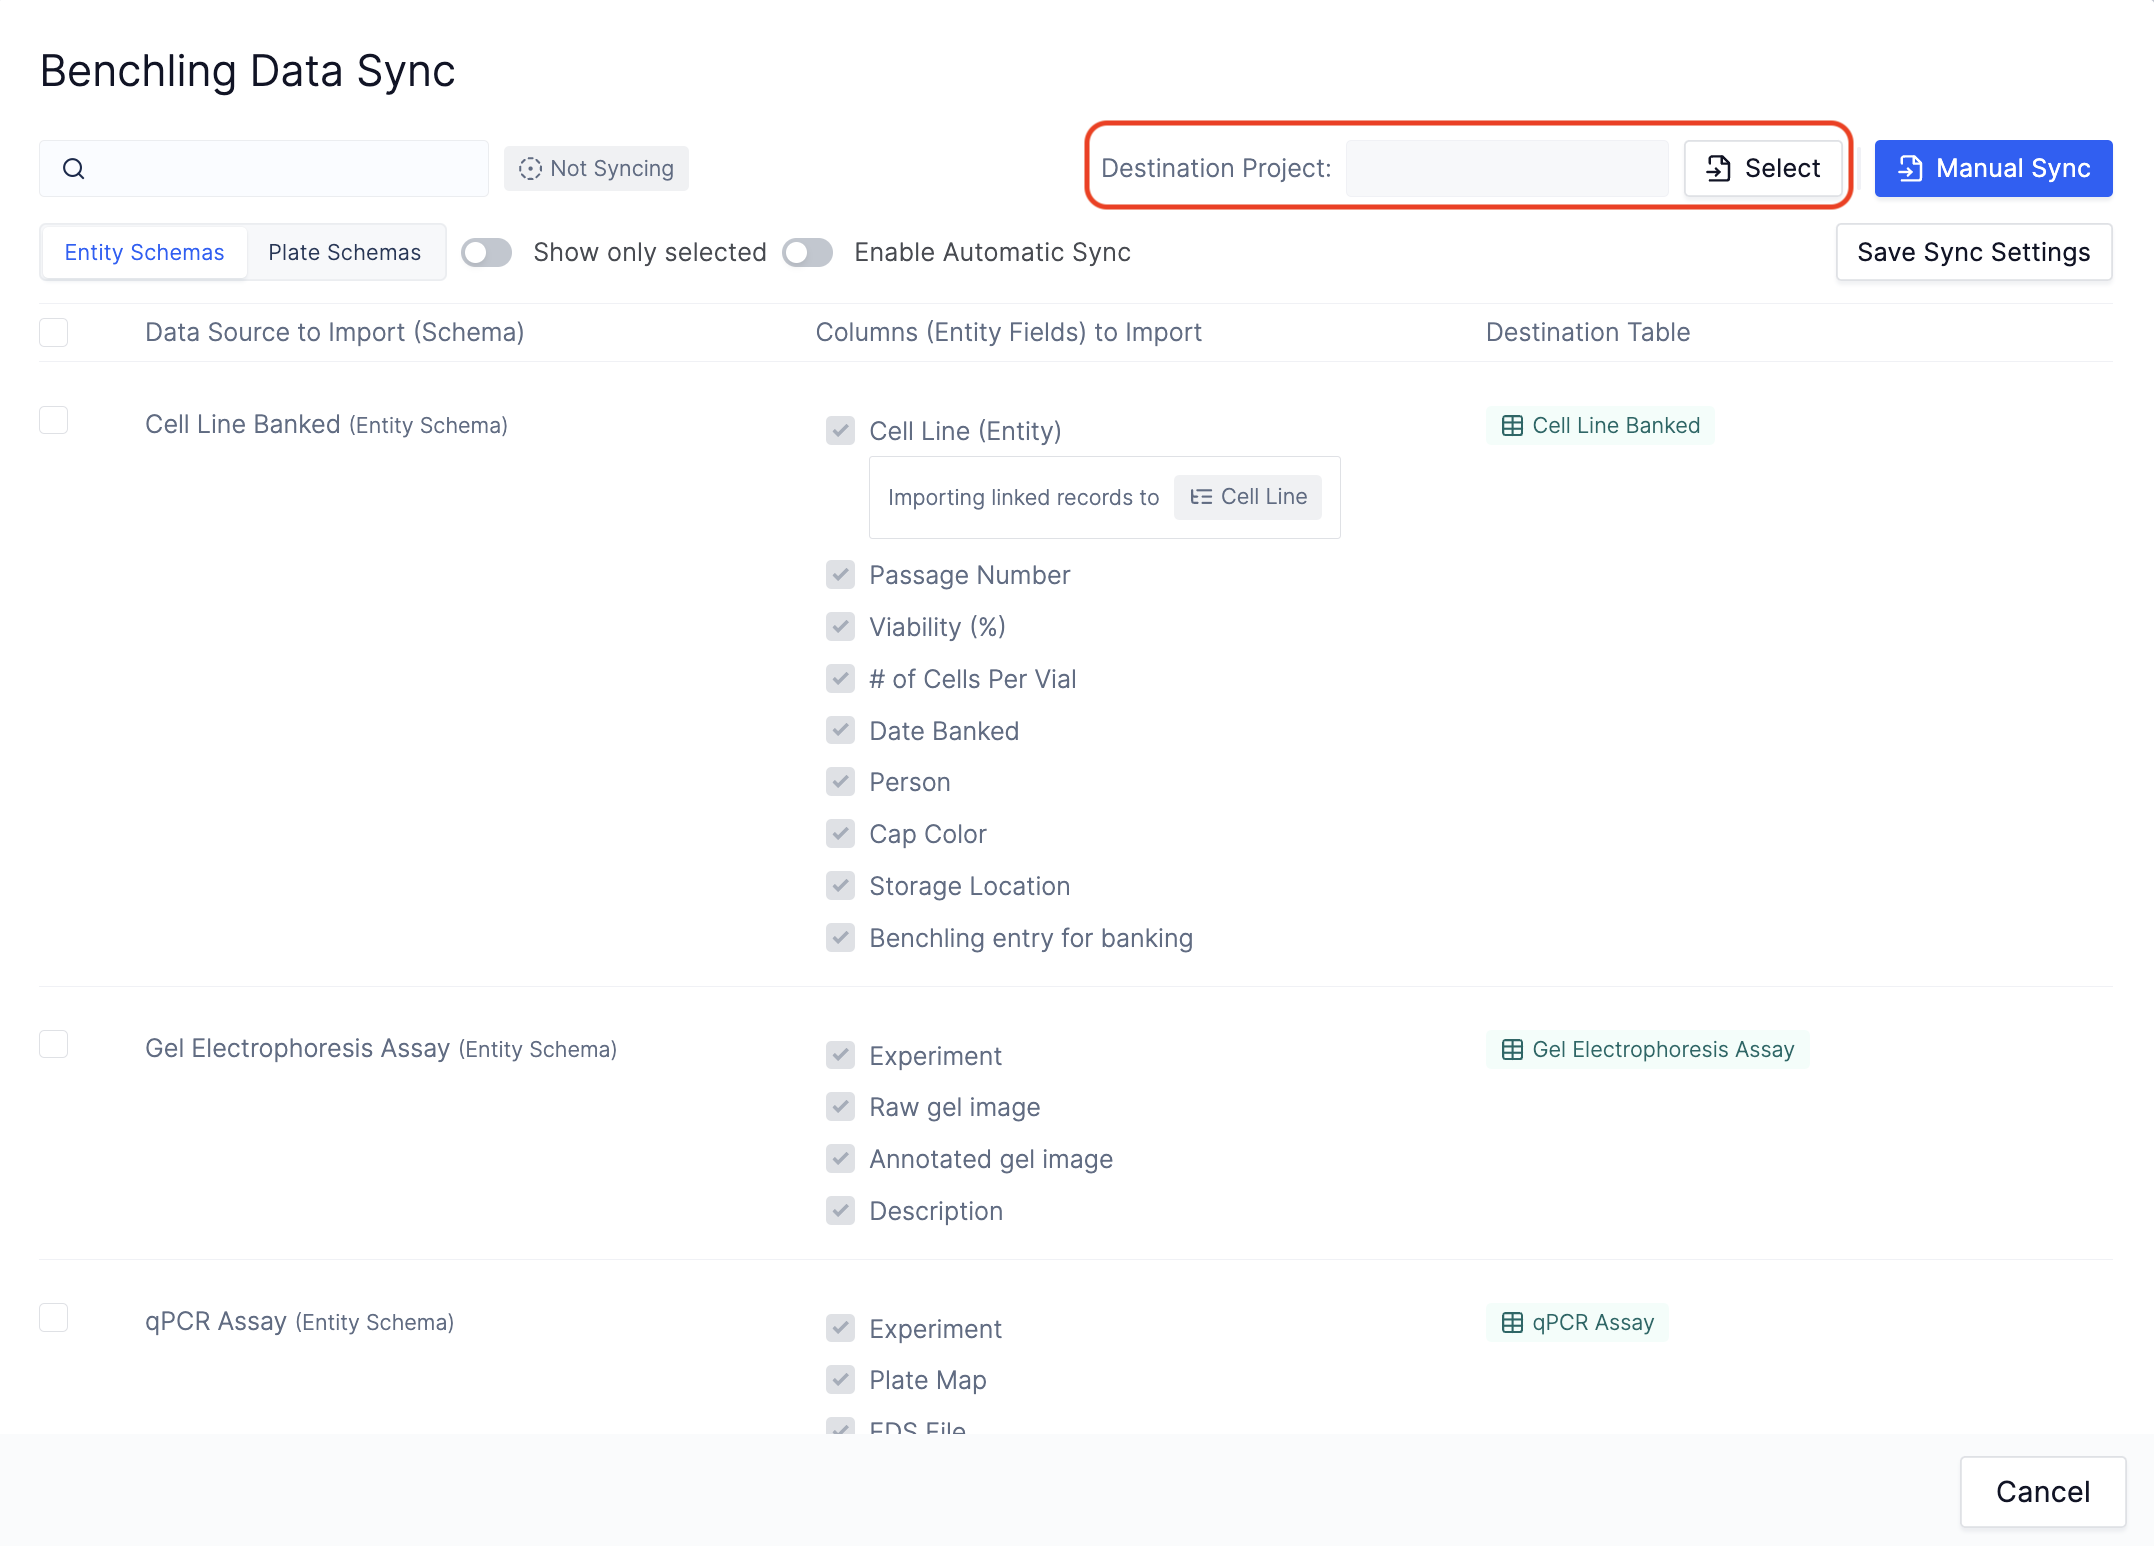
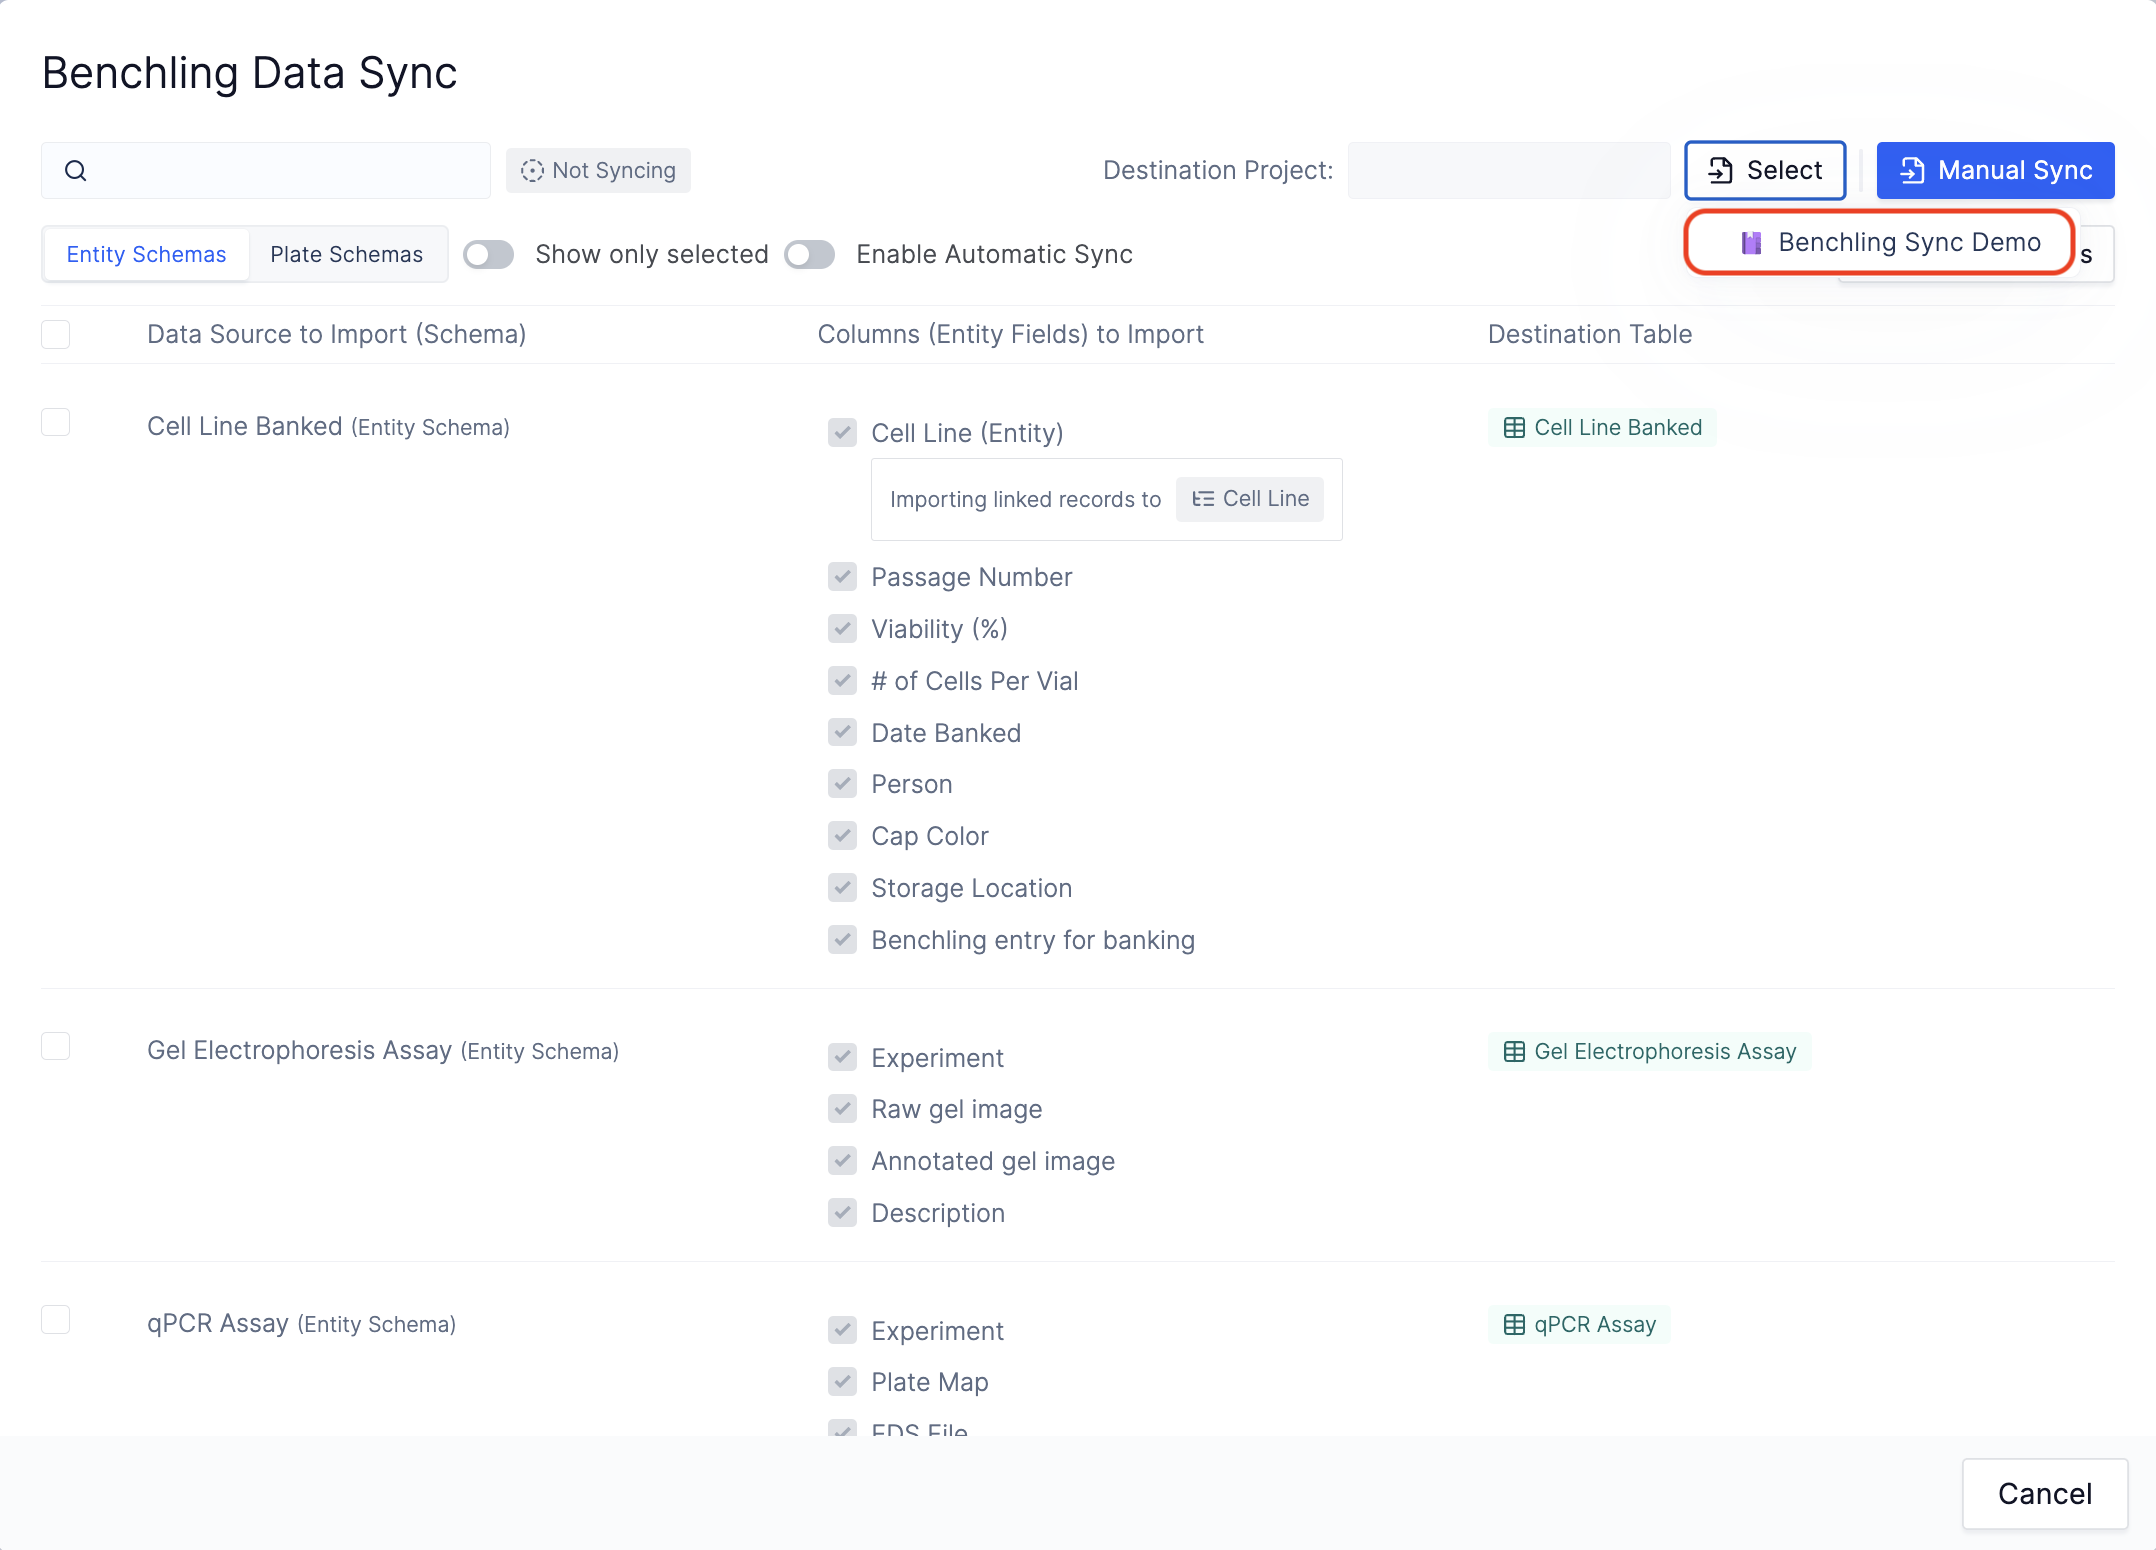
 These schemas will be synced into the tables under the project that you have selected in step 4. If the entity schema you selected links to other schemas, the related schemas will be automatically selected for an sync as well. This is to ensure the parent-child relationships in Benchling are also propagated to Latch Registry tables.
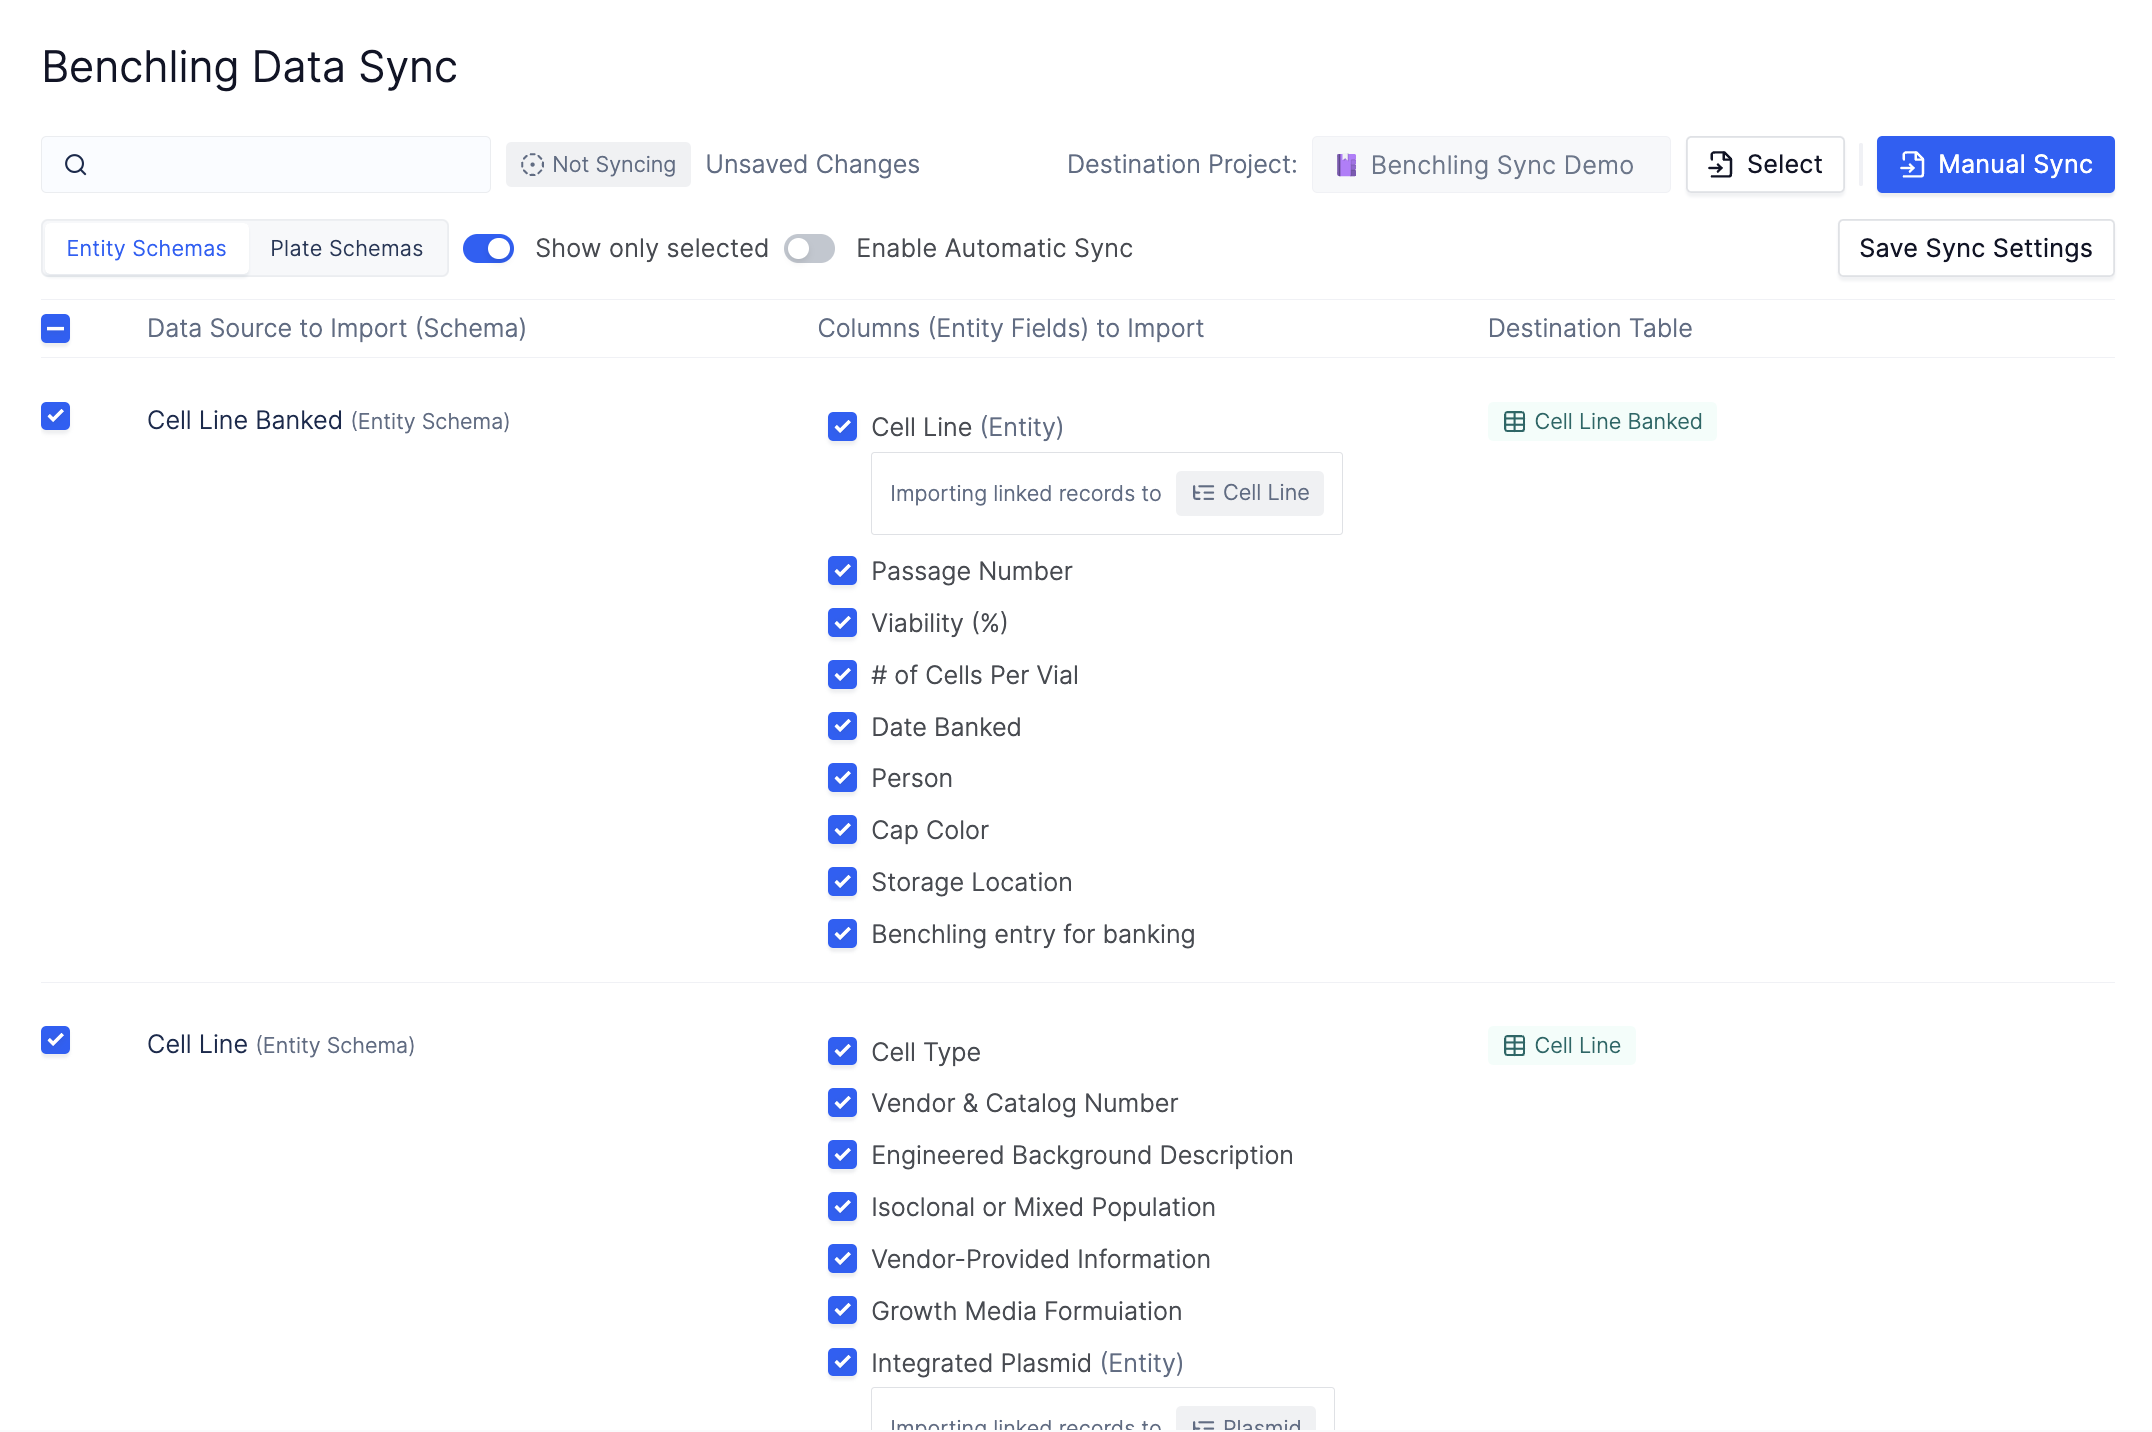 ## (Optional) Enable Automatic Sync
If this option is enabled, your data will be automatically synced from Benchling to Latch every 30 minutes.
## (Optional) Enable Automatic Sync
If this option is enabled, your data will be automatically synced from Benchling to Latch every 30 minutes.
 Depending on the size and the amount of schemas that you are syncing, this might take a couple of minutes. Please keep the tab with the sync open. If you need to use the rest of the platform, please open a new tab and go to the Console page there.